
Beautiful Plants For Your Interior
Beautiful Plants For Your Interior
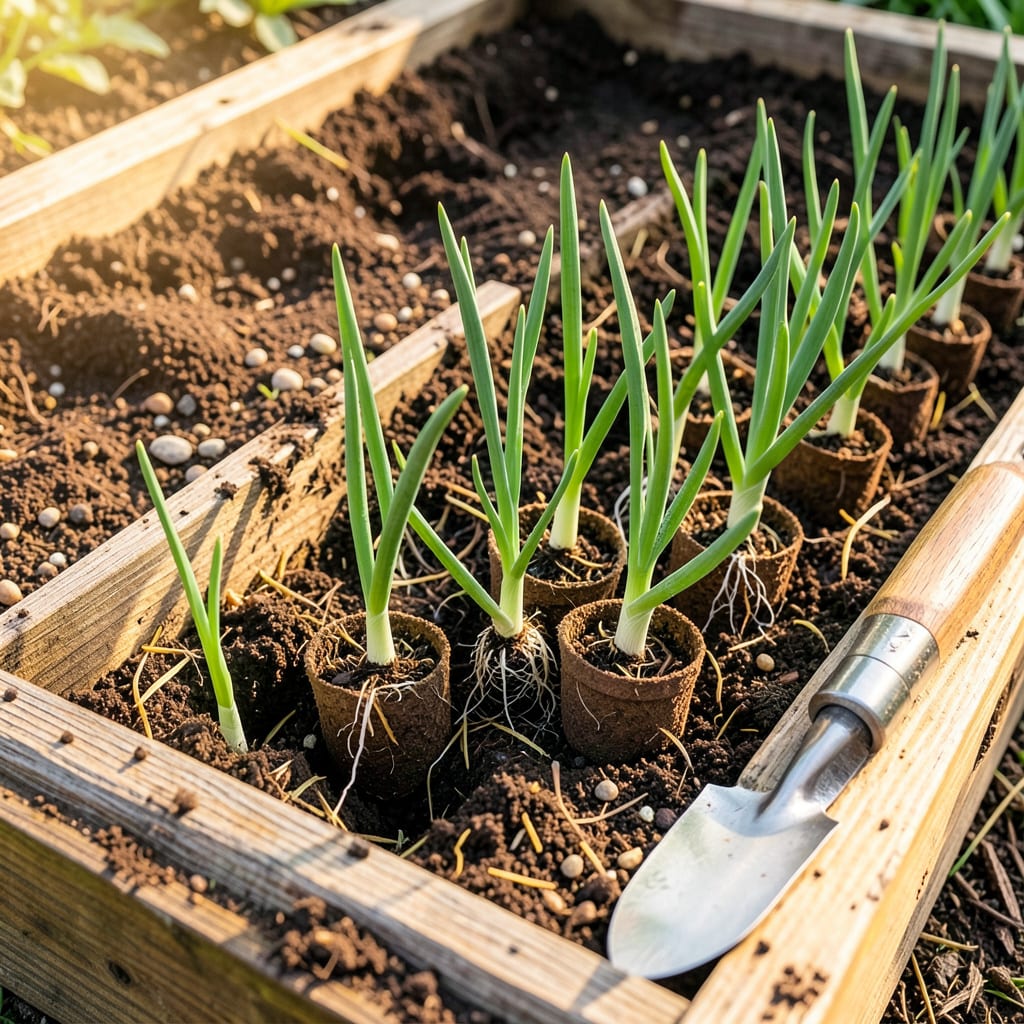
I used to lose half my onion seedlings after transplanting—until I figured out the depth secret. Plant them too shallow, and they topple over before bulbing. Bury them too deep, and you get neck rot instead of strong roots. The sweet spot? Just deep enough to anchor them without smothering the growth point.
After testing different depths across three seasons, I landed on the foolproof method: 1-2 inches deep, with the soil line just below the first true leaves. This gives roots room to establish while keeping the bulb-forming zone right where it needs to be. You’ll see the difference in 2 weeks—sturdy stems and zero flopping.
📚 In This Guide
Here’s the method I’ve used for years to ensure strong, productive onion plants—no guesswork required.
Start by watering your onion seedlings 1-2 hours before transplanting. This ensures the root ball stays intact when removed from its container. You’ll know they’re ready when the soil feels moist but not soggy throughout the pot.
Choose a sunny location with well-draining soil. I like to work the soil to a depth of 12 inches, removing any rocks or debris. The soil should crumble easily in your hand—if it forms a tight ball, it’s too compacted for onion roots to thrive.
Create holes that are 1-2 inches deeper than the seedlings’ current root ball. For most onion starts, this means holes about 3-4 inches deep. Space them 4-6 inches apart in rows that are 12-18 inches apart.
The deeper planting encourages the stem to develop more roots along its length, which is exactly what you want for strong, stable plants. I use my finger to test the depth—when my knuckle touches the soil surface, the hole is perfect.
Gently remove each seedling from its container, being careful not to disturb the roots. Place the seedling in the hole so that the base of the stem sits 1-2 inches deeper than it was in its original container. This is the critical step that makes all the difference.
Backfill with soil, pressing lightly to eliminate air pockets. The soil should come up to just below the first set of leaves. I always double-check by laying a ruler across the row—every plant should be at the same depth for consistent growth.
Water immediately after planting, giving each seedling 1 cup of water at the base. You want the soil to settle around the roots without washing them away. The perfect moisture level feels like a wrung-out sponge—damp but not dripping.
Apply a 1-inch layer of mulch around the plants, keeping it 2 inches away from the stems. This conserves moisture and prevents soil from crusting, which could restrict new root growth. Straw or grass clippings work beautifully for this purpose.
Check your seedlings daily for the first week. The soil should stay consistently moist but never waterlogged. If you notice any seedlings leaning or falling over, they were likely planted too shallow—gently firm the soil around the base to support them.
Within 2-3 weeks, you’ll see new growth emerging from the center of each plant. This confirms your transplanting depth was perfect. The stems will thicken noticeably as the buried portion develops additional roots, setting you up for a fantastic harvest.
Getting the depth right makes all the difference between weak plants and a thriving onion crop. Here’s what I’ve learned through years of trial and error.
Depth Precision: The 1-2 inches deeper planting in Step 3 isn’t arbitrary—this extra depth forces the stem to grow additional roots along its buried portion. I use a ruler to verify each hole is exactly 3-4 inches deep before planting. When you see the stem thicken above the soil line after 2-3 weeks, you’ll know those extra roots are developing underground.
Moisture Management: That 1-2 hours of pre-watering in Step 1 is crucial for preventing transplant shock. The soil should feel like a damp sponge when you squeeze it—not dripping, but uniformly moist throughout the root ball. I’ve found that seedlings watered for exactly 2 hours hold together best when removed from containers, while 1 hour works for smaller starts.
Spacing Strategy: The 4-6 inch spacing between plants and 12-18 inch row spacing in Step 2 allows for proper air circulation and bulb development. I use a measuring stick to mark holes before digging—this prevents the “drift” that happens when you eyeball spacing. Remember that onions need room to expand; crowded plants produce smaller bulbs.
Post-Planting Care: The 1 cup of water per seedling in Step 4 should be delivered slowly at the base, not overhead. I use a watering can with a narrow spout to direct water precisely to each plant’s root zone. This prevents soil erosion around the newly planted seedlings while ensuring deep moisture penetration where it’s needed most.
For leggy seedlings, bury them deeper—up to 2 inches below soil level—but avoid covering the top green leaves. This encourages stronger root growth and stabilizes wobbly stems. Pro tip: Plant in a slight trench and gently mound soil around the base for extra support.
Transplant as early as possible in spring (4–6 weeks before last frost) for bulbing onions. If delayed, opt for green onions (scallions), which tolerate later planting. Late transplants may not form bulbs properly—prioritize soil temps above 50°F for best results.
No deep beds? Use containers (at least 6–8 inches deep) or raised beds with loose, well-draining soil. Shallow roots still work for green onions! Mix in compost to improve depth and moisture retention. Bonus: Containers let you move plants to sunnier spots.
Falling seedlings often mean too shallow planting or weak roots. Replant deeper (1–2 inches), firm soil gently, and water thoroughly. If stems are soft, check for overwatering or disease. Stake floppy plants with toothpicks until they stabilize.
Trim only if leaves are damaged—never cut healthy tops! Long leaves help seedlings photosynthesize and recover. If roots are tangled, gently tease them apart instead. Focus on minimizing shock by keeping roots moist during transplanting.
