
Beautiful Plants For Your Interior
Beautiful Plants For Your Interior
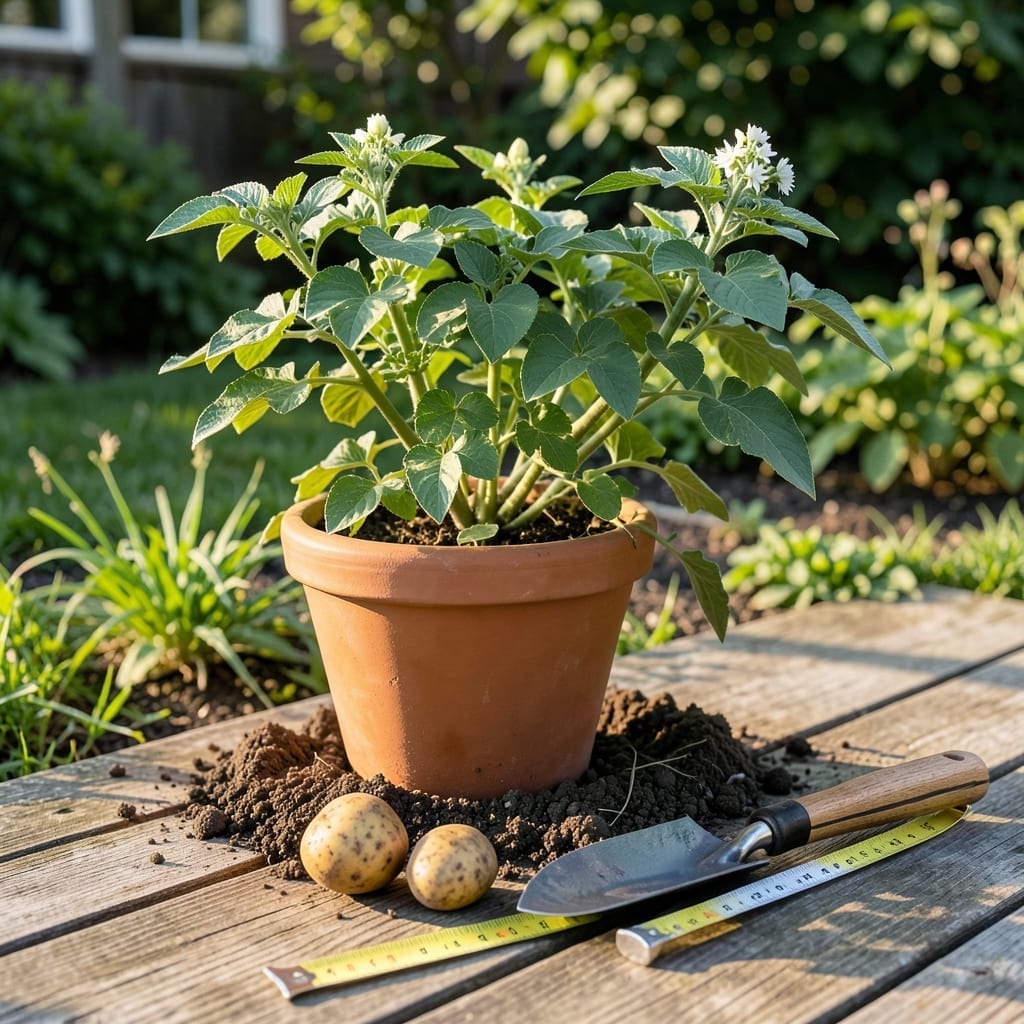
Growing potatoes in containers is a game-changer for gardeners with limited space. But here’s the catch: nailing the planting depth makes all the difference between a bumper crop and disappointment.
Too shallow, and your 🥔 Potato struggles to develop. Too deep, and you risk rot or stunted growth. It’s a delicate balance that many get wrong on their first try.
I’ve tested countless methods, and what I’m about to share will save you from common pitfalls. Whether you’re using grow bags, buckets, or fabric pots, the right depth ensures healthy tubers.
Discover the simple yet crucial steps to planting Potato at the perfect depth. Your future harvest will thank you.
Getting the planting depth right is crucial for healthy potato growth in containers. I’ve found that 4-6 inches deep works best for most varieties, allowing room for tuber development while preventing rot from poor drainage.
If you plant too shallow, your seed potatoes may dry out or produce small, weak tubers. Too deep, and they might struggle to sprout or suffer from waterlogged soil. Balance is key for a strong start.
| Requirement | Specification |
|---|---|
| Ideal Depth | 4-6 inches |
| Seed Potatoes | Whole or cut |
| Soil Type | Well-draining mix |
| Container Size | 10+ inches deep |
For early varieties like Yukon Gold, I stick to the shallower end of the range, around 4 inches. This gives them a faster start in cooler weather while still allowing tubers to form properly.
Late-season potatoes, such as Russets, benefit from the full 6 inches of depth. Their longer growing season means they need more room to develop larger, healthier tubers without crowding.
If you’re using cut seed potatoes, plant them with the cut side down and the eyes facing up. This encourages strong sprouting and helps prevent rot in the healing cut surface.
Your container size also plays a role. For smaller pots (under 10 inches deep), stick to 4 inches to avoid overcrowding. In deeper containers, you can push to 6 inches for better yield.
Always use a light, airy soil mix with added compost or peat moss. This ensures good drainage and prevents the soil from compacting, which can stunt tuber growth.
Remember, consistent moisture is key after planting. I water my containers lightly but frequently in the first week to help the seed potatoes establish without waterlogging the soil.
With the right depth, soil, and care, you’ll see green shoots emerging in 10-14 days, ready to grow into a productive plant that’ll reward you with a hearty harvest. 🌱
Layering potatoes in containers boosts yield by encouraging more tuber formation along the stem. I start by planting seed potatoes 4-6 inches deep, then add soil as the green shoots grow.
This method, called hilling, protects tubers from sunlight and prevents greening. I repeat the process every 2-3 weeks until the container is nearly full.
I always use lightweight potting mix for containers to ensure proper drainage. Heavy garden soil can compact and stunt tuber growth, which defeats the purpose.
For early varieties, I hill just twice, while maincrop potatoes benefit from 3-4 hilling sessions. This extra care results in more potatoes per plant.
🌱
With this method, I’ve harvested 5-10 pounds of potatoes from a single 5-gallon container. The key is consistency in hilling and proper sunlight exposure.
☀️