
Beautiful Plants For Your Interior
Beautiful Plants For Your Interior
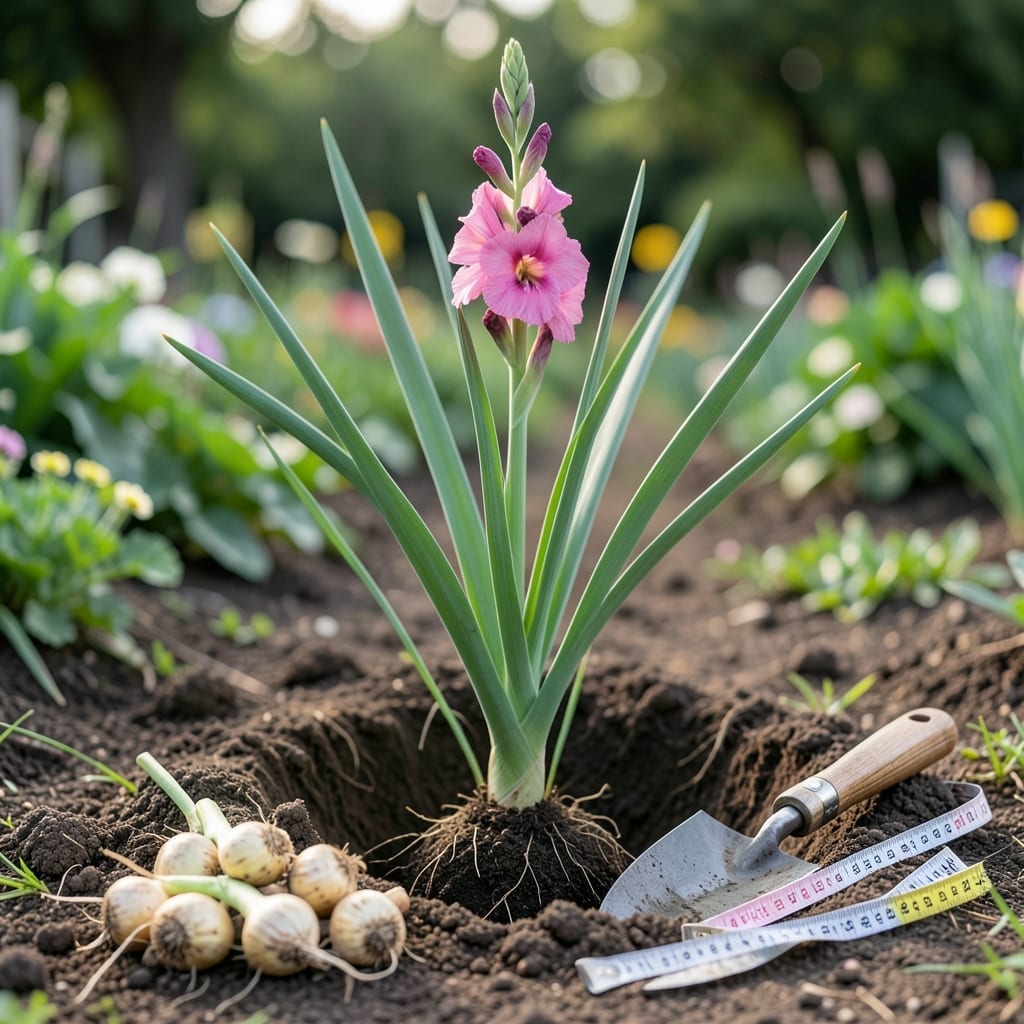
Planting Gladiolus 🌸 bulbs at the right depth makes all the difference between tall, stunning blooms and weak, floppy stems. I’ve seen too many gardeners struggle with this simple but critical step.
Get the depth wrong, and your Gladiolus might rot, fail to flower, or topple over at the first breeze. It’s not just about digging a hole—it’s about setting the stage for strong, vibrant growth.
Let me walk you through the most effective way to plant these beauties so you can enjoy their dramatic spikes all season long.

Getting the planting depth right is crucial for strong stems and vibrant blooms with Gladiolus. The standard rule is 4-6 inches deep, but your soil type can change this slightly.
In loamy soil, stick to 6 inches for best results. This depth anchors the tall stems and prevents them from toppling in wind or rain.
| Soil Type | Depth | Notes |
|---|---|---|
| Loamy | 6 inches | Ideal for most gardeners |
| Clay | 4-5 inches | Prevents waterlogging |
| Sandy | 6-7 inches | Extra depth for moisture |
| Rocky | 5-6 inches | Avoid shallow rocks |
For clay soil, I recommend planting 4-5 inches deep. Clay holds moisture, so planting too deep can cause bulb rot. This shallower depth helps prevent waterlogging.
If you have sandy soil, go for 6-7 inches. Sandy soil drains quickly, so the extra depth helps the Gladiolus access moisture and stay upright in loose soil.
In rocky soil, aim for 5-6 inches deep. Be sure to remove any large rocks that might obstruct the bulb’s growth or cause it to grow at an odd angle.
The planting depth directly affects stem strength. Too shallow, and your Gladiolus may flop over. Too deep, and the bulb might struggle to sprout or flower.
I’ve found that 6 inches is the sweet spot for most gardeners. It provides enough anchorage for the tall stems while allowing the bulb to access nutrients and water effectively.
Remember, pointy side up when planting. This ensures the shoot grows upward, and the roots develop downward, giving your Gladiolus the best start possible.
After planting, water thoroughly to settle the soil and encourage root growth. This initial watering is critical for establishing your bulbs.
With the right depth and care, your Gladiolus will reward you with stunning blooms that stand tall and proud 🌸
Planting Gladiolus bulbs properly ensures strong stems and vibrant blooms. I always start by choosing a sunny spot with well-draining soil to give these beauties their best chance.
The first step is digging the hole to the correct depth, which we’ve established as 4-6 inches for most soils. This depth anchors the bulb while allowing it to access moisture and nutrients effectively.
After placing the bulb in the hole, I backfill with soil and gently press down to ensure good contact. This step eliminates air pockets that could hinder root growth and stability.
Once planted, I water deeply to help settle the soil and encourage the roots to establish. This initial watering is critical, as it kickstarts the growth process and ensures the bulb doesn’t dry out.
I also recommend adding a layer of mulch around the planting area. Mulch helps retain moisture and keeps weeds at bay, which can compete with your Gladiolus for nutrients.
Finally, keep the area consistently moist but not waterlogged. With proper care, your Gladiolus will reward you with tall, stunning blooms that stand proud in your garden 🌸