
Beautiful Plants For Your Interior
Beautiful Plants For Your Interior
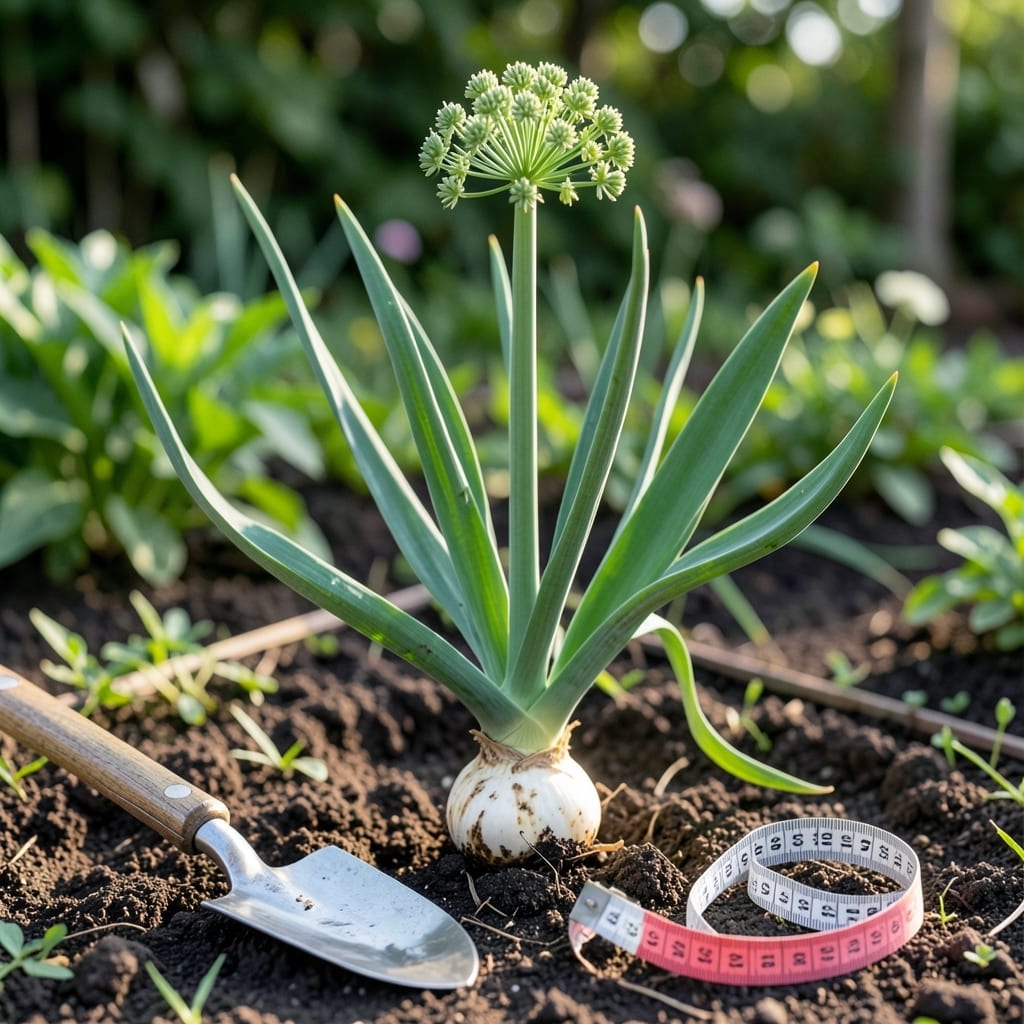
Planting Garlic 🧄 bulbils is a game-changer for any home gardener looking to multiply their harvest. But here’s the catch: depth matters more than you might think.
Get it wrong, and you risk weak sprouts that never quite take off. The sweet spot is just 1-2 inches deep—shallow enough to emerge easily, yet deep enough to stay anchored.
I’ve seen firsthand how proper planting depth transforms tiny bulbils into robust plants. Whether you’re in zone 6a or elsewhere, this small detail makes all the difference.
Discover the simple yet precise method to ensure your Garlic thrives from the start. Let’s dig into the specifics together.


Planting garlic bulbils at the right depth ensures strong root development and healthy growth. I’ve found that 1 to 2 inches deep works best for most soil types, but adjustments may be needed based on your garden’s conditions.
The ideal depth balances moisture access and protection from drying out. In sandy soil, which drains quickly, aim for the deeper end of the range. For clay soil, stick closer to 1 inch to prevent waterlogging.
| Soil Type | Recommended Depth | Key Consideration |
|---|---|---|
| Sandy Soil | 2 inches | Prevents drying out |
| Loamy Soil | 1.5 inches | Balanced moisture |
| Clay Soil | 1 inch | Avoids waterlogging |
| Rocky Soil | 1.25 inches | Allows root penetration |
In dry climates, I recommend planting bulbils slightly deeper to retain moisture. Conversely, in humid areas, a shallower depth helps prevent rot while still encouraging strong sprouting.
If you’re unsure about your soil type, a simple test can help. Grab a handful and squeeze—if it crumbles easily, it’s sandy; if it holds shape but breaks when tapped, it’s loamy; if it stays in a tight ball, it’s clay.
For cold climates, planting at 2 inches provides extra insulation against frost. In warmer regions, 1 inch is often sufficient, as the soil stays warmer and more active.
Spacing also plays a role in depth decisions. I plant bulbils 3 to 4 inches apart in rows 6 inches apart. This gives roots room to spread without competing for nutrients.
After planting, cover the area with 1 to 2 inches of mulch to retain moisture and suppress weeds. Straw or shredded leaves work well and break down over time, enriching the soil.
Remember, garlic bulbils are small but mighty. They’ll grow into full garlic plants in about 2 years, so patience and proper depth are key to a bountiful harvest.
Monitor soil moisture after planting. If the top inch of soil feels dry, it’s time to water. Consistency is crucial during the first few weeks as roots establish.
I always start by preparing the soil, ensuring it’s loose and well-draining. Garlic bulbils thrive in soil that’s free of clumps and rich in organic matter. A quick till or hand-turning does the trick.
Next, I space the bulbils 3-4 inches apart to give each one enough room to grow. Crowding them leads to weak plants, so I measure carefully before planting. 🌱
After planting, I lightly water the area to help the soil settle around the bulbils. It’s important to avoid overwatering, as garlic prefers moist but not soggy conditions. A light mist works best.
Mulching is my next step. I add a 2-inch layer of straw or leaves to keep the soil moist and protect the bulbils from temperature swings. This also helps suppress weeds. ☀️
In the first few weeks, I monitor the soil moisture closely. If the weather is dry, I water once a week to keep the soil consistently damp. Garlic bulbils need steady moisture to sprout.
By following these steps, I’ve found my garlic bulbils grow into strong, healthy plants that are ready to thrive. The key is consistency and attention to detail. 🌿