
Beautiful Plants For Your Interior
Beautiful Plants For Your Interior
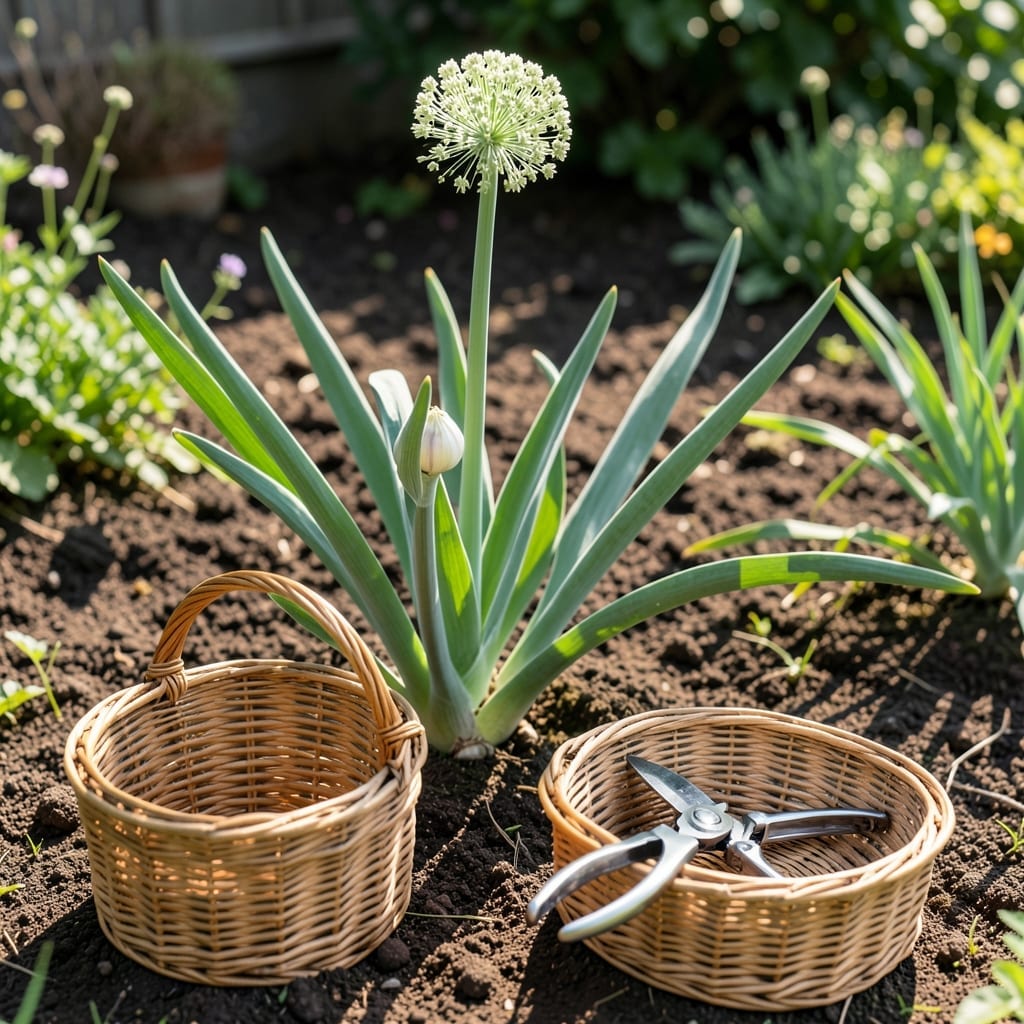
Harvesting garlic bulbils lets you multiply your crop and preserve prized varieties, but timing and technique are everything.
These tiny aerial cloves form on Garlic 🧄 scapes and can be your secret to bigger, healthier harvests next season. The key is knowing exactly when they’re ready to pick.
I’ve learned that waiting for the perfect moment makes all the difference. These bulbils hold the promise of disease-free plants that maintain their parent’s traits.
Discover how to collect them at peak maturity and prepare them for replanting or storage. Your future Garlic crops will thank you.

Timing is everything when harvesting garlic bulbils. I wait until the scapes form loops and then straighten, signaling the bulbils are maturing. This usually happens a few weeks after the scapes first appear.
The lower leaves turning brown and dry is another clear sign. I check that the bulbils are plump and firm, and the stem below them is drying out. These are sure indicators they’re ready for harvest. 🌱
| Maturity Sign | Description |
| Scape formation | Forms loops then straightens |
| Bulbil appearance | Visible and plump in scape |
| Lower leaves | Turn brown and dry |
| Stem condition | Dry below bulbils |
If the scapes are still tightly curled, I know the bulbils aren’t ready. I also avoid harvesting when the leaves are still green, as this means the plant is still directing energy to growth.
In my experience, early morning is the best time to harvest. The cool temperatures and lower humidity help preserve the bulbils’ viability. I use sharp pruners to cut the scapes just below the bulbils.
I’ve found that late spring to early summer is the typical window for harvesting. This aligns with the 210-270 day maturity period for garlic. The exact timing depends on your climate and garlic variety.
For hardneck garlic, which produces scapes, I monitor the curling and straightening process closely. Softneck varieties rarely produce scapes, so bulbils aren’t typically a propagation method for them.
I always check the weather forecast before harvesting. A dry spell of at least 2-3 days ensures the bulbils aren’t exposed to excess moisture, which can lead to rot or mold.
After harvesting, I inspect each scape to ensure the bulbils are firm and healthy. Any that are soft or discolored get discarded. This step is crucial for disease prevention in future plantings. 🌿
I’ve learned that patience pays off. Rushing the harvest can result in underdeveloped bulbils that won’t grow well. Waiting for the right signs ensures a strong start for the next growing season.
By focusing on these key indicators, I consistently get high-quality bulbils that are ready for planting. This method has helped me expand my garlic crop year after year. ✂️
I always wait until the garlic scapes form complete loops and begin to straighten before harvesting bulbils. This is your first visual cue that the tiny cloves are maturing inside the flower head. The timing is crucial for maximum viability.
Once the scapes straighten and the lower leaves brown, it’s harvest time. I use sharp pruners to snip the scape just below the bulbil cluster. Early morning is ideal to avoid midday heat stress on the plants.
After harvesting, I spread the bulbil clusters in a single layer on a screen or tray. A well-ventilated area away from direct sunlight works best for drying. This prevents mold while allowing the outer skins to cure properly.
Once completely dry, I gently rub the clusters to separate the bulbils. Store them in mesh bags or paper envelopes in a cool, dark place. This keeps them viable until fall planting season arrives.
For next season’s crop, I plant the largest bulbils about 2 inches deep and 4-6 inches apart. Smaller ones can be group-planted for a bigger harvest in a few years. It’s a simple way to multiply your stock.
Remember, bulbils take 2-3 years to reach full bulb size, but they’re disease-free and true to type. This method ensures you’re growing high-quality garlic year after year without cross-contamination☀️