
Beautiful Plants For Your Interior
Beautiful Plants For Your Interior
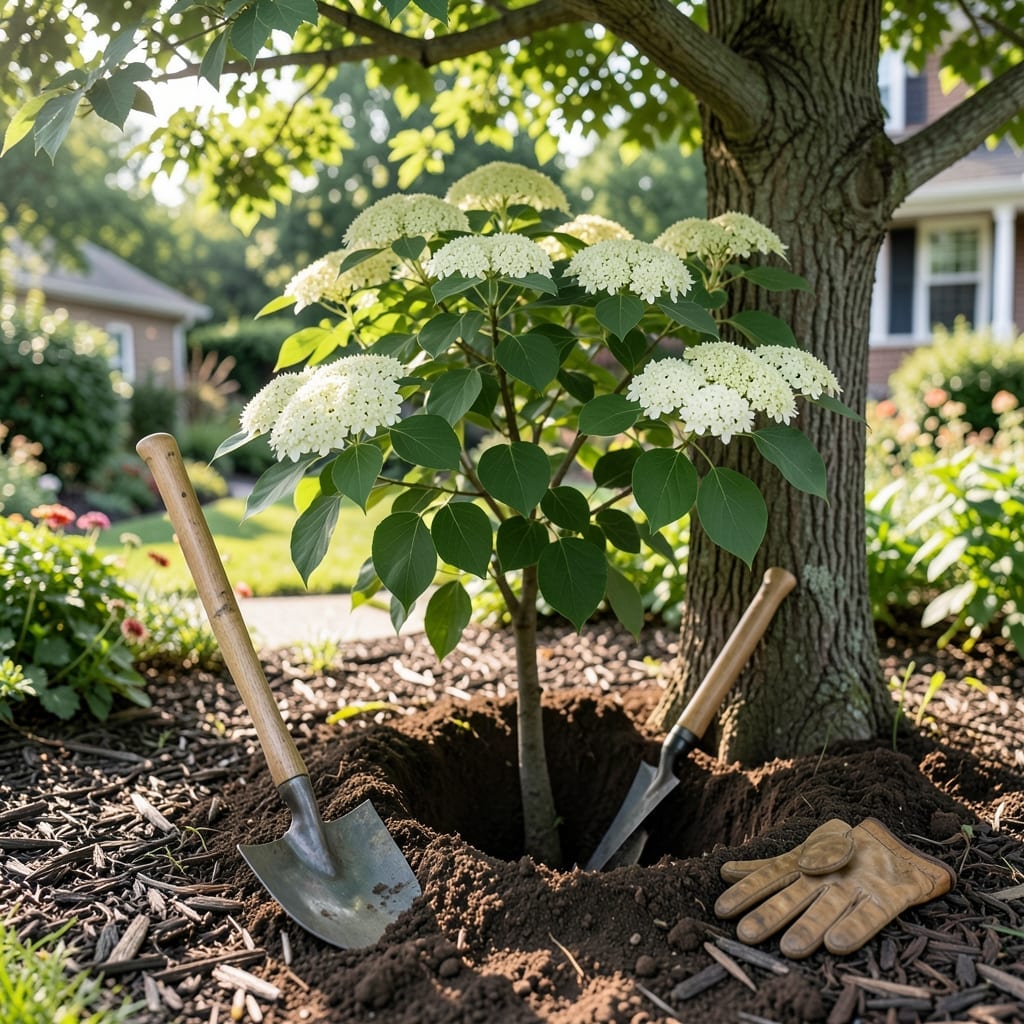
There’s something magical about watching a Flowering Dogwood 🌳 burst into bloom after a long winter. But did you know the secret to those spectacular spring displays starts in the fall?
November planting gives your Flowering Dogwood a crucial head start. The cool temperatures and moist soil create perfect conditions for root establishment before winter sets in.
I’ve found this timing especially effective in zones 5-9, where the trees can settle in without the stress of summer heat. The results speak for themselves come spring.
Discover how to give your dogwood the best possible beginning. With the right approach, you’ll be rewarded with vibrant blooms that make your garden the envy of the neighborhood.

I’ve found that November planting gives flowering dogwood a unique advantage. The cooler temperatures reduce stress on the tree, allowing roots to establish without the heat of summer. This timing also means less watering is needed compared to spring planting.
In my experience, fall planting encourages strong root growth before winter dormancy. The moist soil from autumn rains helps settle the roots, while the mild weather minimizes transplant shock. This sets the stage for vibrant spring blooms.
🌱 Key Takeaway
Planting flowering dogwood in November allows root establishment before winter, leading to stronger spring growth and more resilient trees.
The USDA zones 5-9 are ideal for November planting, as the ground stays warm enough for root development. In colder regions, aim to plant 4-6 weeks before the first hard frost to give roots time to settle.
I always recommend testing soil pH before planting. Flowering dogwoods thrive in slightly acidic soil (pH 6.0-6.5). If your soil is too alkaline, amending with peat moss or sulfur can create the perfect environment.
Another benefit of November planting is reduced pest pressure. Many common garden pests are less active in fall, giving your dogwood sapling a better chance to establish without interference. This also means fewer diseases to worry about during the critical early stages.
Proper spacing is crucial for mature dogwoods, which can reach 15-30 feet tall. I suggest planting at least 15-20 feet apart from other trees or structures to allow for full canopy development and good air circulation.
Mulching is a game-changer for fall-planted dogwoods. Apply a 2-3 inch layer of organic mulch around the base (keeping it 6 inches away from the trunk) to retain moisture and insulate roots as temperatures drop.
In my garden, I’ve noticed that November-planted dogwoods often bloom earlier in their first spring compared to those planted in spring. This is because the root system has a head start, allowing the tree to focus energy on flower production rather than root establishment.
For best results, choose a sheltered location with partial shade, especially in the afternoon. This protects the young tree from winter winds and late-season temperature swings, which can stress the plant before it’s fully established.
Finally, water deeply after planting and continue weekly watering (about 1-2 inches per week) until the ground freezes. This ensures the root ball stays moist and encourages deep root growth before winter. 🌳
Planting flowering dogwood in November gives roots a chance to settle before winter. I always pick a sheltered spot with partial shade and well-draining soil for best results.
Start by digging a hole twice as wide as the root ball but no deeper. This encourages outward root growth and prevents settling. Loosen the soil at the sides for easier root penetration.
After planting, I water deeply to eliminate air pockets. A 2-3 inch mulch layer helps retain moisture and insulate roots from winter temperature swings. Keep mulch away from the trunk.
For winter protection, I wrap young trees in burlap if we expect harsh cold or wind. This prevents winter burn on exposed branches. Check soil moisture monthly if rainfall is scarce.
Remember, November planting works best in USDA zones 5-9. In colder areas, aim to finish 4-6 weeks before the ground freezes. This timeline ensures strong root establishment.
Finally, avoid fertilizing at planting time. I wait until early spring to apply a balanced 10-10-10 fertilizer. This prevents tender new growth that could be damaged by frost. 🌳