
Beautiful Plants For Your Interior
Beautiful Plants For Your Interior
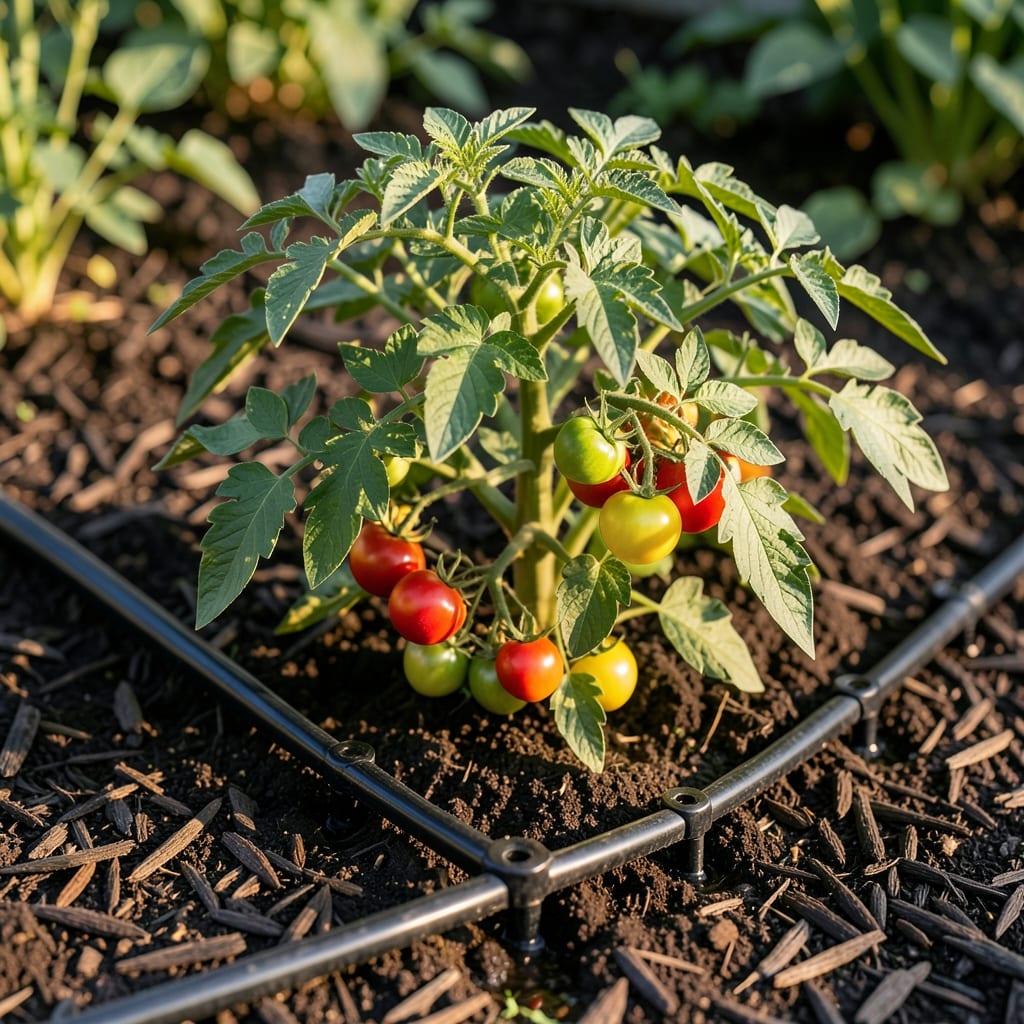
I wasted gallons of water before switching to drip irrigation. This setup delivers moisture directly to roots, cutting waste while keeping plants consistently hydrated without the guesswork of hand-watering.
Once installed, it runs on autopilot—no more dragging hoses or forgetting to water. Your plants get exactly what they need, when they need it, and you’ll see the difference in healthier growth and bigger harvests within weeks.
📚 In This Guide
Here’s the method I use to ensure consistent, efficient watering without waste or runoff.
Map out your planting area and measure the distance from your water source to the farthest plant. I always sketch a quick diagram first—this prevents kinking and ensures even water distribution across all zones.
Place the mainline tubing along the center of your planting rows, with lateral lines branching off to reach individual plants. For most vegetable gardens, spacing emitters 12-18 inches apart works perfectly. Position them near the root zone of each plant for maximum efficiency.
Lay out your tubing according to your plan, then connect it to the water source using a pressure regulator and filter. This combination prevents clogging and maintains consistent flow—critical for drippers that operate at 10-20 PSI.
Use ground staples to anchor tubing in place, especially at corners and along straight runs. I’ve found that securing the mainline every 3-4 feet prevents shifting during watering cycles. Test all connections before burying or covering with mulch.
Turn on the system and let it run for 15-20 minutes to check for leaks or uneven distribution. Walk the entire length of your layout and verify that each emitter is delivering water at the same rate.
Adjust the flow rate if needed—most emitters allow you to fine-tune output between 0.5-2 gallons per hour. The goal is slow, steady moisture that soaks into the soil without pooling on the surface. You’ll know it’s right when the soil is damp 2-3 inches deep after each cycle.
Install a battery-operated timer at the water source to automate your system. For most plants, 2-3 watering sessions per week lasting 30-60 minutes each provides optimal hydration without overwatering.
Program the timer based on your plants’ needs and local weather conditions. I always set mine to run in the early morning—this reduces evaporation loss and gives foliage time to dry before evening, preventing fungal issues.
Check your system weekly for clogs, leaks, or shifted tubing. Flush the lines by removing end caps and letting water run through for 1-2 minutes to clear any debris.
Inspect emitters for mineral buildup, especially if you have hard water. A quick soak in vinegar usually clears them right up. Replace any components that show wear or reduced performance—consistent maintenance keeps your system operating at peak efficiency for seasons to come.
Small details make the difference between a system that works and one that wastes water and time.
Layout Precision: In Step 1, those 12-18 inches between emitters aren’t arbitrary. Closer spacing works for sandy soil that drains quickly, while wider intervals suit clay-heavy earth. I learned this after watching half my garden stay dry while the other half drowned from uneven distribution.
Pressure Perfection: The 10-20 PSI range in Step 2 is critical. Too much pressure causes tubing to burst at the seams, while too little leaves your farthest plants parched. A pressure gauge costs pennies and saves hours of troubleshooting—trust me on this.
Testing Discipline: Step 3’s 15-20 minute test run isn’t optional. I once skipped this and didn’t notice one emitter was completely clogged until my tomato plants wilted. Walk the entire line, check every dripper, and adjust flow rates until you see uniform moisture 2-3 inches deep in the soil.
Maintenance Rhythm: That weekly check in Step 5 prevents 90% of problems. I set a phone reminder for the same day I water—flush lines for 1-2 minutes, check for shifted tubing, and replace any emitter that’s sputters. Hard water areas need monthly vinegar soaks to prevent mineral buildup from choking your system.
For most plants, run it 2-3 times weekly for 30-60 minutes, adjusting for soil type and weather. Sandy soil needs shorter, frequent cycles, while clay retains moisture longer.
Yes! Drip systems work for veggies, flowers, and shrubs. However, deeply rooted plants (like trees) may need deeper emitters or soaker hoses for effective hydration.
Install a filter (150-200 mesh) and flush the system regularly. Use clean water and consider a vinegar rinse annually to dissolve mineral buildup.
Early morning (4-8 AM) is ideal—it reduces evaporation and lets foliage dry, preventing fungal diseases. Avoid evening watering to minimize moisture sitting overnight.
Drip systems save water (up to 50%) by targeting roots directly, reducing waste and weed growth. Sprinklers are better for large lawns but less efficient for gardens.