
Beautiful Plants For Your Interior
Beautiful Plants For Your Interior
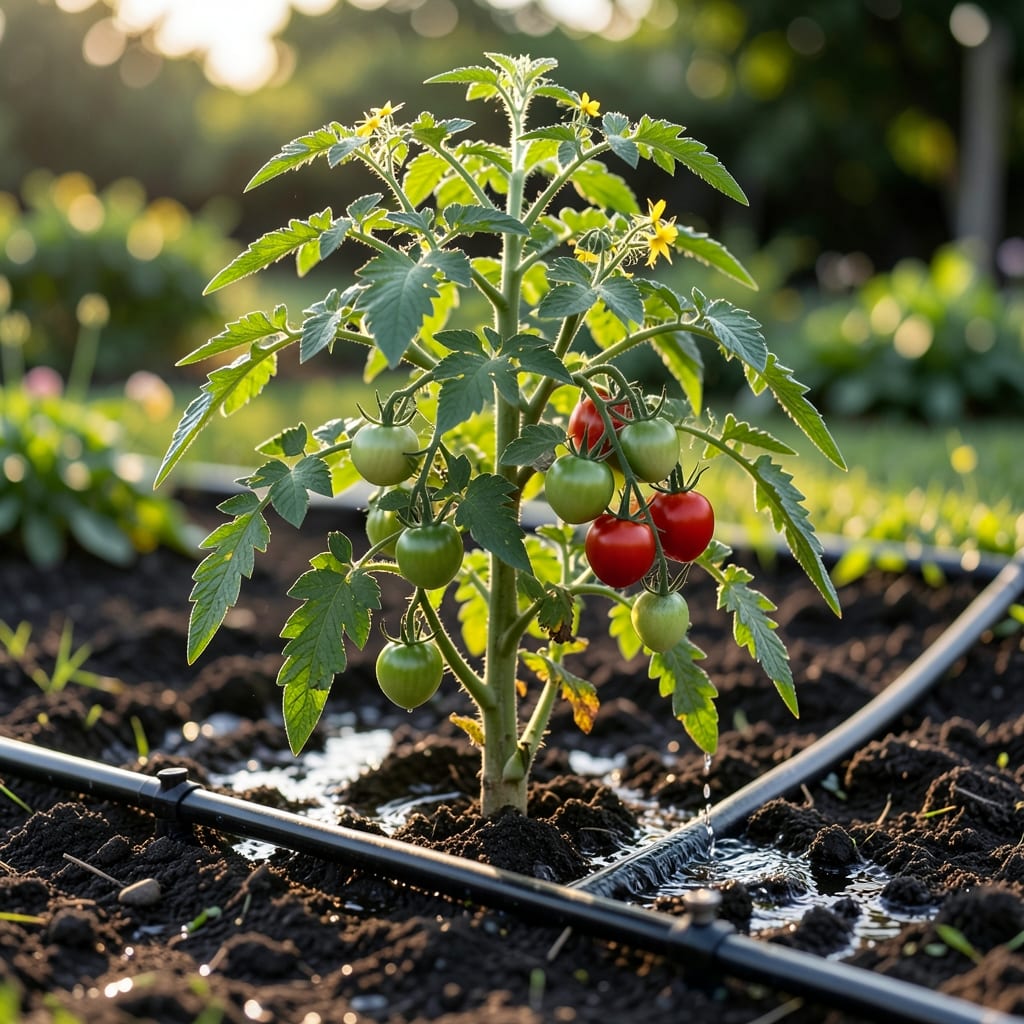
I wasted hundreds of gallons watering by hand before switching to drip. This method delivers moisture directly to roots, cutting waste while keeping plants thriving.
Setup takes an afternoon with basic parts from any hardware store. Once installed, it runs on autopilot, giving you consistent results with less effort. No more wilting plants or water bills.
📚 In This Guide
Here’s the method I rely on to keep plants thriving with precise water delivery.
Sketch your garden layout and identify water sources. I always map out plant rows first, noting which areas need full sun exposure versus partial shade, as water needs vary. Mark where the main water line will run from your spigot or hose bib.
Measure the total length needed for main lines and lateral lines to reach all planting zones. Allow extra length for connections and adjustments. For a typical 4-zone vegetable garden, I recommend ½-inch main lines with ¼-inch laterals branching off to each row.
Lay the ½-inch poly tubing along your main path, securing it with stakes every 3-4 feet. Keep it as straight as possible to maintain consistent water pressure. Connect one end to your water source using a pressure regulator and backflow preventer—this protects your system from pressure spikes.
Test the connection before burying or covering the line. Turn on the water briefly to check for leaks at the source. You’ll feel confident when the connection holds at 25-30 PSI without hissing sounds or visible drips.
Attach ¼-inch micro tubing to the main line using tee fittings at each planting zone. I run one lateral line per row, spacing emitters every 12-18 inches depending on plant water needs. Tomato plants need emitters closer together than drought-tolerant herbs.
Secure each emitter with a small stake to prevent movement. Position emitters to deliver water directly to the root zone, about 2-3 inches from plant stems. You’ll see water pooling slightly at the soil surface when the system is working correctly.
Turn on the water and let it run for 15-20 minutes while you check each emitter. Look for consistent drips from all emitters—variations indicate clogs or pressure issues. I always keep a small wire on hand to clear any debris from emitter openings.
Adjust emitter flow rates as needed. Most emitters allow you to regulate flow by turning a small dial. Aim for ½-1 gallon per hour for vegetables, less for herbs. The soil should feel moist but not waterlogged 3-4 inches below the surface after a full cycle.
Connect a timer to your water source to automate watering schedules. I program mine for early morning watering to reduce evaporation, running for 30-45 minutes every other day in moderate climates. Adjust based on rainfall and plant growth stages.
Check the system weekly for clogs or leaks. Flush the main line monthly by removing end caps and letting water run through for 2-3 minutes. This prevents mineral buildup that can reduce flow. Your plants will show their appreciation with vigorous growth and deep green color.
These practical insights will help you maximize efficiency and avoid common pitfalls in your setup.
Layout Planning: In Step 1, take extra time to map your garden zones carefully. I’ve found that marking full sun areas separately from partial shade helps prevent overwatering shade-loving plants. This initial planning saves countless adjustments later when you notice some plants getting too much or too little water.
Pressure Regulation: For Step 2, don’t skip the pressure regulator installation. I learned the hard way that without it, pressure spikes can burst your tubing. The 25-30 PSI range mentioned is ideal—any higher and you risk blowing connections, any lower and your emitters won’t function properly.
Emitter Placement: When executing Step 3, position your emitters precisely 2-3 inches from plant stems as specified. I initially placed some too close and caused stem rot. Also, for tomato plants, consider the closer 12-inch spacing rather than 18 inches—they need more consistent moisture.
System Maintenance: The monthly flushing mentioned in Step 5 is non-negotiable. I set a calendar reminder for this 2-3 minute task. Skipping it even once can lead to mineral buildup that reduces your system’s efficiency by up to 30%.
Most gardens thrive with 2-3 short sessions per week, but adjust based on soil type and weather. Sandy soil needs more frequent, shorter runs, while clay holds moisture longer. Always check soil moisture 2-3 inches deep before watering.
Absolutely! Drip irrigation works great for containers. Use emitters with lower flow rates (0.5-1 GPH) and place them near the root zone. Ensure pots have drainage to prevent waterlogging.
Early morning is ideal—it reduces evaporation and gives plants time to absorb water before the heat of the day. Avoid evening watering to prevent fungal growth from prolonged moisture.
Clogs often happen due to sediment or algae buildup. Install a filter (150-200 mesh) and flush the system regularly. Consider using anti-siphon valves and periodic vinegar flushes to keep lines clear.