
Beautiful Plants For Your Interior
Beautiful Plants For Your Interior
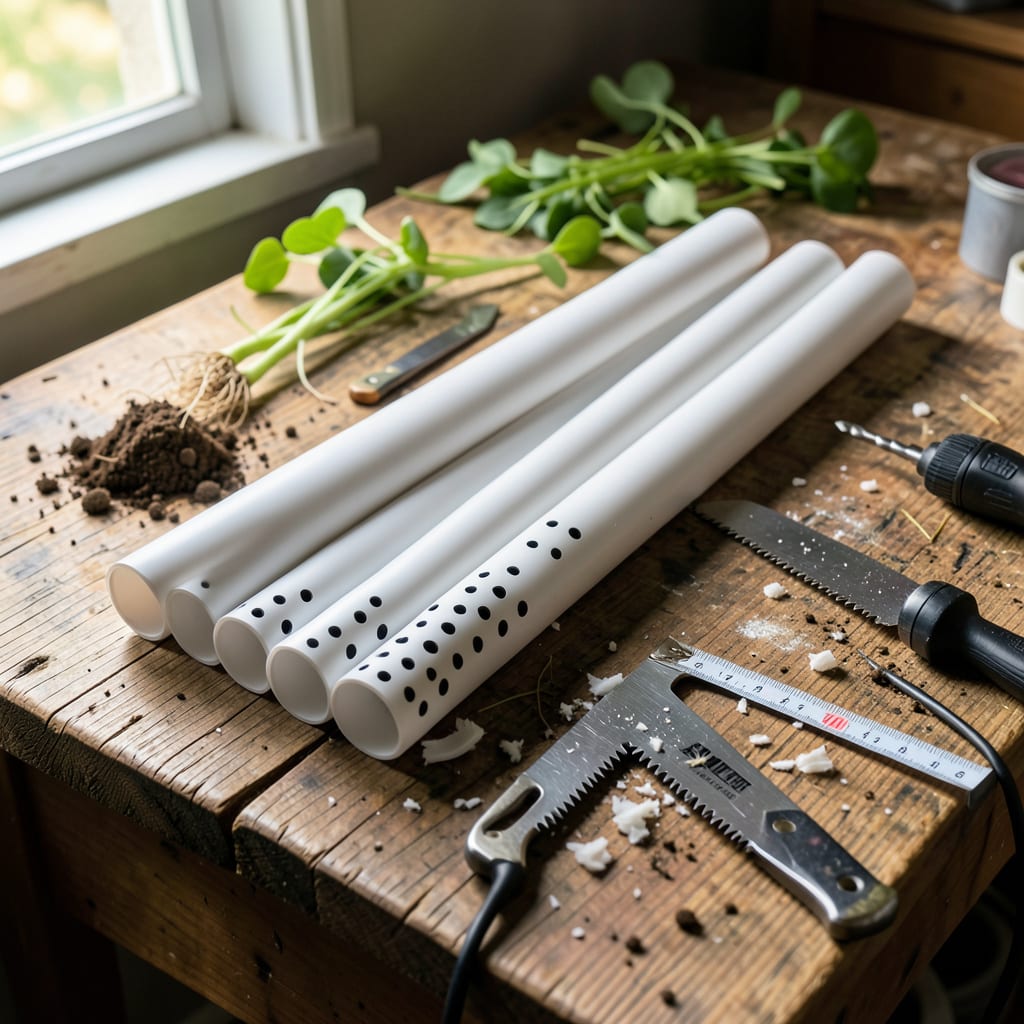
I wasted hours dragging hoses to thirsty plants until I built this system. Deep root watering delivers moisture exactly where plants need it, cutting water waste and encouraging stronger root growth.
PVC pipes, a few basic tools, and 30 minutes of work create a setup that waters your garden efficiently for years. No more surface runoff or shallow roots—just consistent hydration that keeps plants thriving even in dry spells.
📚 In This Guide
This method delivers water directly to plant roots, saving time and reducing waste.
Determine the depth your plants’ roots typically reach—most vegetables and shrubs need 12-18 inches of watering depth. I cut 4-foot sections of ½-inch PVC pipe into 2-foot lengths using a hacksaw. This gives me two pipes per section, perfect for a small garden bed.
Smooth the cut edges with sandpaper to prevent snagging roots or puncturing irrigation tubing later. A quick rub with 120-grit sandpaper removes burrs while keeping the pipe diameter consistent. Wear safety glasses—PVC shards are sharp.
Using a ⅛-inch drill bit, create small holes along the lower 6-8 inches of each pipe. Space them 2-3 inches apart in a staggered pattern. This ensures even water distribution without creating weak spots in the pipe.
I mark hole locations with a pencil first to keep them uniform. Drill at a slight downward angle so water flows outward rather than straight down. Test fit by blowing through the pipe—you should feel equal airflow from each hole.
Attach a ½-inch PVC end cap to the bottom of each pipe to seal it. At the top, connect a ½-inch PVC female adapter to accept your water source. I use ¼-inch micro tubing from my drip irrigation system connected via a barb fitting.
For multiple pipes, connect them to a ½-inch PVC manifold using tee fittings. This lets you water several plants from a single water source. Secure all connections with PVC primer and cement for a watertight seal that lasts seasons.
Dig 2-inch wide holes near the base of each plant, angling the pipe so the perforated section sits beside the root zone. For established plants, I insert pipes 6-12 inches from the stem to avoid damaging roots.
Backfill with soil, leaving the top 2-3 inches of pipe exposed. This prevents dirt from clogging the openings while keeping the system hidden. Water immediately to settle soil around the pipe and check for proper flow.
Attach your water source to the manifold or individual pipes. I use a low-pressure drip system set to 10-15 PSI to prevent blowing out connections. Slow watering for 20-30 minutes allows deep penetration without runoff.
Check that water emerges evenly from all holes. Adjust the angle of any pipes where water pools on the surface. Mark pipe locations with small stakes so you don’t accidentally dig into them later.
Small details make the difference between a system that lasts and one that frustrates you.
Precision Matters: In Step 1, those 2-foot lengths of ½-inch PVC pipe work perfectly for most garden beds. If you cut them shorter than 18 inches, you risk not reaching the root zone for deeper plants. I learned this the hard way when my tomatoes still looked thirsty.
Drilling Technique: For Step 2, that ⅛-inch drill bit creates the ideal hole size. Drill at a slight downward angle as mentioned—this prevents water from shooting straight down and pooling at the bottom. Test by blowing through the pipe to verify airflow from each hole before installation.
Water Pressure Safety: In Step 5, stick to the 10-15 PSI range for your water source. Higher pressure can blow connections apart, especially if you didn’t use primer and cement. I ruined two fittings before realizing my pressure was too high.
Installation Tip: When inserting pipes in Step 4, keep that 6-12 inches from the stem rule in mind. Too close and you’ll damage roots; too far and the water won’t reach where it’s needed. The 2-3 inches of exposed pipe at the top prevents clogging while keeping the system discreet.
Aim for 12-18 inches deep to reach the root zone of most plants. For trees or shrubs, go deeper (24-36 inches). Drill small holes along the buried section to ensure even water distribution.
Water 1-2 times per week, depending on soil type and weather. Sandy soil may need more frequent watering, while clay retains moisture longer. Always check soil moisture before watering.
Yes! Alternatives include perforated soaker hoses, clay pots, or even repurposed plastic bottles. However, PVC is durable, cost-effective, and easy to customize for depth and flow.
This usually means the soil is compacted or the water flow is too fast. Try slowing the water input or aerating the soil. Ensure the PVC holes are small enough to prevent runoff.
