
Beautiful Plants For Your Interior
Beautiful Plants For Your Interior
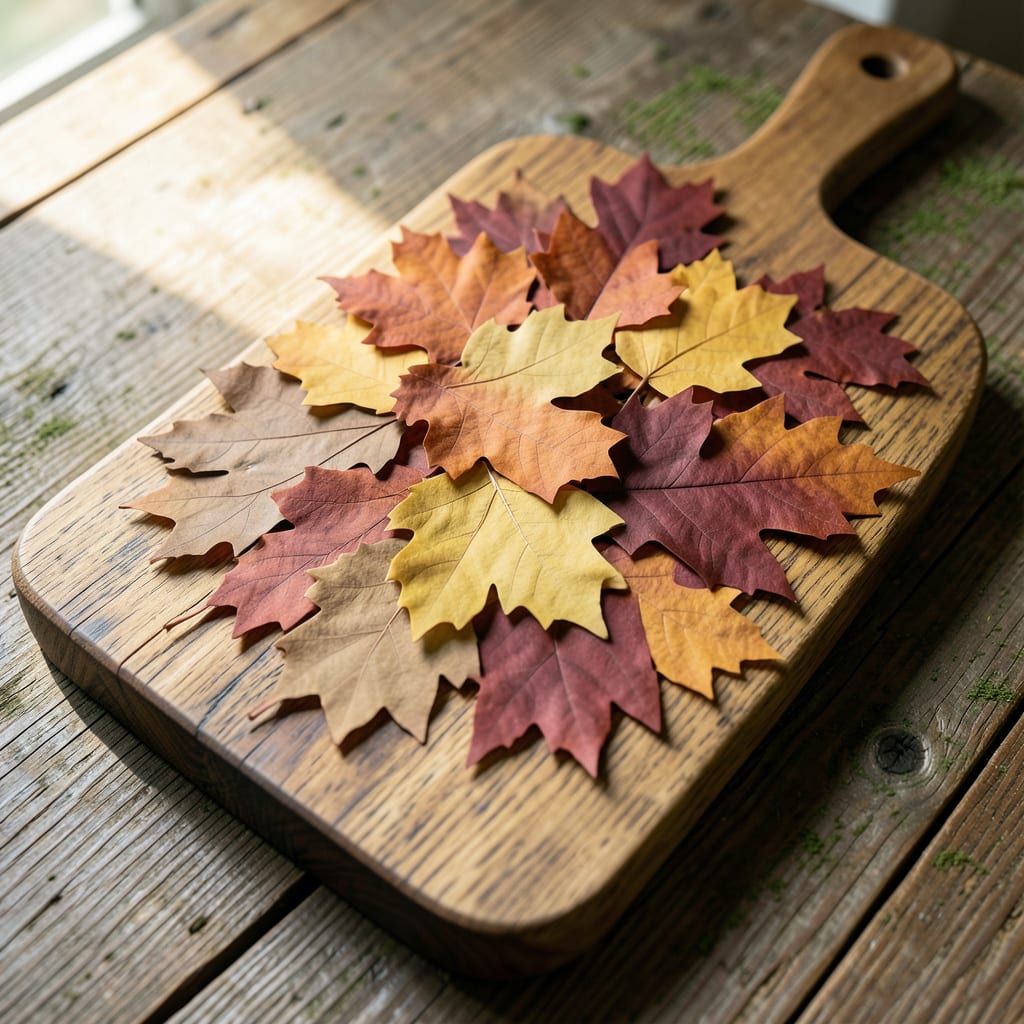
Autumn leaves aren’t just yard waste—they’re a gardener’s goldmine. I used to curse the annual leaf drop until I realized these crisp, colorful layers could transform my soil and protect my plants through winter.
Shred them for mulch, pile them for compost, or let them decompose right in your beds. Within 6 months, you’ll have rich, crumbly humus that beats any store-bought amendment. Works in any yard, no fancy tools required.
📚 In This Guide
Here’s how I create perfectly detailed autumn leaves for crafts—every single time.
Choose leaf shapes with distinct veins and edges for the most realistic results. I prefer oak, maple, and birch templates because their intricate patterns translate beautifully to cut paper. Trace your selected leaves onto cardstock first to create reusable stencils.
Ensure your templates are symmetrical if you want matching pairs for garlands or wreaths. Asymmetrical leaves work well for scattered arrangements. The complexity of the template directly affects the final detail level, so start with simpler shapes if you’re new to precision cutting.
Use 65-80 lb cardstock for durability, especially for larger leaves or hanging decorations. Lighter paper works for delicate appliqués but may tear during intricate cuts. I’ve found that metallic or textured papers add stunning visual interest but require sharper blades.
Stack two sheets together when cutting identical leaves to save time, but don’t exceed this—thicker stacks cause blade drag and imprecise edges. Secure your paper to the cutting surface with low-tack tape to prevent shifting during detailed work.
Begin with the leaf’s outline using a fresh craft knife blade. I change blades after every 3-4 leaves to maintain crisp edges. Cut just outside your pencil lines to preserve the full shape, then refine inward if needed.
For compound leaves like ferns, cut the entire silhouette first before tackling individual leaflets. This prevents the paper from shifting and keeps all elements aligned. Work from the outer edges toward the center to avoid accidentally cutting through connecting stems.
Switch to a finer-tip blade for the internal vein work. I use a #11 X-Acto blade for most details, but a #10 works better for wider veins. Cut veins as thin channels rather than full perforations to maintain structural integrity.
Create texture by making tiny perpendicular cuts along the edges for a serrated look, common in oak leaves. For maple leaves, focus on the characteristic pointed lobes. Always cut away from your body, and rotate the paper—not your hand—to maintain control during intricate work.
Gently sand the edges with fine-grit sandpaper to smooth any roughness from cutting. This step makes a surprising difference in the professional appearance of your leaves. I use a light touch—just enough to remove paper burrs without altering the shape.
For long-lasting decorations, spray both sides with clear acrylic sealer. This protects against moisture and handling, especially important for outdoor displays. Allow leaves to dry completely on a flat surface to prevent warping before using in your final craft project.
Small details make the difference between amateur and professional-looking paper leaves.
Template Selection: In Step 1, choose templates with clearly defined veins and edges—oak, maple, and birch work beautifully because their natural patterns translate well to paper. Trace these onto cardstock first to create reusable stencils that maintain precision across multiple projects. The complexity of your template directly impacts the final detail level, so beginners should start with simpler shapes.
Paper Preparation: For Step 2, stick with 65-80 lb cardstock as specified—it provides the durability needed for intricate cuts without tearing. Metallic or textured papers add visual interest but demand sharper blades and a steady hand. Never stack more than two sheets at a time, as thicker stacks cause blade drag and compromise edge crispness.
Blade Maintenance: As mentioned in Step 3, change your craft knife blade after every 3-4 leaves to maintain those clean, sharp edges. A dull blade creates fuzzy cuts and requires more pressure, which increases the risk of mistakes. For the vein work in Step 4, switch to a #11 X-Acto blade—its finer tip handles delicate details better than broader blades.
Finishing Touches: Don’t skip the sanding step in Step 5. A light pass with fine-grit sandpaper removes paper burrs and elevates the professional appearance. When applying clear acrylic sealer, spray both sides and allow leaves to dry completely flat to prevent warping. This preservation step is especially critical for outdoor displays or pieces that will be handled frequently.
The ideal time is late September to early November, when leaves are at peak color and dry enough to handle. Avoid wet or freshly fallen leaves, as they may tear or mold.
Use sharp scissors or a craft knife for precision. For intricate designs, a cutting mat and fine-tip blades help. Always sanitize tools to prevent leaf browning.
Yes! Artificial leaves (paper, fabric, or plastic) are durable and reusable. They’re great for long-term decor or if real leaves aren’t available in your area.
Press leaves under heavy books for 24–48 hours to flatten them. For extra flexibility, lightly spray with hairspray or a fixative before cutting.
Try slower, controlled cuts with a fresh blade. For small tears, use clear nail polish or glue to seal edges and prevent further damage.
