
Beautiful Plants For Your Interior
Beautiful Plants For Your Interior
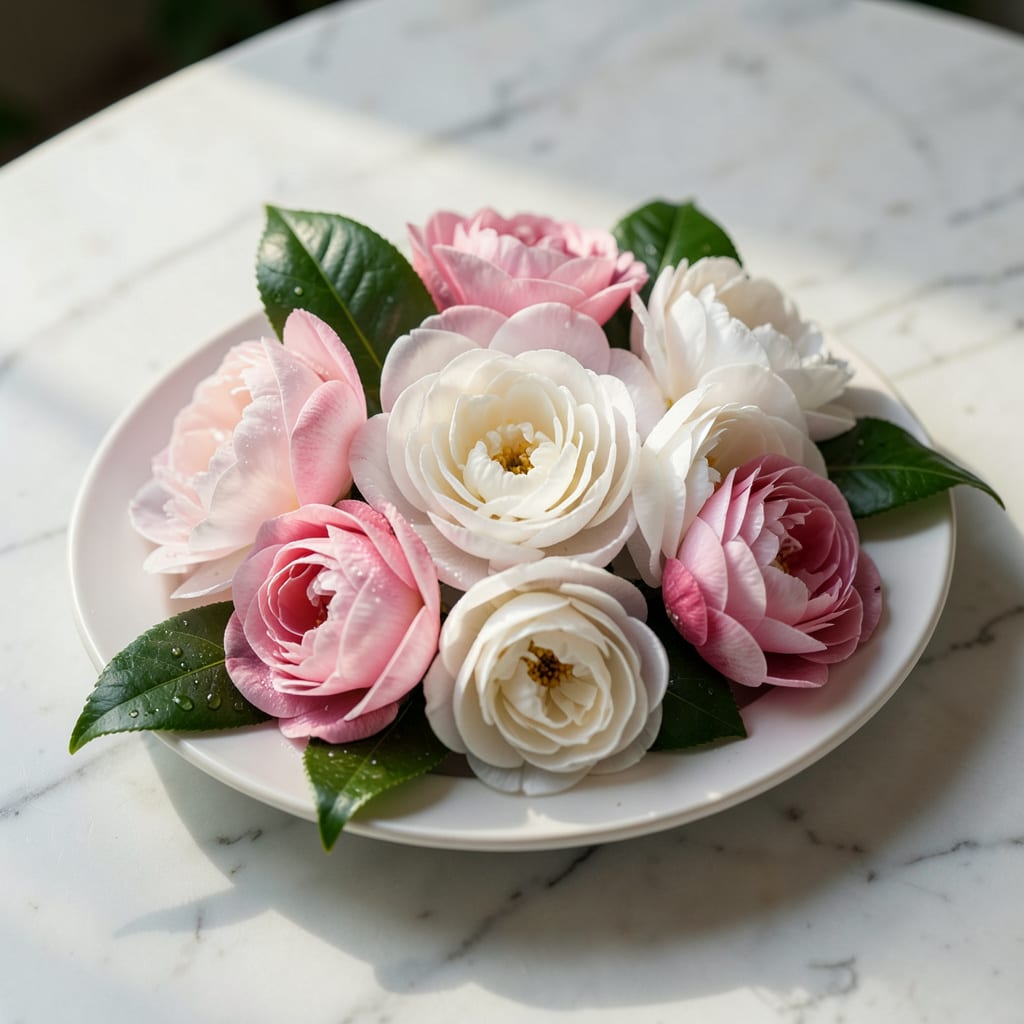
I fell for camellias the first time I saw those pink-and-white blooms glowing against winter’s gray. These evergreen shrubs bring color when everything else looks dormant, and their glossy leaves stay stunning year-round.
They’re surprisingly low-maintenance once established—just give them partial shade, well-draining soil, and protection from harsh afternoon sun. You’ll get months of flowers that look like they belong in a painting.
📚 In This Guide
These steps will help you cultivate vibrant, healthy camellias with those coveted pink and white bicolor blooms.
Camellias thrive in partial shade with protection from harsh afternoon sun, which can scorch their delicate petals. I always look for a spot with dappled light under tall trees or the east side of a building, where they get gentle morning sun and afternoon shade.
Ensure the soil is well-draining and acidic (pH 5.5–6.5). These plants despise soggy roots, so avoid low-lying areas where water pools. A slightly elevated bed or raised mound works wonders if your garden has heavy clay soil.
Test the pH with a kit—if it reads above 6.5, amend the soil with sulfur or peat moss before planting. This step is non-negotiable for vibrant blooms.
Dig a hole twice as wide as the root ball but no deeper. Camellias are shallow-rooted, so planting too deep suffocates the roots. Loosen the soil at the sides of the hole to encourage outward root growth.
Mix the excavated soil with 50% organic matter like compost or aged bark fines. This improves drainage while retaining moisture. I also add a handful of cottonseed meal or a slow-release acidic fertilizer to provide nutrients tailored for camellias.
If your soil is naturally alkaline, incorporate elemental sulfur at planting to lower the pH gradually. This prevents nutrient lockout, which stunts growth and dulls flower color.
Remove the camellia from its container and gently tease apart any circling roots. Place it in the hole so the top of the root ball sits 1–2 inches above the surrounding soil level—this accounts for settling. Backfill with the amended soil, pressing lightly to eliminate air pockets.
Water thoroughly after planting to settle the soil. I always create a 3–4 inch high watering ring around the plant to direct moisture to the roots. Mulch with 2–3 inches of pine bark or straw, keeping it 2 inches away from the trunk to prevent rot.
Stake only if necessary, as camellias establish best when allowed to sway slightly in the breeze. This strengthens the trunk naturally.
Keep the soil consistently moist but never waterlogged during the first year. I check the soil weekly by digging 2–3 inches deep—if it feels dry, it’s time to water. Established plants are more drought-tolerant but still benefit from deep watering during dry spells.
Fertilize in early spring with an acid-forming, slow-release product designed for camellias or azaleas. Avoid high-nitrogen fertilizers late in the season, as they promote leafy growth at the expense of blooms.
Prune after flowering to shape the plant or remove dead wood. This timing ensures you don’t cut off next year’s buds, which form in late summer.
Mastering these nuances will help you grow camellias with those stunning bicolor blooms you’re after.
Light Exposure: In Step 1, don’t underestimate the importance of partial shade. Harsh afternoon sun can bleach the delicate pink and white petals, robbing them of their vibrancy. A spot with morning sun and afternoon shade is ideal for preserving those bicolor patterns.
Soil pH Precision: The pH range of 5.5–6.5 mentioned in Step 1 isn’t just a suggestion—it’s critical. If your soil test reads even slightly above 6.5, amend it with sulfur or peat moss before planting. Camellias in alkaline soil often produce dull, lackluster blooms.
Planting Depth: Step 3 specifies placing the root ball 1–2 inches above the soil level, and there’s a reason for this. Camellias are prone to root rot if planted too deep, and that slight elevation accounts for natural settling. Press the soil gently to remove air pockets, but avoid compacting it too firmly.
Watering Ring Technique: The 3–4 inch high watering ring I create in Step 3 isn’t just for aesthetics. It ensures water penetrates deeply to the roots rather than running off. Without it, shallow watering can lead to weak root systems, especially in the first year.
Keep soil moist but well-drained, and provide partial shade. Mulch to retain moisture and protect roots. Prune after blooming to shape the plant and encourage next season’s flowers.
Most varieties bloom in late winter to early spring, typically between January and March. Some may produce a second, lighter flush in fall, depending on the climate and cultivar.
Yes! Choose a large, well-draining pot and use acidic potting mix. Ensure the container gets partial sunlight and consistent watering. Dwarf varieties are ideal for pots.
Yellow leaves often indicate overwatering, poor drainage, or nutrient deficiencies (like iron). Test soil pH—camellias prefer acidic (5.5-6.5). Adjust watering or add fertilizer if needed.
Consider azaleas, rhododendrons, or gardenias for similar bicolor blooms and acidic soil needs. Hydrangeas also offer varied colors but require different care.
