
Beautiful Plants For Your Interior
Beautiful Plants For Your Interior
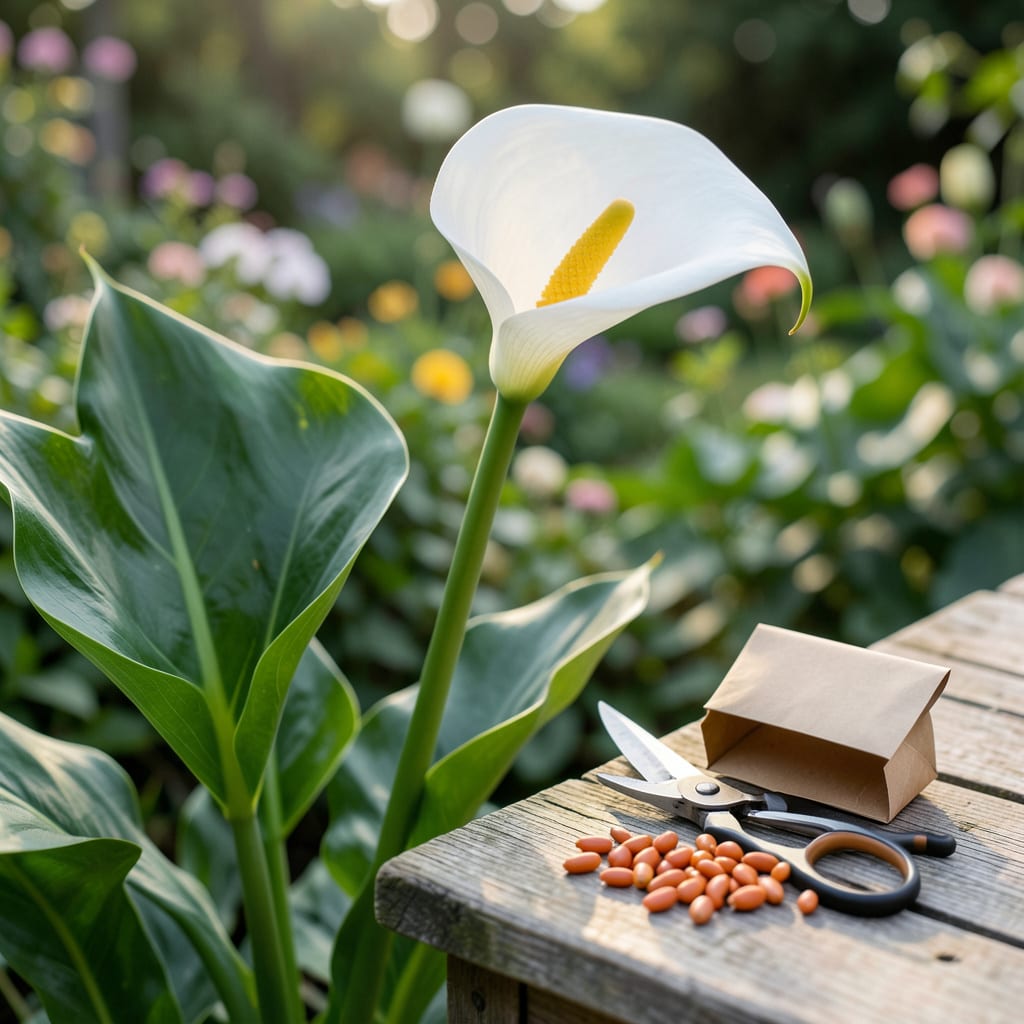
I remember my first attempt at collecting calla lily seeds—total failure. Timing is everything when it comes to harvesting these delicate beauties.
Let me show you how to spot the perfect moment when your 🌸 Calla Lily seed pods are ready, and the best methods to collect them for maximum germination success.


Timing your calla lily seed harvest perfectly means watching for visual cues from the plant. I’ve learned that late summer to early fall is the sweet spot for most climates.
The seed pods will tell you everything. When they shift from green to yellow and start to dry, that’s your first sign they’re nearing readiness.
| Stage | Sign |
|---|---|
| Not Ready | Green, soft pods |
| Almost Ready | Yellowing, firm pods |
| Perfect Time | Brown, splitting husks |
| Overripe | Fully open, seeds falling |
In USDA zones 8-10, you’ll typically see this transition happen 90-120 days after the initial bloom. The pods will feel dry and papery when they’re ready.
I always check my plants in the early morning when the dew has dried. This is when the pods are easiest to examine without damaging them.
Another key indicator is the seeds inside. When you gently press on a mature pod, you should feel hard, dark seeds rather than soft, light-colored ones.
If you’re in a cooler climate, your harvesting window might shift earlier. Watch for the first frost date and aim to collect seeds 2-3 weeks before that.
The splitting husk is nature’s way of telling you it’s time. Don’t wait too long after this happens, or you risk losing seeds to wind or birds.
I’ve found that consistent monitoring is key. Check your plants every 2-3 days once the pods start changing color to catch the perfect moment.
Remember, patience pays off. Rushing the harvest can result in non-viable seeds that won’t germinate properly.
With these signs in mind, you’ll know exactly when to harvest for the best germination rates come spring planting season. 🌱
I’ve refined my calla lily seed harvesting process over years of trial and error. The key is gentle handling to avoid damaging the delicate seeds inside those papery pods.
Begin by wearing gloves to protect your hands from the plant’s natural irritants. Then, carefully snip off the pods with clean pruners when they’re fully mature.
After removing the seed pods, I place them in a paper bag to complete the drying process. This prevents mold while allowing air circulation. Leave them for 1-2 weeks in a warm, dry location.
Once completely dry, the pods will split open easily. I gently crush them between my fingers to release the dark, hard seeds inside. Be careful not to damage the seeds during this process.
For long-term storage, I use airtight containers and keep them in a cool, dark place. This maintains seed viability for up to 2-3 years if stored properly.
A common mistake I see is harvesting too early. If the seeds are still light-colored or soft, they won’t germinate well. Always wait for that deep brown color and firm texture.
With these methods, you’ll have healthy, viable seeds ready for your next planting season. 🌱
Testing your calla lily seeds before planting saves time and disappointment. I always check viability to ensure strong germination rates and healthy plants.
Two simple methods I swear by: the float test and the paper towel method. Both are quick and require no special tools.
🌱 Pro Tip: Always test seeds from different pods. Viability can vary even within the same plant. This ensures you’re not relying on a single batch that might have issues.
The float test is my go-to. Fill a bowl with room temperature water and drop in your seeds. Viable seeds will sink to the bottom within minutes.
For the paper towel method, moisten a paper towel, place 5-10 seeds on it, and fold it gently. Keep it in a warm, dark place and check for sprouting after 7-10 days.
A 70% germination rate or higher means your seeds are good to go. If less than 50% sprout, it’s best to source fresh seeds for reliable results.
With these tests, you’ll plant with confidence, knowing your seeds are ready to grow. 🌱
Look for pods turning yellow or brown and feeling dry to the touch. They’ll often begin splitting open naturally. Seeds inside should be dark and hard, not light or soft.
Place fully dried seeds in an airtight container and store in a cool, dark place. Properly stored seeds can remain viable for 2-3 years.
No, green pods contain immature seeds that won’t germinate. Always wait until pods are dry and splitting for the best results.
After removal, place pods in a paper bag for 1-2 weeks in a warm, dry location. This ensures seeds are fully mature and ready for storage.
