
Beautiful Plants For Your Interior
Beautiful Plants For Your Interior
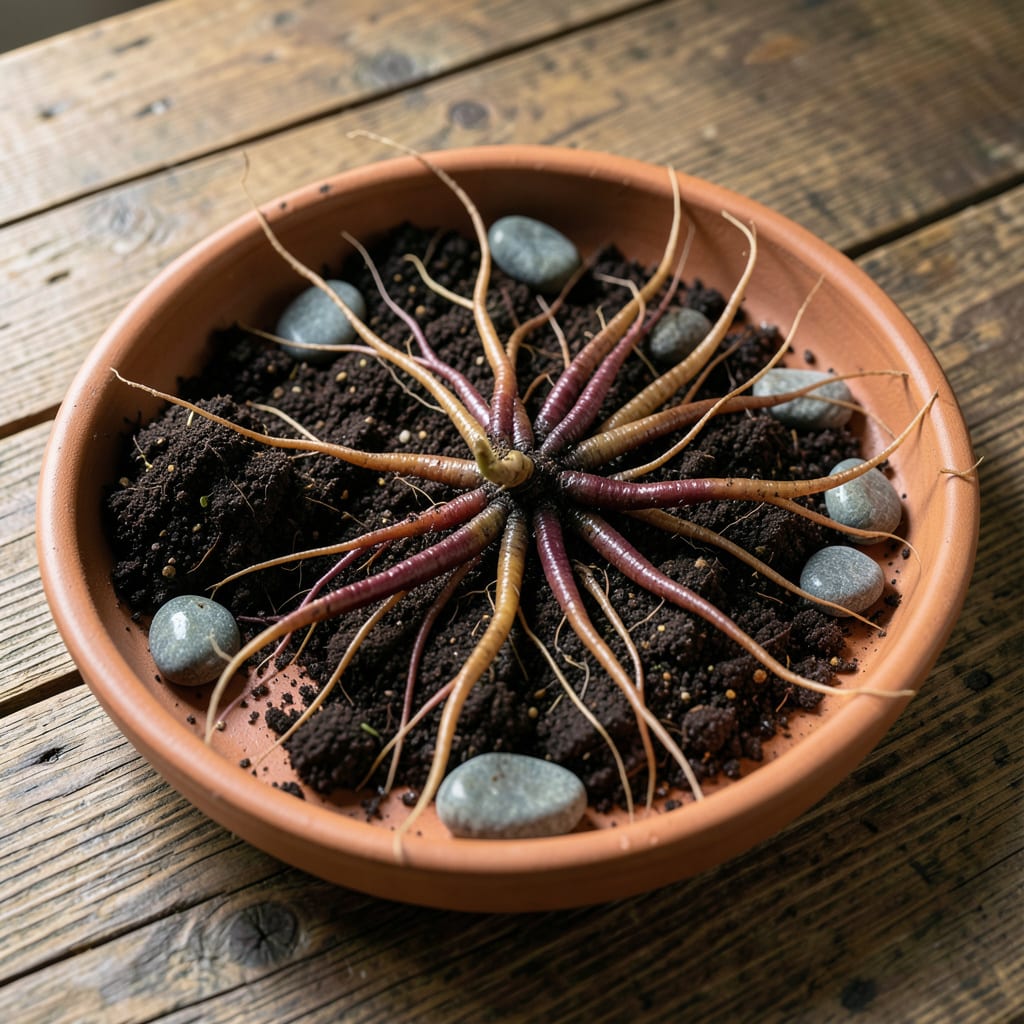
I planted my first bleeding heart bare root on a chilly March morning, and by May it was the star of my shade garden. The heart-shaped flowers dangling from arching stems stop every visitor in their tracks.
The secret is timing—plant these early spring before growth starts. Soak the roots for 2-3 hours first, then nestle them 2 inches deep in rich, well-draining soil. You’ll see those iconic blooms within 6-8 weeks.
📚 In This Guide
Here’s the method I use every spring to get bleeding hearts established quickly and blooming beautifully.
Begin by soaking the bare roots in a bucket of lukewarm water for 2-3 hours. This rehydrates the dormant roots and jumpstarts growth before planting. I’ve found this step dramatically reduces transplant shock and gets plants off to a stronger start.
You’ll notice the roots plump up visibly during soaking. Don’t rush this process—wait until the roots appear flexible rather than brittle. If you’re planting multiple roots, give each one its own space in the water to prevent tangling.
Choose a location with partial to full shade and rich, well-draining soil. Bleeding hearts thrive in areas protected from harsh afternoon sun. I always work in 2-3 inches of compost into the top 6-8 inches of soil before planting to provide nutrients.
Dig a hole that’s 12-15 inches wide and 6-8 inches deep—wide enough to accommodate the spread roots comfortably. The hole should be deep enough that the crown (where roots meet stems) will sit 1-2 inches below soil level. This depth protects the crown from freeze-thaw cycles in colder climates.
Create a small mound of soil in the center of the hole and spread the soaked roots evenly over it. The crown should sit slightly above the mound. This positioning helps prevent rot while ensuring good soil contact for all roots.
Backfill with your amended soil, gently pressing down to eliminate air pockets. Water thoroughly with 1-2 gallons per plant to settle the soil. You’ll see the soil level drop slightly after watering—this is normal and helps ensure good root-to-soil contact.
Mark the spot with a small stake if needed, as it may take 3-4 weeks for shoots to appear above ground.
Maintain consistently moist (but not soggy) soil for the first 6-8 weeks after planting. I check soil moisture daily by inserting my finger 1 inch deep—if it feels dry, it’s time to water. A 2-3 inch layer of mulch helps retain moisture and keep roots cool.
Avoid fertilizing at planting time, as this can burn tender new roots. Instead, wait until you see 3-4 inches of new growth, then apply a balanced 10-10-10 fertilizer at half strength. The plant will focus on root establishment first, then foliage and flowers.
Here are the key details that ensure your plants thrive from the very beginning.
The Soaking Advantage: Don’t skip the 2-3 hour soak in lukewarm water for your bare roots. This step rehydrates dormant roots and kickstarts growth before planting. I learned the hard way that rushing this process leads to brittle roots that struggle to establish. Give each root its own space in the water to prevent tangling.
Depth and Positioning: When planting, ensure the crown sits 1-2 inches below soil level as specified in Step 2. This depth protects against freeze-thaw damage. The small mound in Step 3 keeps the crown slightly elevated to prevent rot while maintaining good soil contact for all roots.
Watering Wisdom: The 1-2 gallons per plant after planting isn’t excessive—it settles the soil and eliminates air pockets. For the first 6-8 weeks, maintain consistent moisture without waterlogging. Use the finger test: if the top inch feels dry, it’s time to water. That 2-3 inch mulch layer makes all the difference in retaining moisture.
Patience Pays Off: Those 3-4 weeks waiting for shoots to appear can feel long, but resist the urge to dig up the roots. Bleeding hearts establish slowly at first, then reward you with vigorous growth. Marking the spot helps you remember where to watch for that first sign of life.
Early spring or late fall is ideal, when the soil is workable and temperatures are cool. This gives roots time to establish before extreme heat or cold.
Plant the crown (where roots meet stems) about 1-2 inches below the soil surface. Ensure roots are spread out and covered, but avoid burying the crown too deeply.
Yes! Choose a large pot with drainage holes and well-draining soil. Keep the container in partial shade and water consistently, as potted plants dry out faster.
It may need a season to establish. Ensure it gets partial shade, consistent moisture, and rich soil. Over-fertilizing or too much sun can also delay blooms.
Bare root plants are dormant and more affordable, while potted ones are actively growing and easier to establish. Bare roots require soaking before planting but often catch up quickly!
