
Beautiful Plants For Your Interior
Beautiful Plants For Your Interior
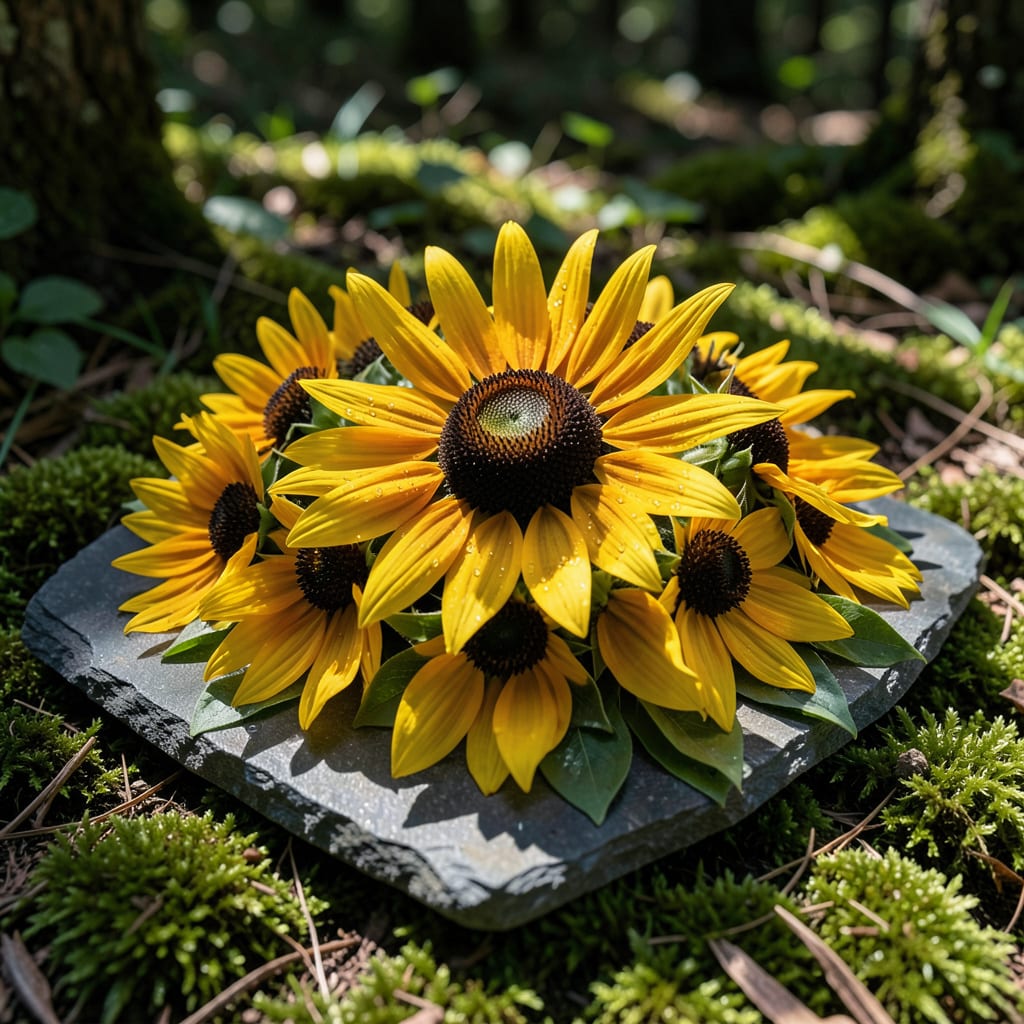
That golden-yellow bloom lighting up roadsides? It’s not just a pretty face. Black-Eyed Susan thrives where other plants won’t, turning tough spots into pollinator hotspots with almost zero effort from you.
I let it spread in my dry corner and now bees and butterflies outnumber the dandelions. The secret is giving it full sun and ignoring it—this plant rewards neglect with months of cheerful color.
📚 In This Guide
This foolproof method delivers vibrant blooms that pollinators adore in your garden.
Choose a location with full sun (at least 6-8 hours of direct sunlight daily) and well-draining soil. Black Eyed Susans thrive in average to poor soil, but they won’t tolerate soggy roots. I like to test drainage by digging a 1-foot deep hole and filling it with water—if it drains within 2-3 hours, you’re good to go.
If your soil is heavy clay, amend it with compost or sand to improve drainage. Avoid overly rich soil, as it can lead to excessive foliage and fewer blooms. The ideal pH ranges from 6.0 to 7.0, but these hardy plants adapt well to most conditions.
For direct sowing, scatter seeds over the prepared soil in early spring or fall, lightly pressing them into the surface—they need light to germinate. Keep the soil consistently moist until seedlings emerge in 10-20 days. Thin to 12-18 inches apart once they develop 2-3 true leaves.
If using transplants, dig a hole twice as wide as the root ball and place the plant so the crown sits at soil level. Space them 12-18 inches apart to allow for air circulation. Water deeply after planting to settle the soil and eliminate air pockets around the roots.
Water newly planted Black Eyed Susans deeply 1-2 times per week for the first 4-6 weeks to encourage deep root growth. Once established, they’re drought-tolerant and only need supplemental watering during prolonged dry spells. I reduce frequency once I see new growth—it’s a sign the roots have taken hold.
Apply a 2-3 inch layer of organic mulch around the base to retain moisture and suppress weeds. Keep mulch a few inches away from the stems to prevent rot. You’ll notice fewer weeds and more consistent soil moisture with this simple step.
Deadhead spent blooms regularly to encourage continuous flowering throughout the growing season. I use sharp bypass pruners to cut the stem just above a set of leaves or lateral bud. This prevents self-seeding (if that’s not desired) and redirects the plant’s energy into producing more flowers.
Fertilizing isn’t typically necessary, but if your plants look lackluster, a light application of balanced fertilizer in early summer can help. Avoid high-nitrogen fertilizers, as they promote leafy growth at the expense of blooms. Watch for the first signs of yellowing leaves—a clue the plant may need a nutrient boost.
Every 3-4 years, divide clumps in early spring or fall to maintain vigor and prevent overcrowding. Dig up the entire plant, separate the root ball into sections with a sharp knife or spade, and replant the divisions 12-18 inches apart. This rejuvenates the plants and gives you free starts for other areas of the garden.
Cut back the entire plant to 6 inches above ground level in late fall or early spring to promote bushier growth. This also helps prevent disease by improving air circulation. Real talk: I’ve skipped this step before and paid for it with floppy, weak-stemmed plants the next season.
These proven strategies will help you grow thriving Black Eyed Susans with minimal effort.
Sunlight Essentials: The 6-8 hours of direct sunlight isn’t just a suggestion—it’s critical for vibrant blooms. I’ve seen plants in partial shade produce far fewer flowers and weaker stems. If your garden has limited sun, prioritize the sunniest spot you have for these beauties.
Drainage Test: That 2-3 hours drainage test in Step 1 is your best insurance against root rot. I learned this the hard way when I skipped it and lost an entire bed to soggy soil. Dig that 1-foot deep hole—it’s worth the effort to confirm your soil drains properly before planting.
Spacing Matters: The 12-18 inches apart spacing in Step 2 isn’t arbitrary. Crowded plants compete for resources, leading to weaker stems and fewer blooms. Give them room to breathe, and you’ll be rewarded with healthier, more floriferous plants.
Pruning Timing: That 6 inches cutback in Step 5 might seem drastic, but it’s the secret to bushier growth. I’ve found that plants pruned in late fall bounce back stronger the following spring than those cut back in early spring. Don’t be afraid to wield those pruners!
Black eyed Susan (Rudbeckia hirta) is technically a wildflower, but it can behave like a weed in gardens due to its self-seeding nature. Many gardeners embrace it for its bright yellow blooms and pollinator-friendly benefits!
To prevent overgrowth, deadhead spent blooms before they set seed. You can also pull up unwanted seedlings early in the season or divide clumps every few years to manage its spread.
Plant seeds or seedlings in early spring or fall, when temperatures are mild. This gives the plants time to establish roots before extreme heat or cold sets in.
Yes! Try coneflowers, bee balm, or milkweed for similar pollinator appeal. These also offer vibrant colors and low-maintenance care for your garden.
Yellow leaves may indicate overwatering, poor drainage, or nutrient deficiencies. Check soil moisture and fertility, and ensure the plants receive full sun for optimal health.
