
Beautiful Plants For Your Interior
Beautiful Plants For Your Interior
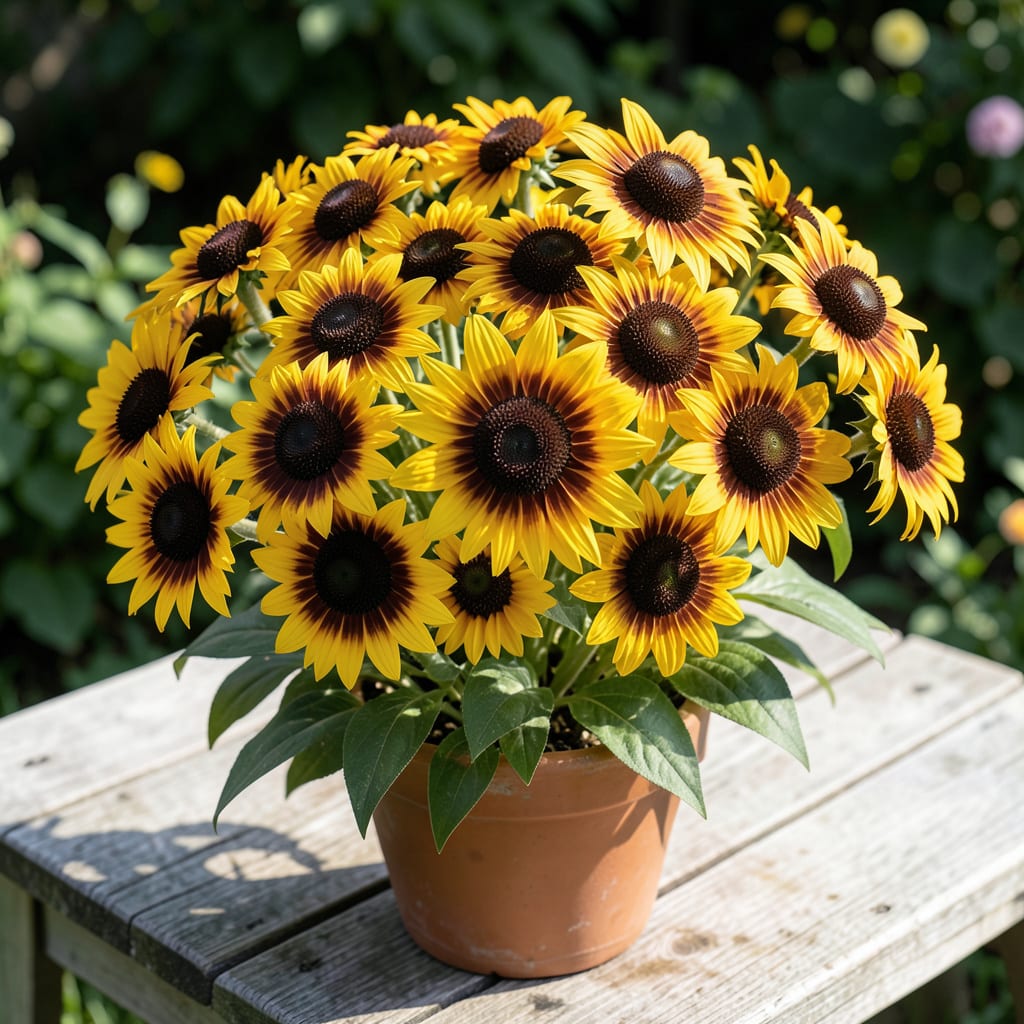
Golden blooms that stop traffic. Black Eyed Susans light up my summer garden with their cheerful yellow petals and dark centers, drawing bees and butterflies by the dozen.
They thrive in full sun with minimal fuss—just well-drained soil and occasional water. These tough perennials spread easily, filling bare spots with color from June to frost. Perfect for borders or wildflower patches.
📚 In This Guide
Here’s the method I use every year to cultivate these cheerful, pollinator-friendly perennials with minimal fuss.
Choose a location with full sun exposure (at least 6-8 hours of direct sunlight daily). Black Eyed Susans thrive in well-draining soil but tolerate a range of conditions, including clay and sandy soils. I always avoid low-lying spots where water pools after rain, as soggy roots spell trouble for these drought-tolerant plants.
Test your soil by digging a 1-foot deep hole and filling it with water. If the water drains within 2-3 hours, your drainage is adequate. If it lingers, amend the area with compost or consider raising the bed slightly to improve flow.
Loosen the soil to a depth of 12-18 inches with a garden fork or tiller, removing any weeds or debris. Mix in a 2-3 inch layer of organic compost to boost fertility. While Rudbeckia hirta isn’t picky, this step gives it a strong start and encourages vibrant blooms.
Space plants 18-24 inches apart to allow for their mature spread. Dig a hole twice as wide as the root ball but no deeper. Place the plant in the hole, ensuring the crown sits level with the surrounding soil. Backfill with native soil and press lightly to remove air pockets. Water deeply to settle the soil around the roots.
Water newly planted Rudbeckia thoroughly, providing 1-1.5 inches of water per week during the first growing season. I water at the base of the plant, keeping the foliage dry to prevent fungal issues. Once established, these plants are remarkably drought-tolerant, often surviving on rainfall alone.
Check soil moisture by inserting your finger 1 inch deep into the soil. If it feels dry, it’s time to water. Yellowing leaves or wilting in the heat of the day can signal underwatering, but don’t mistake the natural afternoon droop (a survival mechanism) for distress.
Deadhead spent flowers regularly to prolong the blooming season and encourage a second flush of golden blossoms. I use sharp pruners to snip the stem just above a set of healthy leaves or a lateral bud. This not only keeps the plant looking tidy but also redirects energy into producing more flowers.
Apply a 2-3 inch layer of organic mulch around the base of the plants in early summer to retain moisture and suppress weeds. Keep the mulch a few inches away from the stems to prevent rot. Rudbeckia hirta is generally pest-free, but watch for aphids or powdery mildew in humid conditions.
Every 3-4 years, divide clumps in early spring or fall to maintain vigor and prevent overcrowding. Dig up the entire plant and gently separate the root ball into smaller sections with a sharp knife or your hands. Replant the divisions immediately, spacing them as you would new plants.
You can also propagate from seed by collecting the dry seed heads in late summer. Store seeds in a cool, dry place over winter, then sow them directly in the garden in early spring. They germinate readily in 10-14 days when soil temperatures reach 65-70°F.
Here’s what I’ve learned from years of growing these resilient, cheerful flowers.
Sunlight Essentials: The 6-8 hours of daily full sun mentioned in Step 1 isn’t just a suggestion—it’s critical for those vibrant golden blooms. I once tried a partially shaded spot and ended up with leggy plants that barely flowered. If your garden has limited sun, prioritize morning exposure when light is most intense.
Soil Drainage Test: That 2-3 hour drainage test in Step 1 is your best insurance against root rot. I use a simple trick: fill the hole with water first thing in the morning, then check before lunch. If it’s still wet, amend with compost or consider a raised bed—soggy roots are the fastest way to lose these otherwise hardy plants.
Planting Depth Matters: In Step 2, when you’re setting the crown level with the soil, resist the urge to plant deeper. I learned this the hard way after burying stems too low on my first attempt, which led to stem rot. The crown should sit just at the soil surface where it can breathe.
Watering Wisdom: The 1-1.5 inches of water per week in Step 3 is perfect for establishing new plants, but here’s what nobody tells you—these flowers will signal when they’re thirsty. That natural afternoon droop is normal, but if they’re still wilted in the morning, it’s time to water deeply at the base.
Plant in early spring or fall for best results. This gives roots time to establish before summer heat or winter cold.
They thrive in full sun and well-drained soil. Water moderately—once established, they’re drought-tolerant. Deadhead spent blooms to encourage more flowers.
Pair with purple coneflowers, bee balm, or Russian sage for a pollinator-friendly garden. These combinations create striking color contrasts and attract bees and butterflies.
Lack of sunlight or over-fertilizing (especially with high nitrogen) can reduce blooms. Ensure they get 6+ hours of sun and avoid excessive fertilizer.
Yes! They’re generally deer-resistant, though no plant is 100% deer-proof. Planting in groups can enhance their deterrent effect.
