
Beautiful Plants For Your Interior
Beautiful Plants For Your Interior
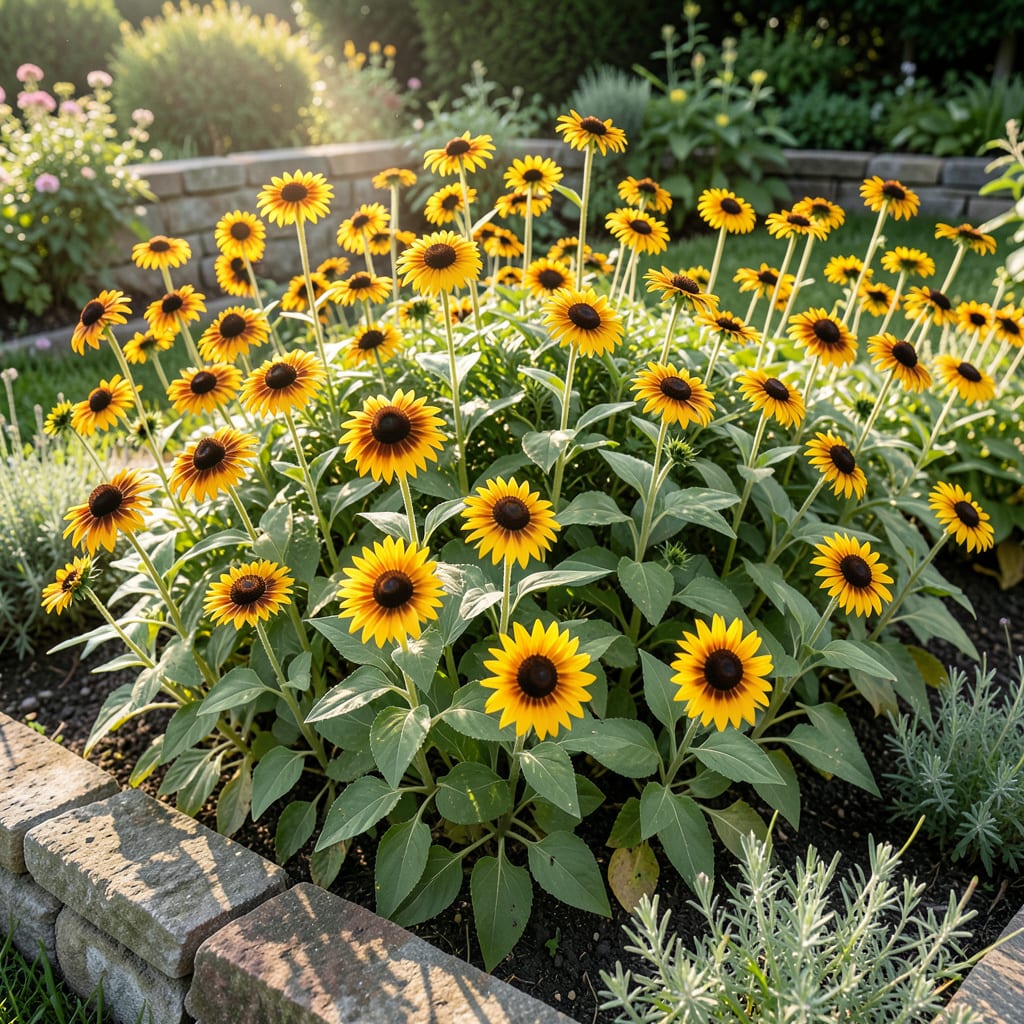
These cheerful yellow flowers transformed my summer garden overnight. Black Eyed Susans thrive in full sun and poor soil, yet they attract pollinators like nobody’s business.
Plant them once and they’ll return year after year with minimal care. I’ve seen mine spread naturally, creating a self-sustaining sea of golden blooms that butterflies can’t resist.
📚 In This Guide
Here’s the method I use to ensure vibrant, long-lasting blooms that attract pollinators all season.
Select a spot with full sun—these plants thrive in at least 6-8 hours of direct sunlight daily. They tolerate partial shade, but you’ll see fewer blooms and weaker stems. Avoid low-lying areas where water pools, as soggy soil leads to root rot.
Test your soil’s drainage by digging a 12-inch deep hole and filling it with water. If it drains within 1-2 hours, you’re good to go. If not, amend with compost or choose a raised bed. Black Eyed Susans prefer well-draining, slightly acidic to neutral soil with a pH between 6.0 and 7.0.
Loosen the soil to a depth of 12-15 inches using a garden fork or tiller. This encourages deep root growth, which helps the plants establish quickly and withstand drought. Remove any weeds, rocks, or debris that could compete with your new plants.
Mix in a 2-3 inch layer of organic matter like compost or aged manure to improve fertility and drainage. This step is crucial for poor or clay-heavy soils. I’ve found that adding a handful of slow-release fertilizer at this stage gives the plants a strong start without overfeeding them.
Dig holes that are twice as wide as the root ball but no deeper. Planting too deep can suffocate the crown and lead to rot. Place each plant so the top of the root ball sits slightly above the surrounding soil level—this allows for settling after watering.
Space plants 18-24 inches apart to give them room to spread. Black Eyed Susans form clumps that expand over time, so proper spacing prevents overcrowding and ensures good air circulation. Water each plant thoroughly after planting to settle the soil and eliminate air pockets around the roots.
Apply a 2-3 inch layer of organic mulch, such as shredded bark or straw, around the base of each plant. Mulch conserves moisture, suppresses weeds, and regulates soil temperature. Keep the mulch 1-2 inches away from the stems to prevent rot and pest issues.
Water deeply 1-2 times per week for the first 4-6 weeks to help the roots establish. After that, Black Eyed Susans are quite drought-tolerant and only need watering during prolonged dry spells. You’ll know they’re established when you see new growth and strong, upright stems.
Deadhead spent blooms regularly to encourage continuous flowering. Simply pinch or snip off the faded flowers just above a set of leaves or a side bud. This redirects the plant’s energy into producing more blooms rather than seeds.
Every 3-4 years, divide clumps in early spring or fall to rejuvenate the plants and prevent overcrowding. Dig up the clump, separate it into smaller sections with a sharp knife or spade, and replant the divisions. This keeps your Black Eyed Susans vigorous and ensures abundant blooms year after year.
A few strategic insights that will transform your planting experience and results.
Sunlight Strategy: The 6-8 hours of daily direct sunlight mentioned in Step 1 isn’t just a suggestion—it’s the difference between thriving plants and weak, sparse blooms. I learned this the hard way when my first batch in partial shade produced only a handful of sad-looking flowers. Position your plants where they’ll get that full sun exposure, especially during the peak growing season.
Drainage Test Wisdom: That 1-2 hour drainage test in Step 1 is your best insurance against root rot. Don’t skip it! If your water sits longer than 2 hours, amending with compost or choosing a raised bed isn’t just recommended—it’s essential. Black Eyed Susans hate wet feet, and soggy soil will kill them faster than drought ever could.
Planting Depth Precision: In Step 3, when you’re told to plant with the top of the root ball slightly above soil level, there’s a reason. I’ve seen too many gardeners bury their plants too deep, thinking it will help them establish. This actually suffocates the crown. Trust the method—your plants will thank you with stronger growth.
Establishment Timeline: The 4-6 week watering schedule in Step 4 is critical for root development. Don’t be tempted to cut back on water during this period, even if the plants look established. That deep watering 1-2 times per week is what builds the extensive root system that will make your Black Eyed Susans drought-tolerant for years to come.
Water newly planted Susans weekly for the first month, then reduce to every 2-3 weeks once established. Mature plants are drought-tolerant and thrive with minimal watering, but bloom best with consistent moisture during dry spells. Avoid overwatering to prevent root rot.
Plant in early spring or fall for the best results. This allows roots to establish before summer heat or winter frost. In mild climates, you can also plant in late summer, but avoid extreme temperatures.
Pair them with pollinator-friendly perennials like coneflowers, bee balm, or Russian sage for a vibrant, low-maintenance garden. These companions share similar sun and soil needs, creating a cohesive, colorful display.
Lack of sunlight is the most common issue—ensure they get 6+ hours of full sun daily. Over-fertilizing (especially with nitrogen) or cutting back too late in the season can also delay blooms. Prune lightly after the first flush to encourage more flowers.
