
Beautiful Plants For Your Interior
Beautiful Plants For Your Interior
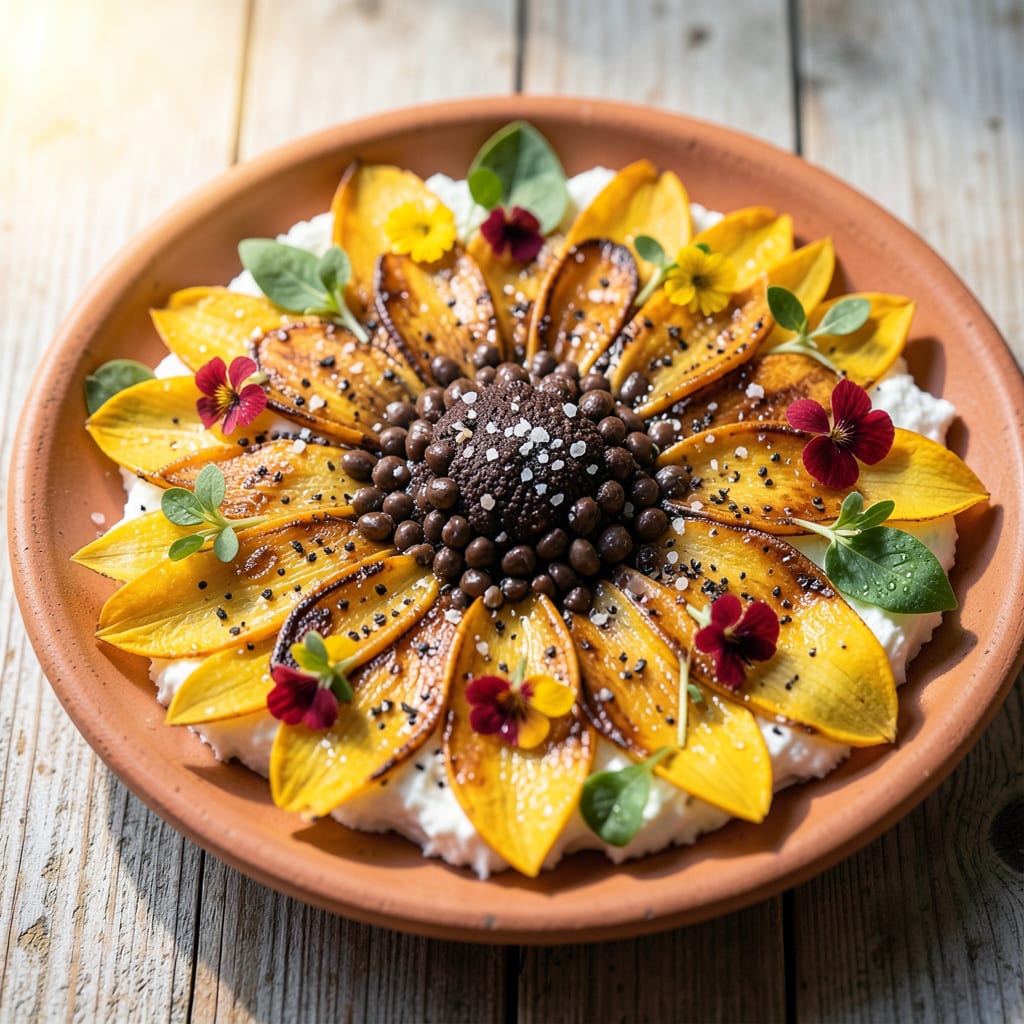
Sunny borders come alive with these cheerful yellow blooms. I’ve used Black Eyed Susans to transform dull edges into vibrant, pollinator-friendly displays that thrive in full sun with minimal fuss.
Pair them with purple coneflowers for a bold contrast, or let them naturalize for a wild, cottage-garden feel. They spread easily, so one season’s planting becomes next year’s effortless color show.
📚 In This Guide
Here’s my proven approach to creating bold, sun-loving displays with these cheerful perennials.
Choose a location with full sun exposure—at least 6-8 hours of direct sunlight daily. Black Eyed Susans thrive in well-draining soil but tolerate a range of conditions, including clay. I always test drainage first by digging a 12-inch deep hole and filling it with water—if it disappears within 4 hours, you’re good to go.
Avoid low-lying areas where water pools after rain. You’ll see wilting or yellowing leaves if roots stay soggy. South or west-facing spots work best, but east-facing can work if it gets strong morning light.
Loosen the soil to a depth of 12-15 inches and remove any weeds or debris. Mix in 2-3 inches of compost to improve fertility and drainage. While Black Eyed Susans aren’t picky, this step ensures vigorous growth and abundant blooms.
I’ve found that adding a handful of slow-release fertilizer at planting time gives them a strong start. Skip this if your soil is already rich—over-fertilizing leads to leggy growth and fewer flowers. The soil should feel crumbly, not sticky or dusty.
Space plants 18-24 inches apart to allow for their mature spread. For a natural look, I plant them in odd-numbered clusters—groups of 3, 5, or 7 create a more organic flow than straight rows. Place taller varieties toward the back of borders and shorter ones near the front.
Consider their growth habit: some varieties reach 3 feet tall, while dwarf types stay under 12 inches. Pair them with plants that have contrasting textures, like ornamental grasses or purple coneflowers, to make the yellow blooms pop even more.
Dig a hole twice as wide as the root ball but no deeper. Place the plant in the hole, ensuring the crown sits slightly above soil level to prevent rot. Backfill with soil and press gently to remove air pockets. Water deeply until the soil is saturated to the root depth.
After planting, apply a 2-inch layer of mulch to retain moisture and suppress weeds. I use shredded bark or straw, keeping it 2 inches away from the stems to avoid rot. You’ll know it’s working when the soil stays damp but not waterlogged for 2-3 days after watering.
Water new plantings 1-2 times per week for the first month, then reduce to once weekly unless rainfall is scarce. Established plants are drought-tolerant but bloom best with consistent moisture. Deadhead spent flowers to encourage continuous blooming through late summer.
Cut back stems to 4-6 inches in early spring or after the first hard frost. This rejuvenates the plant and prevents self-seeding if you prefer a tidier look. Watch for powdery mildew in humid weather—space plants properly and water at the base to avoid this issue.
These proven strategies will help you create stunning, thriving displays with minimal effort.
Sunlight Strategy: The 6-8 hours of direct sunlight specified in Step 1 is non-negotiable for vibrant blooms. If your space only gets morning sun, position plants on the east side where they’ll catch those early rays. I learned the hard way that even partial shade results in sparse, leggy growth.
Drainage Test: That 12-inch deep hole test in Step 1 works because it mimics root depth. If water lingers beyond 4 hours, consider raising the bed or amending with coarse sand. Soggy roots are the #1 killer of these otherwise hardy plants.
Spacing Secret: The 18-24 inch spacing in Step 3 accounts for mature spread. Planting too close creates competition for nutrients, while too far apart looks sparse. For a lush look faster, use the closer spacing—you’ll just need to thin every few years.
Mulching Method: That 2-inch layer of mulch in Step 4 should never touch the stems. I’ve seen whole plantings rot from this simple mistake. Keep that 2-inch gap religiously, and you’ll prevent both rot and pest issues.
Plant in early spring or fall for strong root growth. This timing ensures bright blooms by summer and a stunning garden design. Avoid extreme heat or frost for best results.
While they thrive in full sun (6+ hours), they tolerate partial shade. However, fewer blooms may appear, affecting your design’s vibrancy. Prioritize sunny spots for the best display.
Try coneflowers, daylilies, or coreopsis for similar sunny, low-maintenance appeal. These perennials pair well with Black Eyed Susan for layered, colorful borders.
Prune back stems by one-third in late spring to encourage bushier growth. Staking or planting in groups can also provide support and maintain your design’s structure.
