
Beautiful Plants For Your Interior
Beautiful Plants For Your Interior
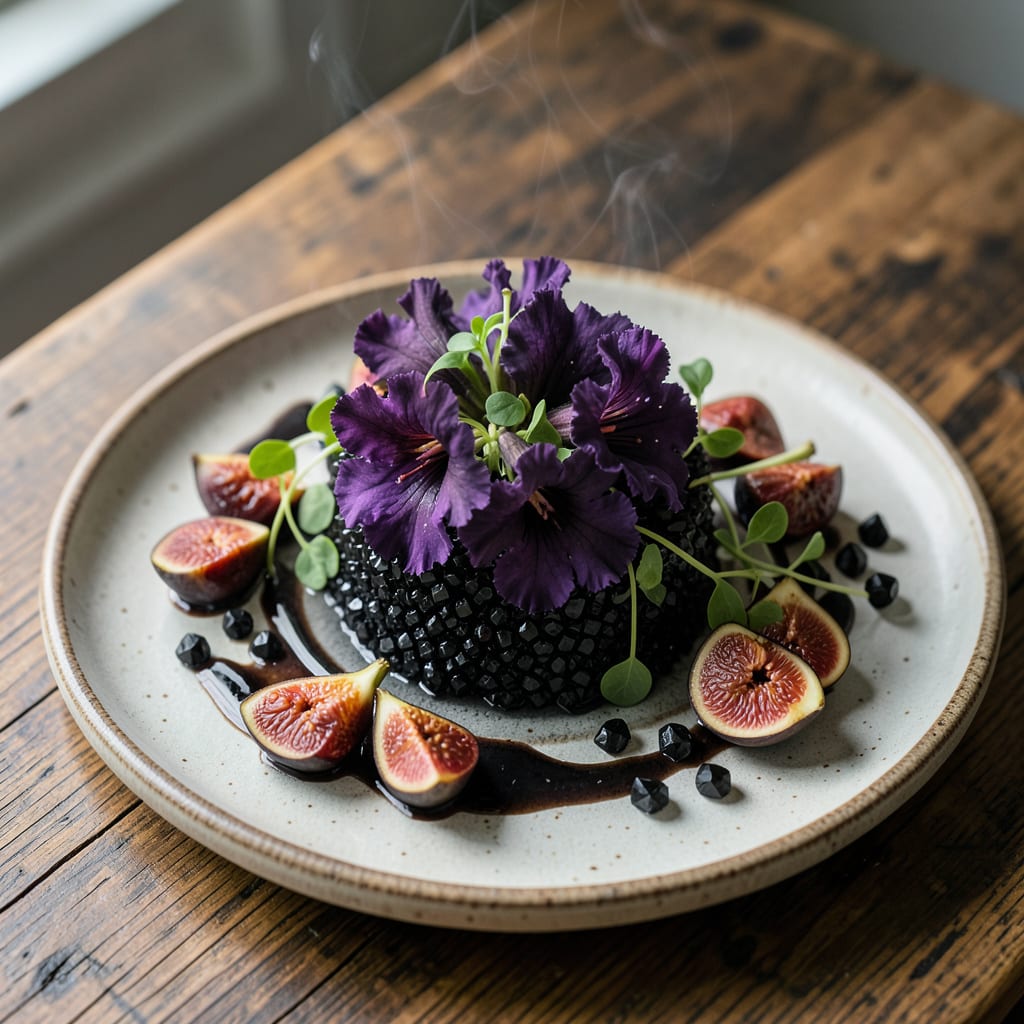
Dark foliage that stops traffic in your yard. I planted my first Black Diamond crape myrtle three years ago, and the deep purple-black leaves create drama from spring through frost.
These shrubs thrive in full sun with minimal fuss. The dark leaves resist mildew better than traditional varieties, and the summer blooms pop against that near-black backdrop. You’ll get color when most plants fade.
📚 In This Guide
This method ensures your new plants establish quickly and thrive for years to come.
Select a spot with full sun exposure—at least 6-8 hours of direct sunlight daily. These plants perform best in well-draining soil, so avoid low-lying areas where water pools after rain. I’ve found that slightly elevated spots or gentle slopes work wonderfully.
The mature size of Black Diamond varieties varies, but most reach 8-12 feet tall with a 6-8 foot spread. Give each plant space to grow without crowding. If planting near a structure, keep them at least 5 feet away from walls or foundations to prevent future issues.
Dig a hole that’s twice as wide as the root ball but no deeper. The extra width loosens the surrounding soil, making it easier for roots to spread outward. If your soil is heavy clay or compacted, consider amending it with compost to improve drainage.
Before placing the plant, check the root ball. If it’s tightly bound or circling, gently tease the outer roots apart with your fingers. This encourages them to grow outward into the surrounding soil rather than continuing to circle, which can strangle the plant over time.
Set the plant in the hole so the top of the root ball sits 1-2 inches above the surrounding soil level. This slight mound helps prevent water from pooling around the base. Backfill the hole with the original soil, tampering it lightly as you go to eliminate air pockets.
Water deeply immediately after planting, giving it 1-2 inches of water to settle the soil around the roots. I like to create a small soil berm around the edge of the planting hole to act as a watering basin, ensuring moisture reaches the roots where it’s needed most.
Apply a 2-3 inch layer of organic mulch, such as shredded bark or wood chips, around the base of the plant. Keep the mulch 6 inches away from the trunk to prevent rot. Mulching helps retain moisture, suppresses weeds, and regulates soil temperature.
For the first 2-3 weeks, water every 2-3 days unless rain provides adequate moisture. After that, you can taper off to weekly watering. You’ll know the plant is establishing well when you see new growth—usually within 4-6 weeks of planting.
Prune in late winter or early spring, just before new growth emerges. Remove any dead, damaged, or crossing branches first. Then, thin out about 20-30% of the oldest stems at the base to encourage fresh, vigorous growth and maintain an open center for better air circulation.
Avoid heavy pruning in fall, as this can stimulate new growth that won’t have time to harden off before winter. Light shaping throughout the growing season is fine, but save major cuts for the dormant period when the plant is not actively growing.
Small details make a big difference when establishing these striking plants.
Sunlight is Non-Negotiable: The 6-8 hours of direct sunlight mentioned in Step 1 isn’t just a suggestion—it’s essential for that dramatic dark foliage. Plant in partial shade and you’ll end up with leggy growth and duller leaves. I learned this the hard way after planting one in a shady corner of my yard.
The Root Ball Trick: In Step 2, when you’re preparing the hole, pay special attention to those circling roots. If you skip teasing them apart, they’ll continue growing in that same pattern underground, eventually girdling the plant. Take an extra minute here and you’ll prevent problems years down the line.
Watering Wisdom: That initial 1-2 inches of water in Step 3 needs to reach the root zone, not just the surface. The soil berm trick works wonders—I’ve seen new plantings establish twice as fast when I take this extra step. And remember, those first 2-3 weeks of frequent watering are critical for root development.
Mulch Placement Matters: Step 4 mentions keeping mulch 6 inches from the trunk, and there’s a good reason. Piling mulch against the base creates perfect conditions for rot and disease. I’ve saved several plants from decline just by fixing this one detail.
This shrub grows at a moderate rate, typically adding 12–24 inches per year under ideal conditions. With proper care, it can reach its mature height of 10–15 feet in about 5–10 years.
Plant in early spring or fall to allow roots to establish before extreme temperatures. Avoid planting in summer heat or winter frost for the best results.
Consider ‘Night Series’ or ‘Ebony & Ivory’ Crape Myrtles for similar dark foliage. For non-Crape Myrtles, try ‘Ninebark’ or ‘Smoke Bush’ for deep-colored shrubs.
Insufficient sunlight can cause the dark foliage to revert to green. Ensure it gets at least 6 hours of full sun daily to maintain its striking deep purple-black color.
Improve air circulation, avoid overhead watering, and apply a fungicide if needed. Prune affected areas and ensure the plant isn’t overcrowded.
