
Beautiful Plants For Your Interior
Beautiful Plants For Your Interior
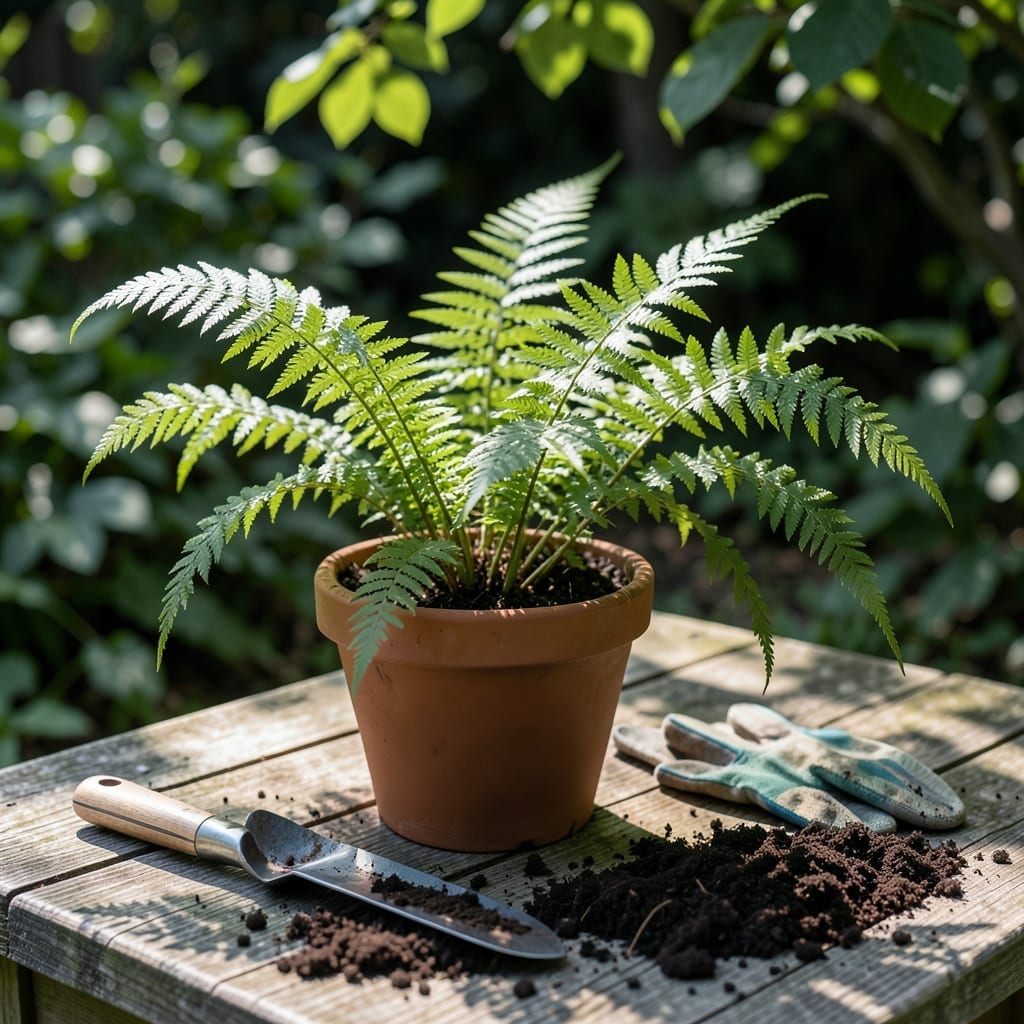
Transplanting your 🌿 Fern at the wrong time can set back its growth for months. Timing is the key to helping these delicate plants thrive in their new location.
I learned this the hard way after losing a few ferns to transplant shock. The right season makes all the difference in how quickly your fern recovers and grows.
Discover when to move your ferns for best results, whether you’re in zone 6a or just starting your gardening journey. Let’s get this right together.


Timing your fern transplant correctly can mean the difference between thriving foliage and a struggling plant. I’ve found that early spring or early fall works best for most regions.
These seasons offer cool temperatures and moist soil, which help reduce transplant shock and give roots time to establish before stress periods.
| Season | Temperature Range | Soil Condition | Best For |
|---|---|---|---|
| Early Spring | 50-65°F | Moist and cool | New growth starts |
| Early Fall | 55-70°F | Moist and warm | Root establishment |
In early spring, ferns are just emerging from dormancy, making it an ideal time to move them before they put energy into new fronds.
The soil is typically moist from winter rains or snowmelt, which helps the roots settle in without the stress of drought.
If you miss the spring window, early fall is your next best option. The cooler temperatures and consistent rainfall help ferns recover before winter.
Avoid transplanting during summer heat or winter freezes, as extreme temperatures can shock the plant and hinder root growth.
For USDA Zone 6a, aim for March to May or September to October for the best results. These months align with the plant’s natural growth cycles.
I always check the 10-day forecast before transplanting to ensure no heat waves or cold snaps are coming. This extra step can save your ferns from unnecessary stress.
Another tip: Transplant on a cloudy day or in the early morning to reduce moisture loss and give your ferns the best start in their new home.
With the right timing and care, your ferns will reward you with lush, vibrant foliage for years to come 🌿
Moving ferns doesn’t have to be stressful for you or the plant. I’ve refined my approach over the years to ensure minimal shock and quick recovery for these delicate beauties.
Start by preparing the new location a week before transplanting. Dig a hole twice as wide as the root ball and mix in compost or organic matter.
Use a sharp spade to cut a clean circle around the fern, about 6-8 inches from the base. This ensures you capture most of the root system without damage.
Lift the fern gently, keeping the root ball intact. If the roots are exposed for more than a few minutes, mist them with water to prevent drying out.
Place the fern in the new hole at the same depth it was growing before. Backfill with soil, pressing lightly to remove air pockets that can stress the roots.
After planting, give it a deep watering to settle the soil. I always add a 2-inch layer of mulch to keep the soil moist and protect the roots.
Check on your fern daily for the first week, ensuring the soil stays consistently moist but not soggy. With this care, your fern will thrive in its new home 🌿