
Beautiful Plants For Your Interior
Beautiful Plants For Your Interior
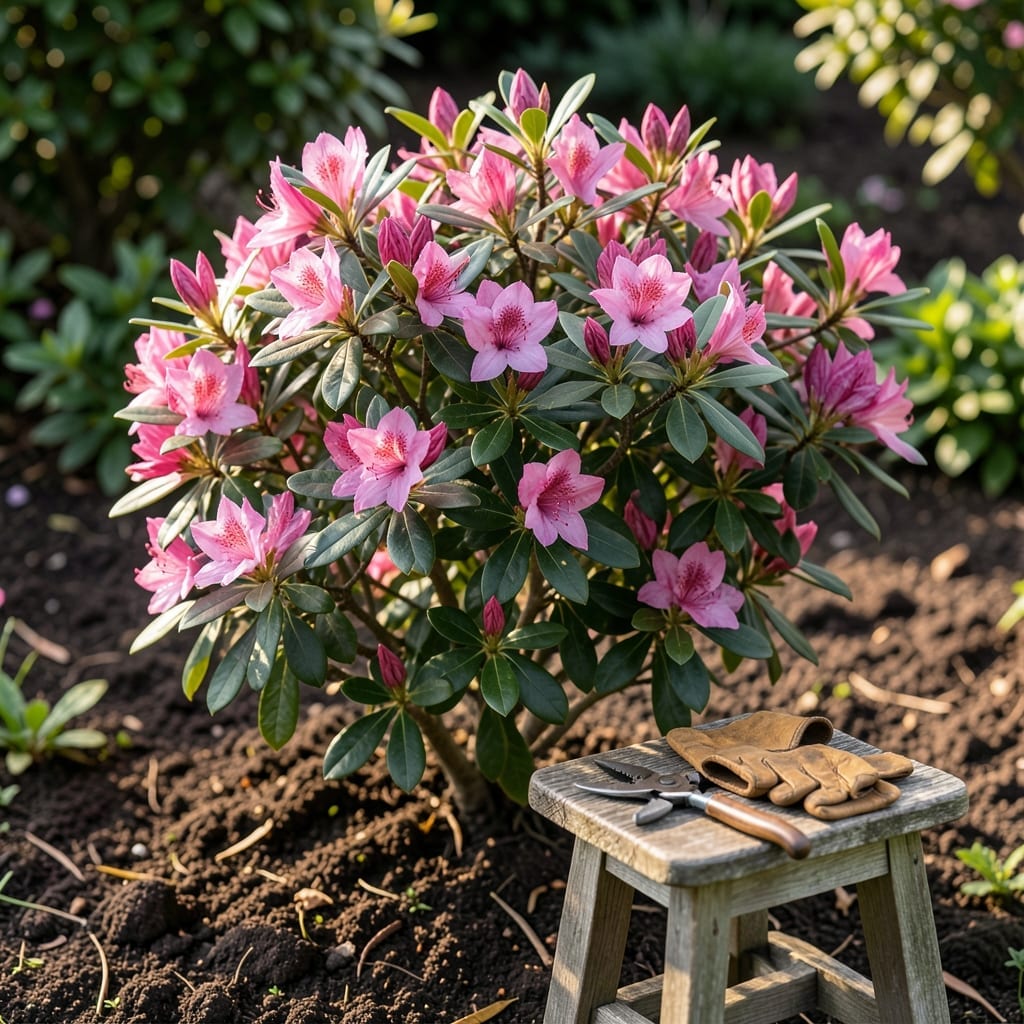
Pruning your 🌸 Azalea at the wrong time can cost you a season of vibrant blooms. It’s one of the most important tasks for keeping these shrubs healthy and full of color.
I’ve learned the hard way that timing is everything with azaleas. Trim too late, and you might accidentally remove next year’s flower buds.
Discover the perfect window to shape your azaleas without sacrificing their spectacular display. Let me show you exactly when to grab those pruners.
The best time to prune azaleas is right after they finish blooming. This timing is crucial because azaleas set their flower buds for next year shortly after the current blooms fade.
I always wait until the last flower has wilted before I reach for my pruners. This ensures I don’t accidentally remove any developing buds that will become next spring’s spectacular display.
🌸 Azalea Pruning Timeline
| Stage | Action | Timing |
|---|---|---|
| Blooming Ends | Start Pruning | Immediately |
| New Growth | Shape Plant | 2-3 weeks |
| Bud Set | Stop Pruning | Early Summer |
In most regions, this means pruning in late spring or very early summer. For early-blooming varieties, that might be as soon as late April, while later bloomers might need until June.
I’ve found that azaleas in warmer climates (Zones 7-9) often bloom earlier, so their pruning window comes sooner. In cooler areas (Zones 5-6), you might wait until early summer.
The key is to finish all major pruning before July 4th in most areas. This gives the plant enough time to set buds for next year’s flowers before the growing season slows down.
For evergreen azaleas, which keep their leaves year-round, the same rule applies. Deciduous varieties, which lose their leaves, also follow this pattern but may bloom slightly later.
If you miss the window and prune in late summer or fall, you risk removing next year’s flower buds. I learned this the hard way one year when my azaleas had almost no blooms the following spring.
Remember, light pruning for shaping can be done almost anytime, but save any major cutting back for that post-bloom period. This approach keeps your azaleas healthy and ensures a beautiful display year after year
And don’t forget that clean, sharp tools make all the difference when pruning. I always wipe my pruners with rubbing alcohol between cuts to prevent spreading any diseases
✂️Pruning azaleas properly is just as important as timing. I always start by gathering the right tools: sharp bypass pruners, loppers for thicker branches, and gardening gloves to protect my hands.
Begin by removing any dead or diseased wood first. Then, look for branches that are crossing or rubbing against each other, as these can create wounds that invite pests and diseases.
✂️ Azalea Pruning Steps
When shaping your azalea, aim to create a natural form. I find that cutting back the longest branches by about one-third helps maintain a balanced shape while encouraging new growth.
Always make your cuts at a 45-degree angle just above a leaf node. This helps water run off the cut surface and prevents rot. Never leave stubs, as these can become entry points for disease.
For older, overgrown azaleas, you can do a more drastic pruning called renewal pruning. This involves cutting the plant back to 6-12 inches from the ground. It’s best done in stages over 2-3 years.
After pruning, I always give my azaleas a good drink of water and a light application of balanced fertilizer to help them recover. This gives them the nutrients they need to produce new growth and set buds for next year.
✂️