
Beautiful Plants For Your Interior
Beautiful Plants For Your Interior
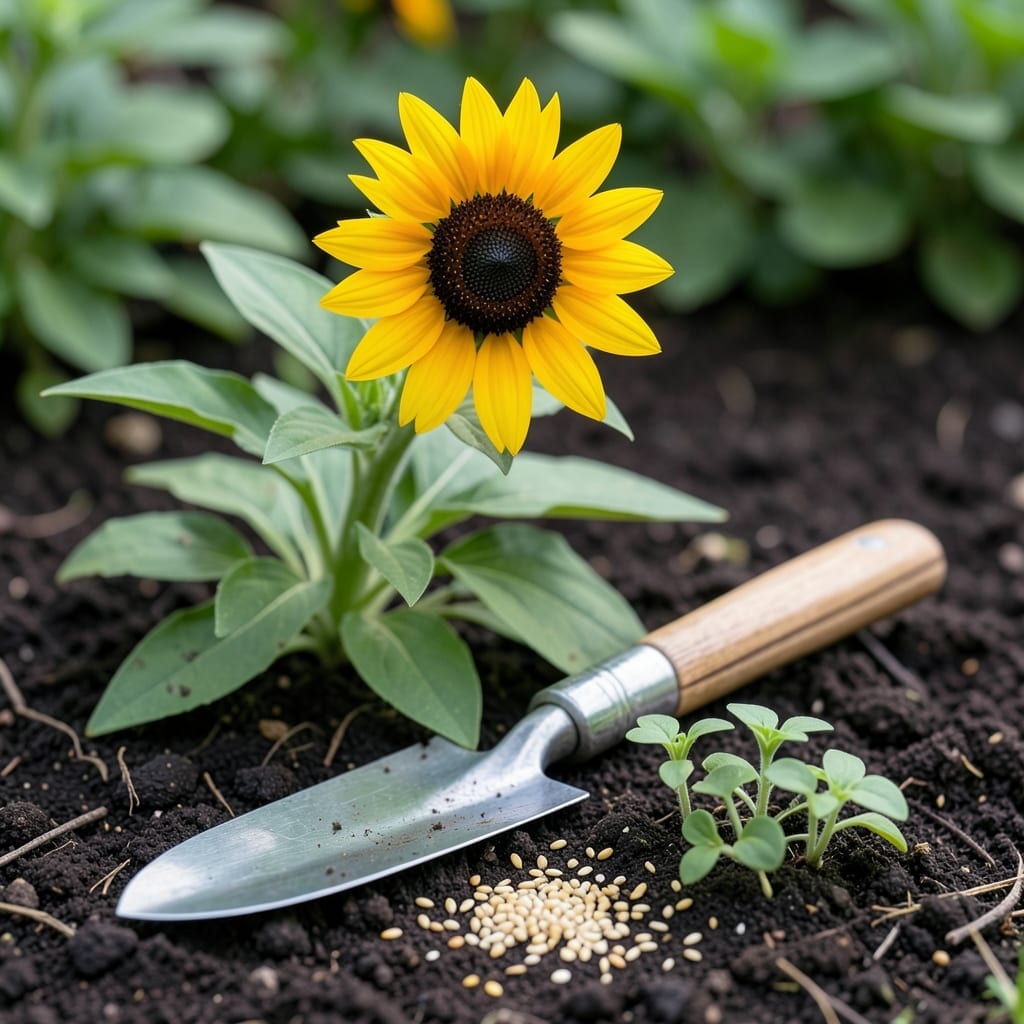
Timing is everything when planting Black Eyed Susan—get it right, and you’ll enjoy a burst of golden-yellow blooms that last from summer to fall.
Plant too early or too late, and your garden may miss out on these resilient, pollinator-friendly perennials. The 🌼 thrives best when the soil is warm and workable.
Discover the best window to ensure vibrant, long-lasting flowers that transform your outdoor space.
I’ve found that Black Eyed Susans thrive when planted in spring or early fall, depending on your USDA hardiness zone. These hardy perennials love warmth, so timing is key.
For most gardeners in zones 4-9, the ideal window is April through June, after the last frost when soil temps hit 60°F or higher. This ensures strong root establishment before summer heat.
| Region | Best Planting Time | USDA Zones |
|---|---|---|
| Northern States | Late April – June | 4-6 |
| Midwest | April – May | 5-7 |
| Southern States | March – April or Sept – Oct | 7-9 |
| Coastal Areas | Year-round (mild winters) | 9-11 |
In cooler climates like zones 4-6, I recommend waiting until after the last frost—usually mid to late April—to avoid cold damage to young plants. The soil needs to be workable and warm. Black Eyed Susans hate soggy roots, so ensure good drainage.
For warmer regions like zones 7-9, you can plant as early as March or as late as October. Fall planting works well here because the mild winters allow roots to establish before spring. Just water thoroughly after planting to help them settle in.
If you’re in zone 9 or higher, you might even get away with year-round planting, but I’d suggest avoiding the hottest summer months. The plants can struggle with extreme heat during establishment. Early morning planting helps reduce stress.
Avoid planting during peak summer heat or freezing conditions. In my experience, Black Eyed Susans planted in extreme temperatures often struggle to establish strong root systems. Aim for mild, stable weather for best results.
For container gardening, you can start seeds indoors 6-8 weeks before the last frost. This gives them a head start. Transplant outdoors once nighttime temps stay above 50°F. I’ve had great success with this method in shorter growing seasons.
Remember, soil temperature is more important than air temperature. Use a soil thermometer to check—60-70°F is perfect. If you’re unsure, wait until your local gardening calendar suggests it’s safe. Your patience will pay off with vibrant, long-lasting blooms.
Finally, consider your microclimate. Urban areas, south-facing slopes, or spots near buildings may warm up faster. I always check my garden’s specific conditions before planting. When in doubt, spring planting is the safest bet for most regions 🌼
I always start by preparing the soil—Black Eyed Susans love well-draining, loamy soil with a pH of 6.0-7.0. Work in 2-3 inches of compost to boost fertility and improve texture.
Remove all weeds and debris from the planting area first. These perennials need space to thrive, so I clear a 12-18 inch diameter for each plant. This prevents competition for nutrients and water.
For seed planting, I scatter seeds on bare soil in early spring or fall, then lightly press them in. They need light to germinate, so don’t bury them too deep. Keep the soil moist but not soggy.
Transplants from nurseries are my go-to for quicker blooms. I space them 18-24 inches apart to allow for air circulation. This spacing prevents fungal diseases and ensures each plant gets enough sunlight.
After planting, I water thoroughly and continue with 1 inch of water weekly until established. Morning watering is best to prevent fungal issues. These plants are drought-tolerant once mature, but consistent moisture is key during the first season.
Finally, I deadhead spent blooms to encourage more flowers. This simple step extends the blooming season and keeps your garden looking vibrant. With proper care, you’ll enjoy golden-yellow blooms from summer to fall 🌼