
Beautiful Plants For Your Interior
Beautiful Plants For Your Interior
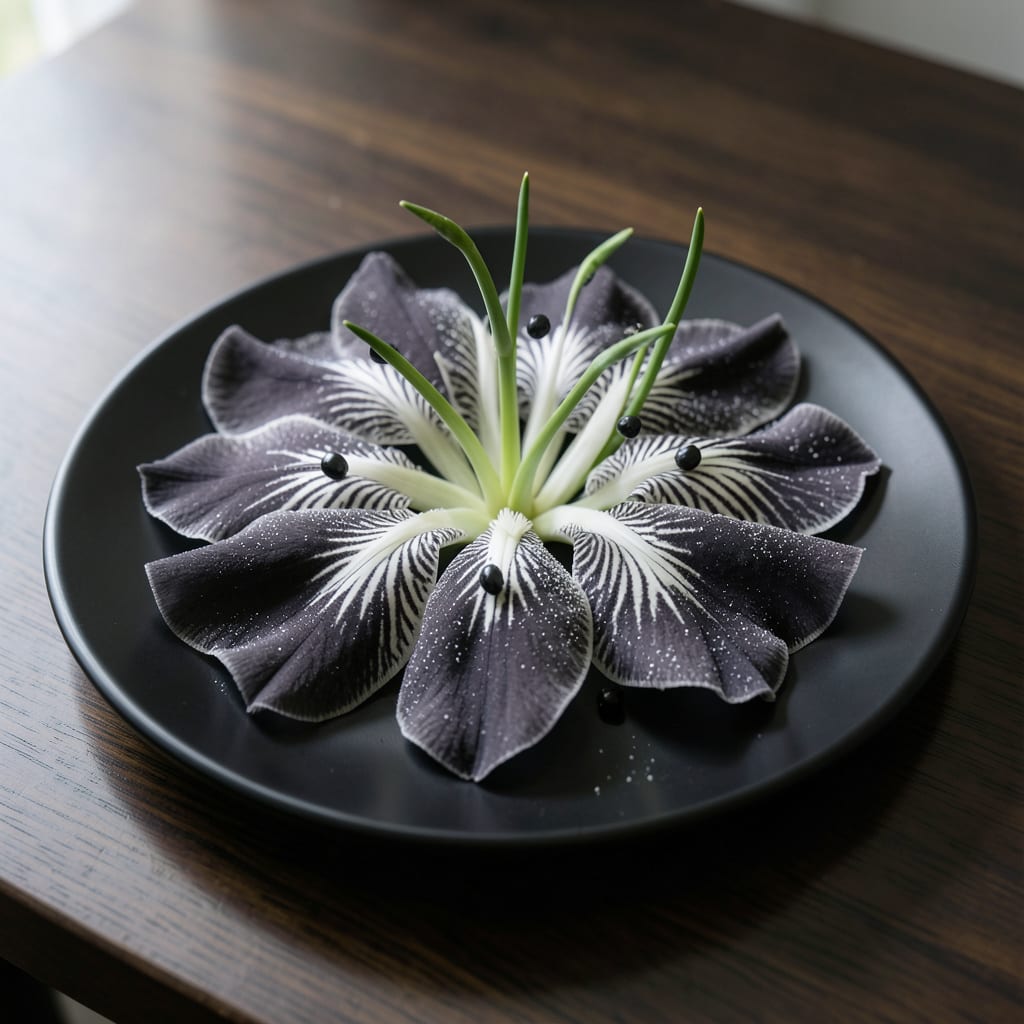
Black and white stripes that stop traffic. I planted my first Zebra Iris three seasons back, and its dramatic blooms still draw more compliments than any other flower in my beds.
This isn’t your average iris—it thrives in full sun with well-draining soil and asks for little more than occasional watering. The reward comes each spring when those bold, striped flowers emerge like nature’s own modern art.
📚 In This Guide
Here’s the method I use to cultivate these striking black-and-white blooms with consistent success.
Select a spot with full sun to partial shade—zebra iris thrives in 6+ hours of sunlight but tolerates light afternoon shade in hotter climates. The soil should drain well; these plants hate soggy roots. I test drainage by digging a 1-foot hole and filling it with water. If it drains within 2 hours, you’re good to go.
Amend heavy clay soil with compost to improve drainage. A slight slope or raised bed works perfectly. You’ll know the location is right when the soil feels crumbly and doesn’t pool water after rain.
Plant rhizomes just below the soil surface, with the top partially exposed. Space them 12-18 inches apart to allow for spread—these plants multiply over time. Dig a shallow hole, place the rhizome horizontally, and gently firm the soil around it.
Water lightly after planting to settle the soil, but avoid overwatering. The rhizome should feel snug but not buried. You’ll see new growth emerging from the rhizome within 3-4 weeks if conditions are right.
Water deeply once a week during the first growing season, then reduce to every 10-14 days once established. These plants are drought-tolerant, so it’s better to underwater than overwater. I check soil moisture by sticking my finger 2 inches deep—if it feels dry, it’s time to water.
Always water at the base to keep foliage dry, which prevents rot. Morning watering gives the best results, as it allows foliage to dry before evening. You’ll notice the leaves perk up within hours of watering if they were thirsty.
Apply a balanced 10-10-10 fertilizer in early spring, just as new growth appears. I use a slow-release granular type and work it lightly into the soil around the plants. Avoid high-nitrogen fertilizers, as they promote leaf growth at the expense of flowers.
Remove spent flower stalks after blooming to keep the plant tidy and encourage more blooms. Divide clumps every 3-4 years or when they become overcrowded. You’ll know it’s time when you see fewer blooms or the center of the clump dies out.
In colder climates (USDA zones 5-8), cut back foliage to 6 inches after the first hard frost. This helps prevent rot and makes the plant less attractive to pests. I use clean, sharp shears to make quick, clean cuts at an angle.
Mulch with a 2-3 inch layer of straw or leaves after the ground freezes to protect the rhizomes. Remove the mulch in early spring as new growth appears. You’ll see fresh green shoots poking through the soil when it’s time to remove the winter protection.
These practical insights will help you cultivate stunning blooms with confidence.
The Sunlight Sweet Spot: In Step 1, aim for that 6+ hours of sunlight daily, but don’t stress if your garden gets afternoon shade—zebra iris handles it well in hotter areas. I’ve found morning sun with light shade later works beautifully for vibrant stripes. The key is consistency in exposure.
Drainage Test: That 2-hour drainage test from Step 1 is non-negotiable. If your hole doesn’t empty in time, amend the soil with compost or opt for a raised bed. Soggy roots are the fastest way to lose these plants, and I learned that the hard way after my first failed attempt.
Planting Depth Matters: In Step 2, resist the urge to bury rhizomes deeply. Keeping them just below the surface with the top exposed prevents rot and encourages healthy spread. Space them 12-18 inches apart—they’ll fill in faster than you think, and crowding leads to fewer blooms.
Winter Prep Timing: For Step 5, wait until after the first hard frost to cut back foliage to 6 inches. Applying that 2-3 inch mulch layer too early can trap moisture and cause rot. I use straw for mulch—it’s lightweight and easy to remove in spring when new shoots appear.
Keep the soil well-drained and water moderately. These irises thrive in full sun to partial shade. Fertilize lightly in early spring, and divide clumps every 3-4 years to maintain vigor.
Plant in late summer to early fall, about 6-8 weeks before the first frost. This allows roots to establish before winter. Spring planting is also possible but may delay blooming.
Yes! Consider Iris pallida ‘Variegata’ or Iris ‘Tiger Honey’ for striped foliage and blooms. For non-iris options, try Crocosmia or Tigridia (tiger flowers).
Lack of sun, overcrowding, or poor soil nutrition may be the cause. Ensure 6+ hours of sunlight daily, divide clumps if needed, and use a balanced fertilizer. Patience—some varieties take 2-3 years to bloom!
