
Beautiful Plants For Your Interior
Beautiful Plants For Your Interior
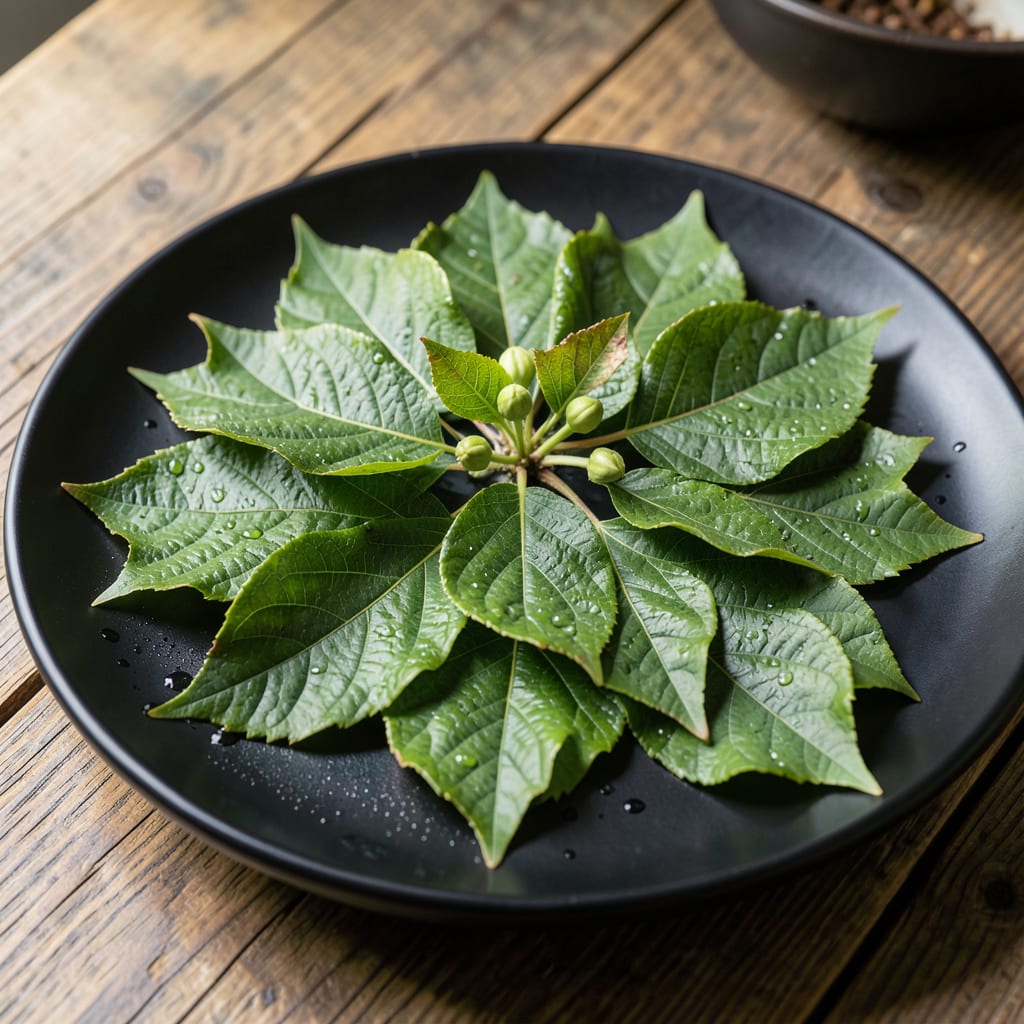
I still remember the first time I spotted those bright, compound leaves unfurling on my young black walnut. They’re the tree’s way of announcing it’s ready for the next phase—and for us, that means harvest time.
These leaves pack serious potency when picked at the right stage, but timing is everything. Too early and they’re underdeveloped; too late and they’ve passed their peak. Here’s how to get it spot-on.
📚 In This Guide
Here’s how I gather leaves at their peak without damaging the tree or losing potency.
Focus on the newest growth at the tips of branches, where leaves are still soft and light green. These are the most potent for any use. I look for leaves that have fully unfurled but haven’t yet developed the deep green color and tough texture of mature foliage.
Young leaves typically appear in clusters of 5-9 leaflets and feel slightly fuzzy to the touch. Avoid any that show signs of insect damage or yellowing—these won’t give you the quality you need. The ideal size is about 2-4 inches long.
Always use clean, sharp pruners or scissors to snip individual leaflets or entire leaf stems. I make cuts at a 45-degree angle just above a leaf node to encourage new growth. Never pull leaves by hand—you risk tearing the stem and damaging the branch.
Harvest in the morning after the dew has dried but before the heat of midday sets in. This is when the volatile compounds are most concentrated. I wear gloves because walnut leaves can stain hands and the sap may irritate skin.
The perfect window is late spring to early summer, typically May through June in most regions. This is when the tree is putting all its energy into leaf production. I start checking when the leaves are about half their full size.
Don’t wait until the leaves harden off—once they turn that darker, leathery green, they’ve lost much of their potency. If you’re unsure, do a taste test: young leaves have a milder flavor compared to the bitter taste of mature ones.
Place harvested leaves in a breathable container like a paper bag or woven basket. Never use plastic, as it traps moisture and causes mold. I spread mine in a single layer on a screen in a well-ventilated area out of direct sunlight.
For fresh use, process within 24 hours of picking. For drying, allow 1-2 weeks until leaves crumble easily between your fingers. Store dried leaves in an airtight container in a cool, dark place where they’ll keep their potency for up to a year.
Here’s what I’ve learned from years of harvesting to get the most potent leaves every time.
Selection Tip: In Step 1, focus on the light green leaves at the branch tips—they’re at peak potency when they’re still soft and haven’t developed that tough, leathery texture. I always check that they’re 2-4 inches long and appear in clusters of 5-9 leaflets for the best quality.
Harvesting Technique: For Step 2, those clean cuts at a 45-degree angle above the leaf node aren’t just for looks—they encourage healthier regrowth. I learned the hard way that pulling leaves by hand can damage the branch and reduce future harvests.
Timing Matters: The May through June window in Step 3 is critical because that’s when the tree’s energy is focused on leaf production. I start checking when leaves are about half their full size, and I never wait until they turn that darker green—by then, much of the potency is already gone.
Storage Wisdom: After harvesting in Step 4, I always use a paper bag or woven basket for transport. Plastic traps moisture and leads to mold, ruining your hard work. For drying, that 1-2 week period is perfect for achieving the right crumble texture while preserving all the volatile compounds.
The ideal time is late spring to early summer when leaves are tender, bright green, and fully unfurled but not yet tough. This is typically May to June, depending on your climate.
Mature leaves are tougher and less potent for teas, tinctures, or culinary uses. Young leaves are preferred for their milder flavor and higher concentration of beneficial compounds.
Lay leaves in a single layer on a mesh screen or drying rack in a well-ventilated, shaded area. Avoid direct sunlight to preserve color and potency. They’ll dry in 1-2 weeks.
Yes, but they have a strong, earthy flavor. Use sparingly in teas, salads, or as a seasoning. Some people may experience mild stomach upset, so start with small amounts.
This can happen due to bruising or excessive moisture during storage. Dry leaves quickly and store in an airtight container away from light to prevent discoloration.
