
Beautiful Plants For Your Interior
Beautiful Plants For Your Interior
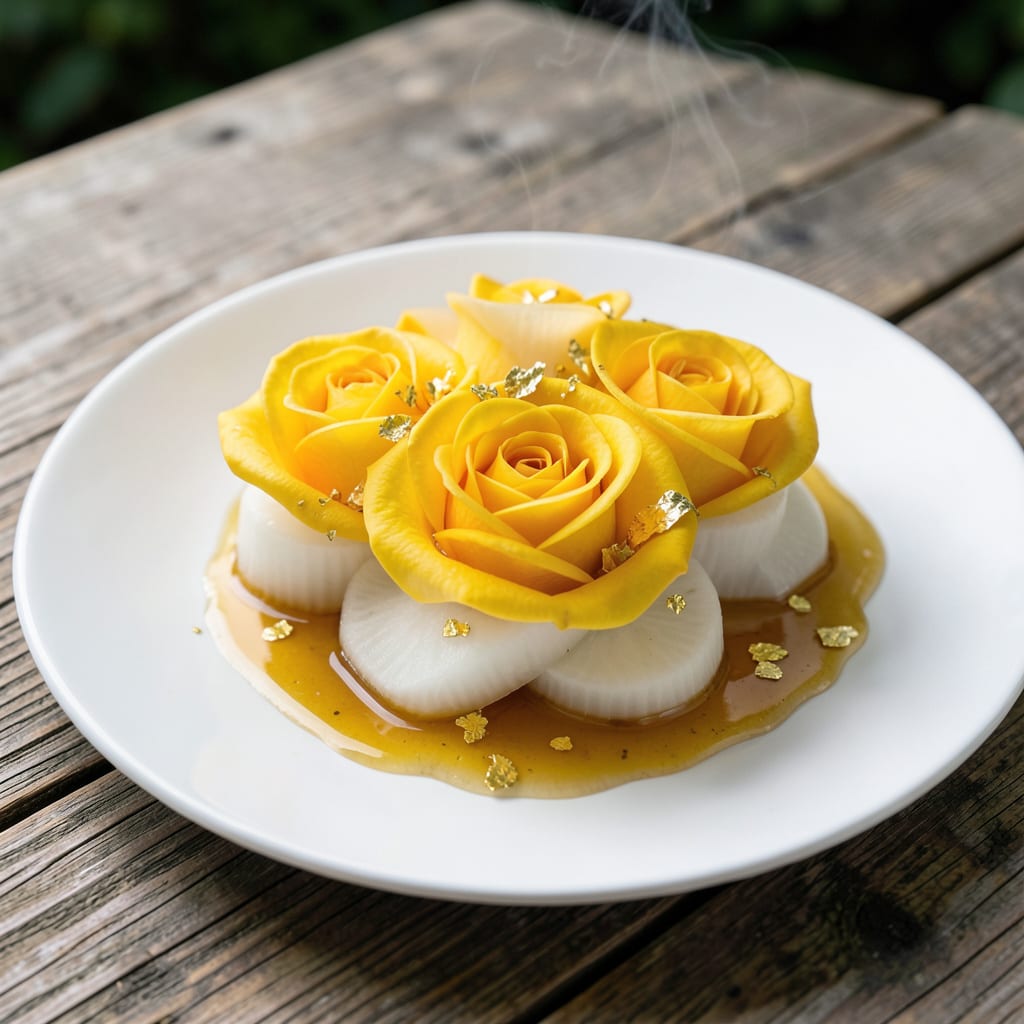
These bicolor stunners changed my garden’s personality overnight. The yellow and red blooms look like they’re on fire, and they keep pumping out flowers from spring until frost without skipping a beat.
They’re tougher than they look—handle heat, resist disease, and thrive with basic care. Give them 6+ hours of sun, well-draining soil, and consistent water, and they’ll reward you with nonstop color and a light, sweet fragrance.
📚 In This Guide
Here’s the method I use to cultivate these striking bicolor blooms with consistent success.
Choose a location with full sun exposure—at least 6-8 hours of direct sunlight daily. These roses thrive in well-draining soil with a pH between 6.0 and 6.5. I always test my soil first and amend it with organic matter like compost to improve both drainage and fertility.
Dig a hole that’s twice as wide and just as deep as the root ball. Loosen the soil at the bottom and sides of the hole to encourage root spread. If your soil is heavy clay, mix in some sand or perlite to prevent waterlogging, which can rot the roots.
Remove the rose from its container and gently tease out any circling roots. Place it in the hole so the graft union (the swollen area where the rose was budded onto the rootstock) sits 1-2 inches below the soil surface. This protects it from freeze damage in colder climates.
Backfill the hole with the amended soil, firming it gently around the base to eliminate air pockets. Water thoroughly with 1-2 gallons of water to settle the soil. I like to create a small watering basin around the base to help direct moisture to the roots during the first few weeks.
Water deeply 2-3 times per week for the first month, tapering to 1-2 times weekly once established. The goal is to keep the soil consistently moist but not soggy. You’ll know it’s time to water when the top 1-2 inches of soil feel dry to the touch.
Apply a 2-3 inch layer of organic mulch (like wood chips or shredded bark) around the base, keeping it 6 inches away from the stem to prevent rot. Mulch conserves moisture, suppresses weeds, and regulates soil temperature—critical for the health of these roses.
Prune in early spring, just as new growth begins. Remove any dead, diseased, or crossing canes first. Then, cut back the remaining canes by about one-third to encourage vigorous new growth and abundant blooms. I use sharp bypass pruners and make clean cuts at a 45-degree angle just above an outward-facing bud.
Fertilize after pruning with a balanced 10-10-10 or 12-12-12 rose fertilizer. Follow the package instructions, but I typically apply it every 4-6 weeks during the growing season. Stop fertilizing 6-8 weeks before the first frost to allow the plant to harden off for winter.
Yellow Fire and Ice roses are relatively disease-resistant, but keep an eye out for common issues like black spot or powdery mildew. If you notice spots or a white coating on the leaves, treat promptly with a fungicide. I prefer neem oil for its organic approach and effectiveness.
Deadhead spent blooms regularly to encourage continuous flowering. Cut the stem just above a five-leaflet leaf to promote new growth. With proper care, you’ll enjoy waves of vibrant yellow and red bicolor blooms from late spring until the first hard frost.
Small adjustments in your planting and care routine will dramatically improve bloom quality and plant health.
Sunlight Optimization: The 6-8 hours of daily direct sunlight isn’t just a suggestion—it’s critical for those vibrant bicolor blooms. I’ve found that morning sun with afternoon shade works best in hotter climates, while full sun all day produces the most intense coloration in cooler regions. Monitor your planting site throughout the day to ensure it meets this requirement.
Planting Depth Insight: That 1-2 inches below soil surface placement for the graft union in Step 2 is your insurance against winter damage. I learned this the hard way after losing several roses to freeze damage in my first season. In milder climates, you can plant it level with the soil, but erring on the deeper side never hurts.
Watering Precision: When watering with that initial 1-2 gallons in Step 2, create a small berm around the planting hole to contain the water. This ensures it soaks down to the roots rather than running off. For the ongoing 2-3 times weekly schedule in Step 3, water deeply each time—shallow watering encourages weak root systems.
Pruning Technique: The 45-degree angle cut mentioned in Step 4 prevents water from pooling on the cut surface, which can lead to rot. Always cut just above an outward-facing bud to encourage growth away from the center of the plant, improving air circulation and reducing disease risk.
Yes! These hardy roses thrive in full sun (6+ hours daily) but appreciate afternoon shade in extreme heat. Ensure well-draining soil to prevent root stress.
Expect vibrant bicolor blooms from late spring to frost. Deadheading spent flowers encourages continuous blooming throughout the season.
Try ‘Julia Child’ (golden yellow) or ‘Iceberg’ (white) roses for similar vigor. For bicolor drama, ‘Double Delight’ (red/white) is a stunning pick.
Overwatering, nutrient deficiency, or pests like aphids may cause yellowing. Check soil moisture, fertilize balancedly, and inspect for bugs.
Mulch heavily around the base after the first frost. Prune dead wood in late winter, and protect canes with burlap in harsh climates.
