
Beautiful Plants For Your Interior
Beautiful Plants For Your Interior
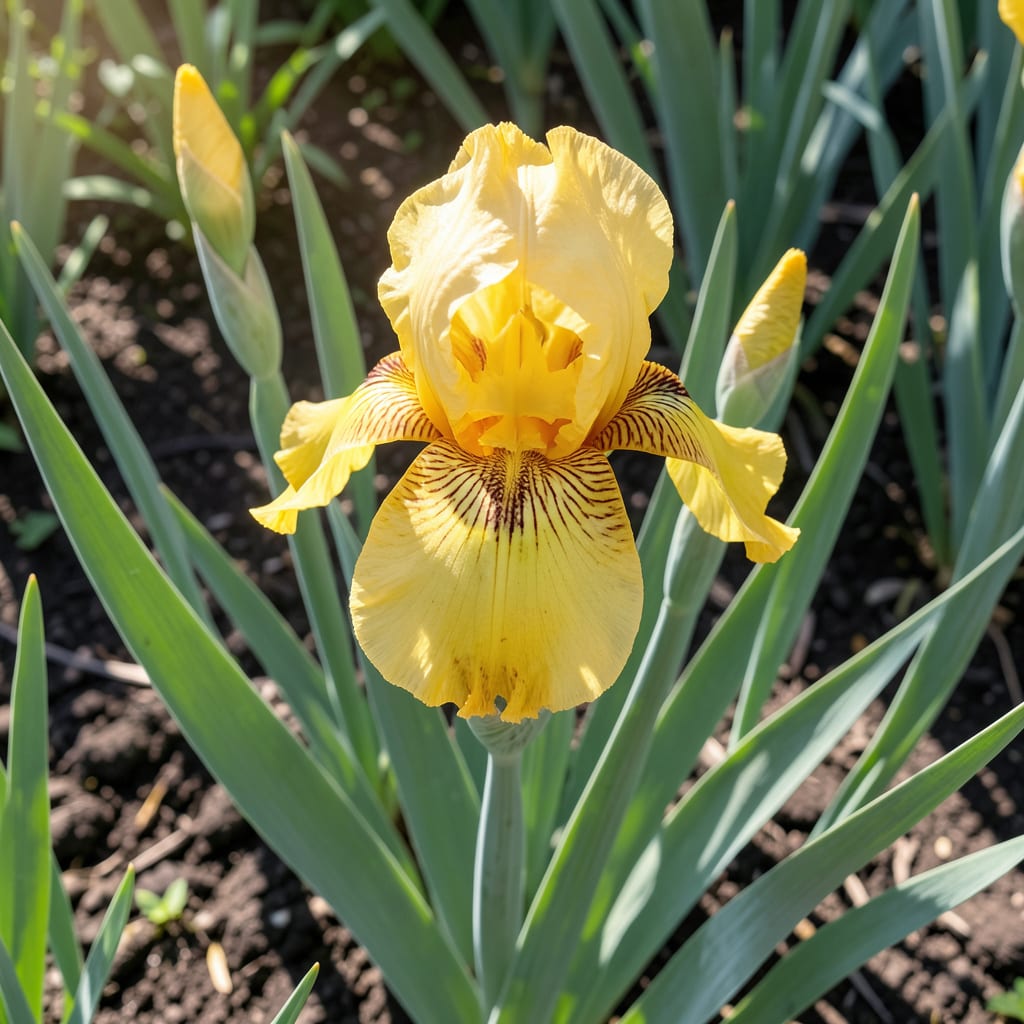
Sunny yellow blooms that demand attention. I planted my first bearded iris five years ago and still stop to admire them every spring when they burst open with their bold, ruffled petals.
These plants ask for so little—just well-draining soil, full sun, and the occasional drink. In return, they reward you with striking color and effortless elegance year after year, multiplying into larger clumps with each season.
📚 In This Guide
Here’s the method I use to establish these striking perennials with reliable blooms year after year.
Select a site with full sun (at least 6-8 hours daily) as these irises need intense light to produce their vibrant yellow blooms. The soil should be well-draining—bearded irises will rot in soggy conditions. I test drainage by digging a 12-inch deep hole, filling it with water, and ensuring it empties within 4-6 hours.
Amend heavy clay or sandy soil with 2-3 inches of compost worked into the top 6-8 inches of bed. Avoid over-fertilizing; these plants thrive in lean soil. A soil pH between 6.8 and 7.0 is ideal—test with a kit if you’re unsure. The rhizomes need room to spread, so space plants 12-24 inches apart.
Plant rhizomes in late summer or early fall, about 4-6 weeks before the first hard frost. Dig a shallow hole just deep enough to accommodate the rhizome, then create a small mound in the center for the rhizome to rest on. This prevents water from pooling around the base.
The rhizome should sit partially exposed at the soil surface, with the top visible. Cover the roots completely but leave the upper portion of the rhizome bare. This seems counterintuitive, but it’s critical for preventing rot. Water lightly after planting to settle the soil around the roots.
Water deeply once after planting, then reduce frequency to every 7-10 days unless there’s a drought. These plants are drought-tolerant once established, but consistent moisture the first year helps them root. Always water at the base to keep the rhizomes dry.
Remove spent flower stalks after blooming but leave the foliage intact until it yellows in fall. The leaves continue photosynthesizing to build energy for next year’s blooms. In early spring, remove any winter-damaged leaves and apply a light layer of low-nitrogen fertilizer (6-10-10 ratio) around the plants.
When clumps become crowded (typically after 3-4 years), you’ll notice fewer blooms. This is your signal to divide. Use a sharp knife to separate the rhizomes, discarding any soft or diseased portions. Each healthy division should have at least one fan of leaves.
Replant the divisions immediately, following the same shallow planting method. The best time to divide is right after flowering, giving the plants 6-8 weeks to establish before winter. You’ll see a dramatic improvement in bloom quality the following year after dividing.
These insights will help you grow vibrant, healthy irises with minimal fuss.
Sunlight Essentials: Those 6-8 hours of full sun daily are non-negotiable for vibrant yellow blooms. I learned this the hard way when my first planting in partial shade produced weak, pale flowers. If your garden has limited sun, consider container planting so you can move them to follow the light.
Drainage Test: The 4-6 hour drainage test from Step 1 is your best insurance against rot. Dig that 12-inch hole exactly as described—if water remains after 6 hours, amend with more compost or consider raised beds. Bearded irises will forgive many sins but not wet feet.
Planting Depth: That counterintuitive partially exposed rhizome position in Step 2 prevents rot by allowing the top to dry between waterings. After planting, resist the urge to mound soil over the rhizome—this is the most common mistake I see in struggling iris beds.
Timing Matters: Planting 4-6 weeks before first frost gives roots time to establish without the stress of freezing temperatures. Similarly, that 6-8 week establishment period after dividing in Step 4 is critical for winter survival. Trust the timeline—it’s been perfected over generations of iris cultivation.
The ideal time to plant yellow bearded irises is in late summer or early fall, about 6-8 weeks before the first frost. This gives the roots time to establish before winter. Spring planting is also possible, but avoid extreme heat.
These irises thrive in full sun and well-drained soil. Water moderately but avoid overwatering, especially during dormant periods. Remove spent blooms and divide clumps every 3-4 years to maintain vigor.
Keep an eye out for iris borers, aphids, and bacterial leaf blight. Ensure good air circulation, remove debris, and use insecticides or fungicides as needed. Healthy soil and proper spacing can prevent many issues.
Yes! Choose a large container with good drainage, use quality potting mix, and ensure the pot receives at least 6-8 hours of sunlight daily. Container-grown irises may need more frequent watering and dividing.
