
Beautiful Plants For Your Interior
Beautiful Plants For Your Interior
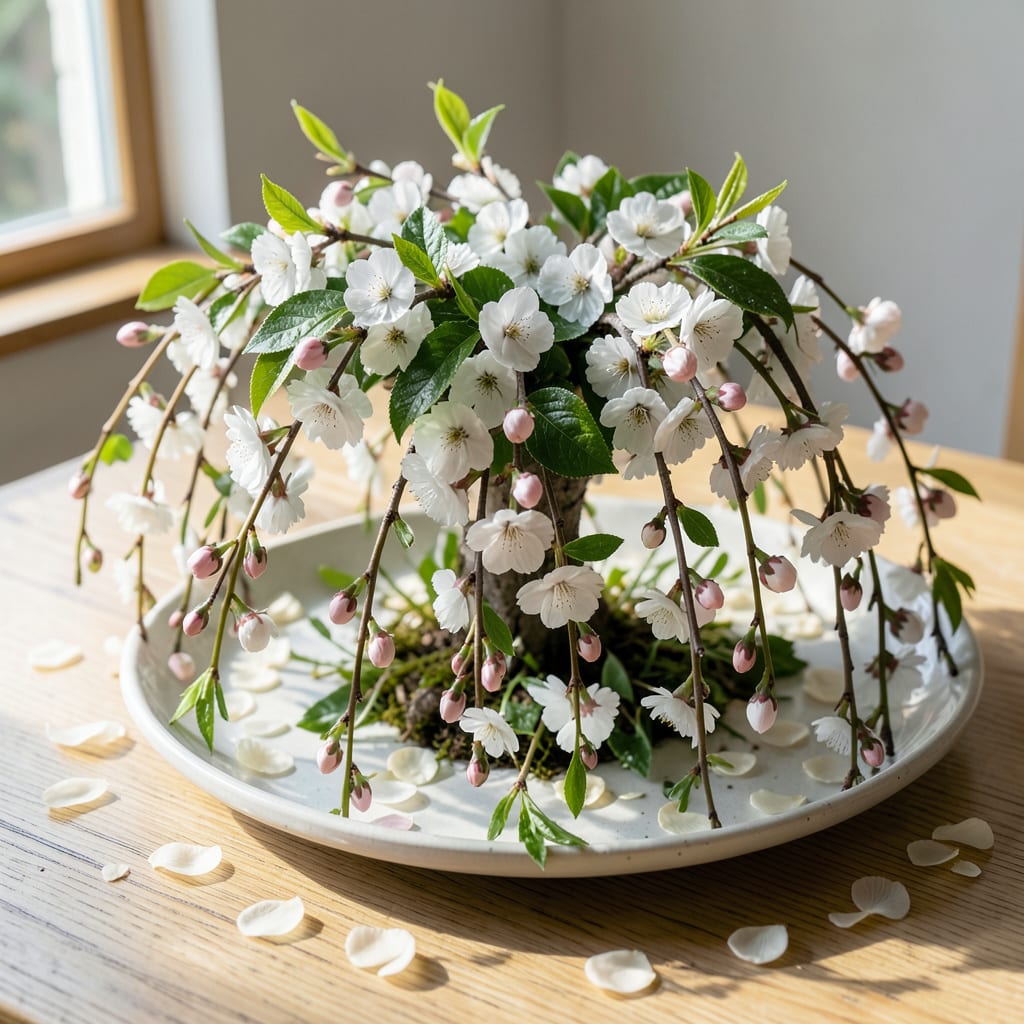
That first spring with my White Snow Fountain, I watched its waterfall of white blossoms transform the yard overnight. This tree doesn’t just bloom—it performs, with branches draping nearly to the ground in a show that stops neighbors in their tracks.
Plant it in full sun with well-draining soil, give it room to weep, and you’ll get 4 seasons of interest. The spring flowers are just the opening act—fall brings golden foliage, and winter reveals its graceful, arching structure.
📚 In This Guide
This elegant weeper thrives with proper site selection and careful initial planting.
Select a spot with full sun (at least 6-8 hours of direct sunlight daily) for optimal blooming. The White Snow Fountain tolerates partial shade but produces fewer flowers. Ensure the location has well-draining soil—cherries despise waterlogged roots.
Consider the mature size: this cultivar typically reaches 8-15 feet tall with a similar spread. Plant it where its graceful, weeping branches can cascade without obstruction. Avoid low-lying areas where cold air settles, as late frosts can damage early blooms.
Dig a hole twice as wide as the root ball but no deeper. The extra width encourages root spread into the surrounding soil. If your soil is heavy clay, amend it with compost to improve drainage—never add sand, as this creates concrete-like conditions.
Test the hole’s depth by placing the root ball inside. The top of the root ball should sit 1-2 inches above the surrounding soil level to allow for settling. This prevents the trunk from being buried too deeply, which can lead to rot and girdling roots.
Carefully remove the tree from its container, gently teasing apart any circling roots. Place it in the hole, ensuring it sits upright. The graft union (visible as a slight bulge near the base) should remain 2-3 inches above the soil line to prevent scion rooting.
Backfill with the native soil, tamping lightly as you go to eliminate air pockets. Water thoroughly after the hole is half-filled to settle the soil, then complete the backfilling. Create a 3-inch high watering ring around the perimeter to help direct moisture to the roots.
Apply a 2-3 inch layer of organic mulch (wood chips or shredded bark) around the base, keeping it 4-6 inches away from the trunk. This prevents moisture loss and protects against temperature fluctuations that can damage shallow roots.
Water deeply 2-3 times per week for the first month, then taper to once weekly unless rainfall is insufficient. The soil should remain consistently moist but never soggy. Stake the tree only if necessary to support it in windy locations, as excessive movement can break the delicate weeping branches.
After planting, watch for signs of stress: wilting leaves indicate under-watering, while yellowing leaves suggest over-watering or poor drainage. Adjust your care routine accordingly. The tree may take 1-2 years to establish fully and produce its characteristic cascading blooms.
Prune only to remove dead, diseased, or crossing branches—this cultivar requires minimal shaping. Time any pruning for late winter or early spring before new growth begins. Fertilize lightly in early spring with a balanced, slow-release product to support healthy growth without excessive foliage at the expense of blooms.
Small details during planting make the difference between a tree that struggles and one that thrives for decades.
Site Selection Intelligence: That 6-8 hours of full sun requirement in Step 1 isn’t just a suggestion—it’s critical for the cascading blooms this cultivar is known for. I learned this the hard way after planting one in partial shade that produced sparse flowers. Also, avoid those low-lying frost pockets mentioned; a slightly elevated spot prevents late frost damage to early blooms.
Planting Depth Precision: The 1-2 inches above soil level for the root ball in Step 2 and 2-3 inches above for the graft union in Step 3 exist to prevent two of the most common killers: trunk rot and girdling roots. Trust me, it’s tempting to plant deeper for stability, but resisting this urge saves you years of potential problems.
Watering Ring Strategy: That 3-inch high watering ring in Step 3 is your secret weapon for the first year. It directs water exactly where the new roots are growing, preventing runoff. I’ve seen too many newly planted trees suffer from inconsistent moisture—this simple step eliminates that risk.
Mulch Placement Wisdom: The 4-6 inches away from trunk rule for mulch in Step 4 prevents moisture buildup against the bark, which can lead to disease. Also, that 2-3 inch layer of organic mulch does double duty: it maintains soil temperature and reduces water evaporation, which is especially important during the 2-3 times per week watering schedule in the first month.
The ideal time is in early spring or fall when the weather is mild. This allows the tree to establish its roots before extreme temperatures hit. Avoid planting in summer heat or winter frost for best results.
This dwarf variety typically reaches 8–15 feet tall with a 6–10-foot spread. Its weeping branches create a stunning, cascading effect, making it perfect for small gardens or as a focal point.
Consider other weeping cherries like ‘Pendula Plena’ or ‘Snow Fountain’. For non-cherry options, weeping redbuds or crabapples offer similar elegance with different bloom colors.
Common issues include insufficient sunlight, improper pruning, or young age (it may take 2–3 years to bloom). Ensure it gets 6+ hours of sun daily and avoid heavy pruning before bloom season.
