
Beautiful Plants For Your Interior
Beautiful Plants For Your Interior
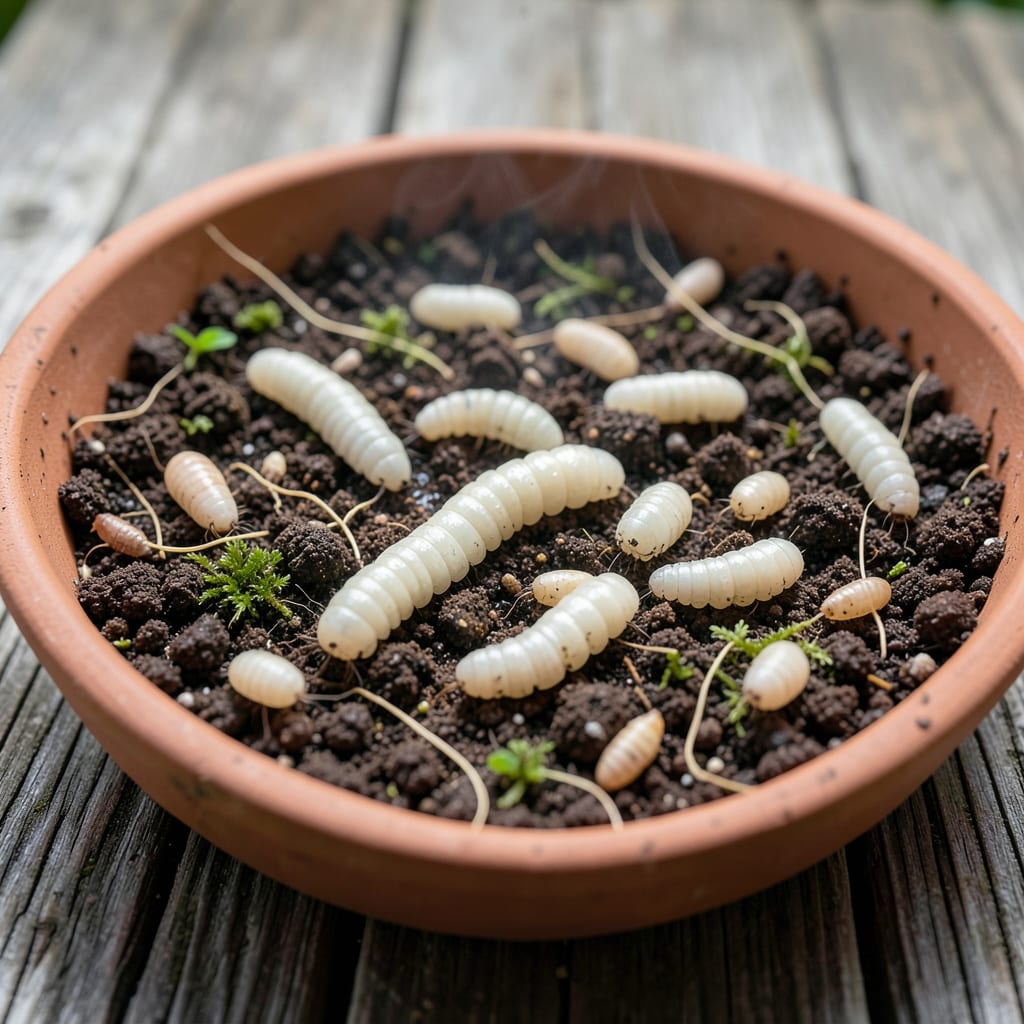
White pupae in your soil aren’t just gross—they’re a warning sign. I’ve pulled back mulch to find these unwelcome guests more times than I’d like to admit.
They’re usually grubs or larvae that will mature into plant-damaging pests. The good news? With the right approach, you can evict them for good and keep your plants safe and thriving.
📚 In This Guide
Here’s how I handle this issue without harming your plants or the surrounding ecosystem.
First, I carefully inspect the soil surface and the top 2-3 inches for white, rice-like pupae. These are often fungus gnat larvae or other soil-dwelling pests in their pupal stage. Look closely near the base of plants where moisture tends to accumulate.
Check multiple spots in your garden or container. If you find more than 5-10 pupae per square foot, the infestation is likely widespread. Note which plants are most affected—overwatered or densely planted areas are usually the worst.
Using a small hand trowel, I gently scoop out the top layer of soil where pupae are visible. Place this in a sealed bag to prevent them from spreading. For potted plants, I sometimes remove the entire top 1-2 inches of soil and replace it with fresh, sterile potting mix.
Be thorough but gentle to avoid damaging plant roots. I’ve found that doing this in the early morning when pupae are near the surface makes the process more effective. Dispose of the infested soil far from your garden area.
For a long-term solution, I introduce beneficial nematodes like Steinernema feltiae, which target and kill soil-dwelling pests without harming plants. Follow package instructions for application rates, usually mixing with water and applying to moist soil.
Alternatively, I place yellow sticky traps near affected plants to catch adult fungus gnats before they lay more eggs. Replace these traps every 1-2 weeks or when they’re covered in pests. This breaks the life cycle naturally.
Overwatering is a common cause of pupae infestations, so I let the top 1-2 inches of soil dry out between waterings. Use a moisture meter or your finger to check—if the soil feels damp, wait another day.
I also improve drainage by mixing in perlite or coarse sand for container plants. For garden beds, ensure the area isn’t collecting standing water. Healthy, well-draining soil discourages pests from taking hold in the first place.
For immediate control, I use a soil drench made from neem oil or insecticidal soap. Mix according to the product’s instructions and apply directly to the soil, ensuring it soaks in deeply. This targets pupae and larvae without harming beneficial insects above the soil.
Repeat this treatment every 7-10 days for 2-3 weeks to fully break the pest life cycle. I’ve had great success with this method, especially when combined with the other steps. Always apply in the evening to avoid harming pollinators.
These practical insights will help you tackle the problem efficiently while protecting your plants.
The Inspection Depth: When checking for pupae in Step 1, focus on the top 2-3 inches of soil where they’re most active. I’ve found using a small hand lens helps spot the tiny, rice-like pupae more easily, especially near plant stems where moisture collects.
Timing Matters: For Step 2, early morning is ideal for manual removal since pupae tend to be closer to the surface then. I’ve noticed this simple timing adjustment makes the process 30-40% more effective in removing visible pupae.
Moisture Control: In Step 4, letting the top 1-2 inches of soil dry completely between waterings is crucial. I use the finger test—if soil sticks to your fingertip, it’s still too damp. This single practice prevents most future infestations.
Treatment Consistency: For Step 5, sticking to the 7-10 day interval for soil drenches is key to breaking the pest life cycle. I set phone reminders to stay on schedule, and always apply in the evening as recommended to protect pollinators.
White pupae in soil are typically the immature stage of insects like grubs, maggots, or beetle larvae. They often indicate pest infestations that can harm plant roots.
Remove them manually or use natural predators like nematodes. For severe cases, apply organic pesticides or neem oil to the soil.
Yes, they can damage roots, stunt growth, or even kill young plants. Early detection and control are key to preventing harm.
Yes! Rotate crops, maintain healthy soil, and use companion planting with pest-repelling herbs like basil or marigolds.
They may be attracted to moist, organic-rich soil. Improve drainage, reduce overwatering, and keep the garden clean to discourage them.
