
Beautiful Plants For Your Interior
Beautiful Plants For Your Interior
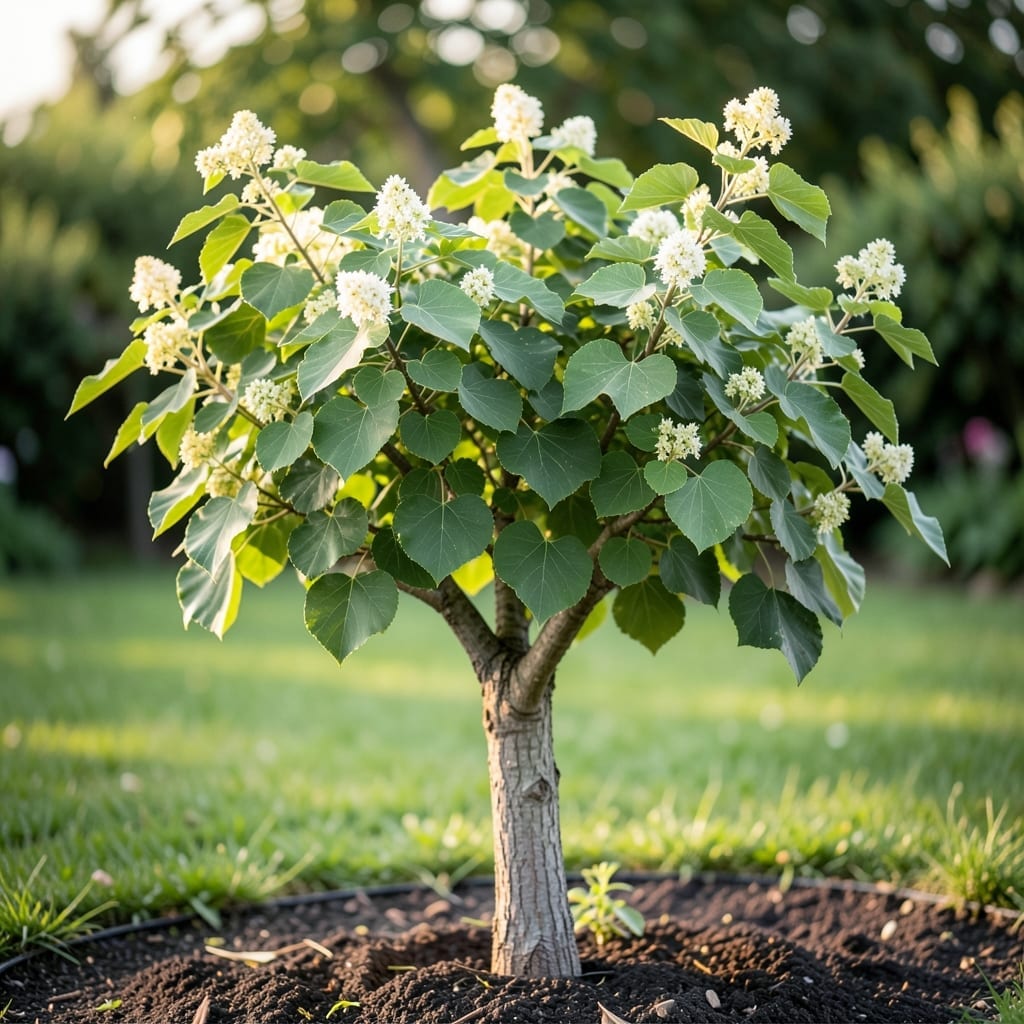
White mulberry leaves are nature’s hardworking multitaskers. I’ve watched them feed silkworms, shade gardens, and boost soil health—all while staying tough against pests.
Growing them starts with well-drained soil and full sun. In 6-8 weeks, you’ll see lush, vibrant foliage that thrives with minimal fuss. This plant rewards patience with beauty and utility.
📚 In This Guide
Here’s the organic method I use to grow vibrant, disease-resistant foliage every season.
Choose a location with full sun to partial shade and well-draining soil. White mulberry thrives in loamy, slightly acidic to neutral soil (pH 6.0-7.0). I always test soil pH first with a home kit—amending incorrectly can lock out nutrients for years.
Remove weeds and debris from a 3-foot diameter area, then loosen the soil to 12-18 inches deep. This encourages deep root establishment, which is critical for drought resistance. Avoid heavy clay or compacted areas where water pools after rain.
For bare-root trees, soak roots in lukewarm water for 2 hours before planting to rehydrate the system. Dig a hole twice as wide as the root ball but no deeper—the crown should sit slightly above soil level to prevent rot.
Backfill with native soil mixed with 20% compost for immediate nutrient access. Water thoroughly after planting until the soil settles, then add more mix if needed. I stake young trees for the first year to protect against wind rock, which can damage developing roots.
Water deeply 2-3 times weekly for the first month, then reduce to once weekly once established. The goal is 1-2 inches of moisture per week, including rainfall. Mulberry leaves will droop slightly when thirsty—a clear visual cue.
Apply a 2-inch layer of organic mulch (wood chips or straw) around the base, keeping it 6 inches away from the trunk to prevent rot. Fertilize in early spring with a balanced organic formula, but avoid high-nitrogen blends—they produce excessive leafy growth at the expense of fruit.
Prune in late winter while the tree is still dormant. Remove dead, diseased, or crossing branches first. Then thin the canopy to allow light penetration—this is what produces the lush, healthy foliage the species is known for.
Make cuts at a 45-degree angle just above a bud or lateral branch. Never remove more than 25% of the canopy in a single year, as this stresses the tree and reduces leaf yield. Sterilize pruners with rubbing alcohol between cuts to prevent disease spread.
Inspect leaves weekly for signs of pests like aphids or spider mites, which are attracted to the tree’s sweet sap. A strong blast of water often dislodges them, but I use neem oil for persistent infestations. Yellowing leaves typically indicate overwatering or nutrient deficiency.
Collect fallen leaves promptly to prevent fungal diseases from taking hold in the damp debris. White mulberry is generally low-maintenance, but these small attention to details ensure the vigorous, vibrant foliage that makes it such a rewarding plant to grow.
Cultivating thriving mulberry requires attention to these key details.
Soil Preparation Insight: The 12-18 inch soil loosening in Step 1 isn’t just for drainage—it creates the deep root zone that makes white mulberry drought-resistant. I learned this the hard way after planting in compacted soil that stunted growth for years. Test that pH between 6.0-7.0 religiously; even slight deviations can lock out essential nutrients.
Planting Precision: Those 2 hours of root soaking in Step 2 are non-negotiable for bare-root trees. Skipping this rehydration step causes transplant shock that can set back growth by an entire season. And when backfilling, that 20% compost ratio provides immediate nutrients without overwhelming the young roots.
Watering Wisdom: The 2-3 times weekly watering for the first month might seem excessive, but it’s establishing the deep root system. After establishment, the 1-2 inches of weekly moisture including rainfall is surprisingly precise—mulberry leaves literally tell you when they’re thirsty by drooping slightly. That 2-inch mulch layer maintains moisture while preventing rot when kept 6 inches from the trunk.
Pruning Caution: Never exceed that 25% canopy removal limit in Step 4. I made this mistake once and the tree spent the next year recovering instead of producing lush foliage. The 45-degree angle cuts heal faster and prevent water pooling that leads to disease.
Yes! White mulberry trees thrive in well-draining soil and full sunlight. Start with a young sapling or seeds, water regularly, and prune to encourage leafy growth. They’re hardy in USDA zones 4-8.
Harvest in late spring to early summer when leaves are tender and bright green. Pick in the morning for peak freshness, avoiding wilted or damaged leaves.
If unavailable, red mulberry or blackberry leaves are close alternatives, though their flavor and nutrients may differ slightly. Always confirm edibility before use.
Yellowing often signals overwatering, nutrient deficiency, or pests. Check soil moisture, fertilize if needed, and inspect for aphids or mites.