
Beautiful Plants For Your Interior
Beautiful Plants For Your Interior
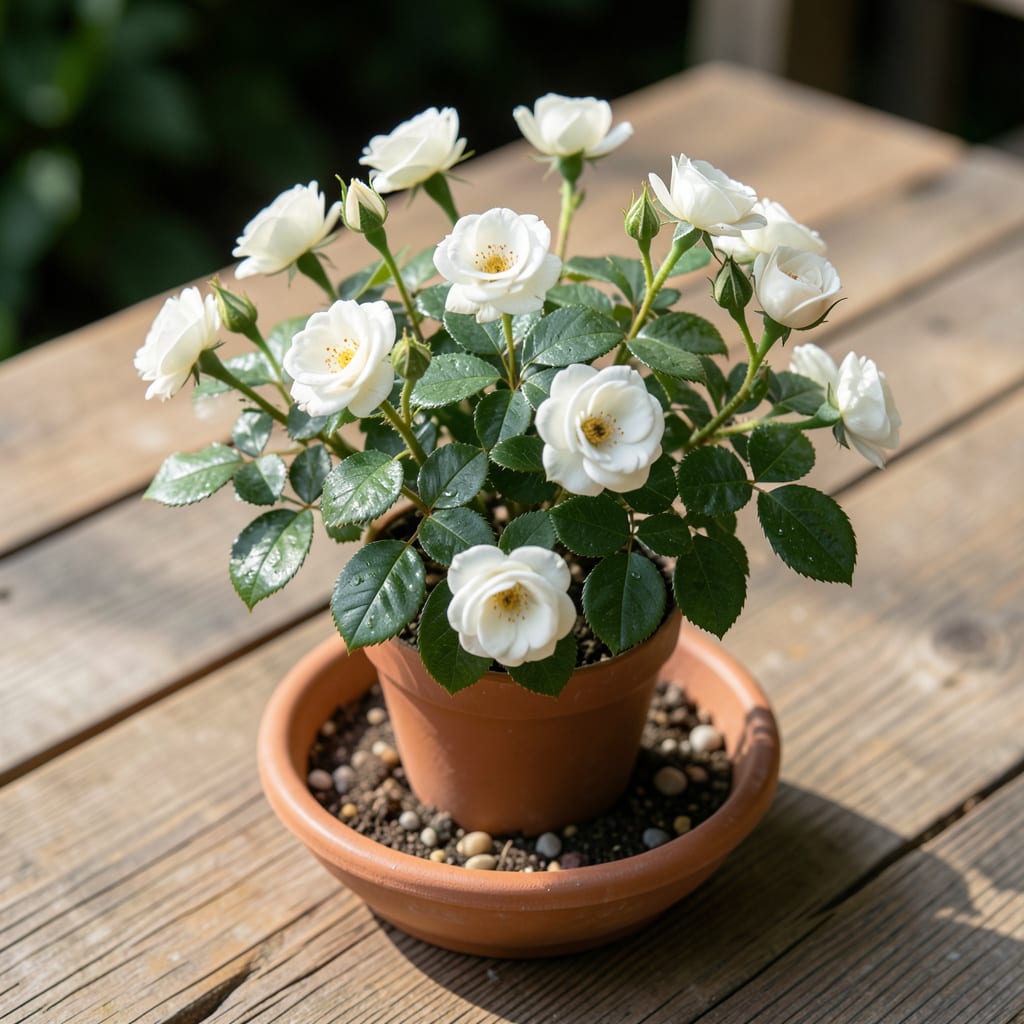
Tiny but mighty—my white miniature rose bush fits in a 1-gallon pot yet packs full-sized beauty. It transformed my balcony into a fragrant retreat, and the blooms keep coming from spring until frost.
Perfect for small spaces, this little powerhouse needs just 6 hours of sun, consistent watering, and occasional pruning to stay compact and productive. You’ll get dozens of delicate white flowers on a plant that never outgrows its welcome.
📚 In This Guide
This method delivers healthy, blooming plants that thrive in confined spaces with minimal effort.
Choose a spot with at least 6 hours of direct sunlight daily, as miniature roses demand intense light for prolific blooming. Morning sun is preferable because it dries dew quickly, reducing fungal disease risk. Avoid low-lying areas where cold air settles, as this can damage sensitive buds during unexpected frosts.
Ensure the location has well-draining soil with a pH between 6.0 and 6.5. Test drainage by digging a 12-inch-deep hole and filling it with water—if it empties within 2 hours, your soil is suitable. Amend heavy clay or sandy soil with organic matter before planting to improve structure and fertility.
Dig a hole that’s twice as wide and just as deep as the root ball. This gives roots room to spread without sinking the plant too deeply. Remove any weeds, rocks, or debris from the hole, as these can hinder root establishment and water penetration.
Loosen the soil at the bottom and sides of the hole with a garden fork to encourage root growth beyond the planting zone. If your soil is particularly poor, mix in a handful of compost or well-rotted manure to provide an initial nutrient boost. This step ensures your rose won’t struggle in its first critical weeks.
Gently remove the rose from its container and inspect the roots. If they’re circling the pot, lightly tease them apart to encourage outward growth. Place the plant in the hole so the graft union (the swollen area where the rose was budded onto the rootstock) sits 1-2 inches above soil level in cold climates or at soil level in warmer regions.
Backfill the hole with native soil, tampering lightly every 4-6 inches to eliminate air pockets. Avoid pressing too firmly, as compacted soil restricts root growth. Water deeply immediately after planting to settle the soil and hydrate the roots—this is the most critical watering your rose will receive.
After planting, water thoroughly until the soil is soaked to a depth of 12 inches. For the first 2 weeks, keep the soil consistently moist but not waterlogged. Stick your finger 2 inches into the soil—if it feels dry, it’s time to water again. Morning watering is ideal to allow foliage to dry before evening.
Apply a 2-3 inch layer of organic mulch, such as shredded bark or pine needles, around the base of the plant, keeping it 3 inches away from the stem to prevent rot. Mulch retains moisture, suppresses weeds, and insulates roots from temperature fluctuations. Replenish it as needed to maintain depth throughout the growing season.
Once the plant is established (after 4-6 weeks), prune any dead, diseased, or crossing branches to improve air circulation. Use clean, sharp pruners to make cuts at a 45-degree angle just above an outward-facing bud. This encourages healthy new growth and prevents moisture from pooling on cut surfaces.
Fertilize lightly with a balanced, water-soluble rose fertilizer 4 weeks after planting, following package instructions. Over-fertilizing can burn young roots, so err on the side of caution. You’ll notice stronger stems and darker green leaves within 2-3 weeks of feeding, signaling that your rose is settling in well.
Small adjustments in planting make a big difference for miniature roses.
The Sunlight Requirement: Those 6 hours of direct sunlight are non-negotiable for prolific blooming. I learned this the hard way after planting in partial shade and getting sparse flowers. Morning sun is ideal as it dries dew quickly, preventing fungal issues. If your space only gets afternoon sun, ensure it’s unobstructed and intense.
Soil Test Insight: The 2-hour drainage test is your best insurance against root rot. Dig that 12-inch-deep hole, fill it with water, and time it. If it doesn’t empty within 2 hours, amend with compost or sand. Miniature roses hate wet feet, and this test saves you from future headaches.
Planting Depth Critical: Positioning the graft union 1-2 inches above soil level in cold climates prevents winter damage. In warmer regions, planting at soil level works fine. I’ve seen gardeners bury the graft union too deep, leading to poor growth and disease susceptibility—don’t make that mistake.
Watering Wisdom: That initial deep watering to 12 inches is the most critical hydration your rose will receive. For the first 2 weeks, keep the soil consistently moist but not soggy. Stick your finger 2 inches into the soil—if it’s dry, water immediately. Morning watering gives foliage time to dry, reducing disease risk.
Water deeply once a week, ensuring the soil stays moist but not soggy. In hot climates, increase to twice a week. Always check the top inch of soil—if it’s dry, it’s time to water!
Prune in early spring, just as new growth begins. Remove dead or weak stems and shape the bush to encourage airflow and blooming. Light pruning after each bloom cycle keeps it tidy.
Yes! Place it near a sunny window (6+ hours of light daily) and use a well-draining potting mix. Supplement with grow lights in low-light conditions and maintain humidity.
Yellow leaves often signal overwatering, poor drainage, or nutrient deficiencies. Check soil moisture, ensure proper drainage, and fertilize with a balanced rose fertilizer every 4-6 weeks.
