
Beautiful Plants For Your Interior
Beautiful Plants For Your Interior
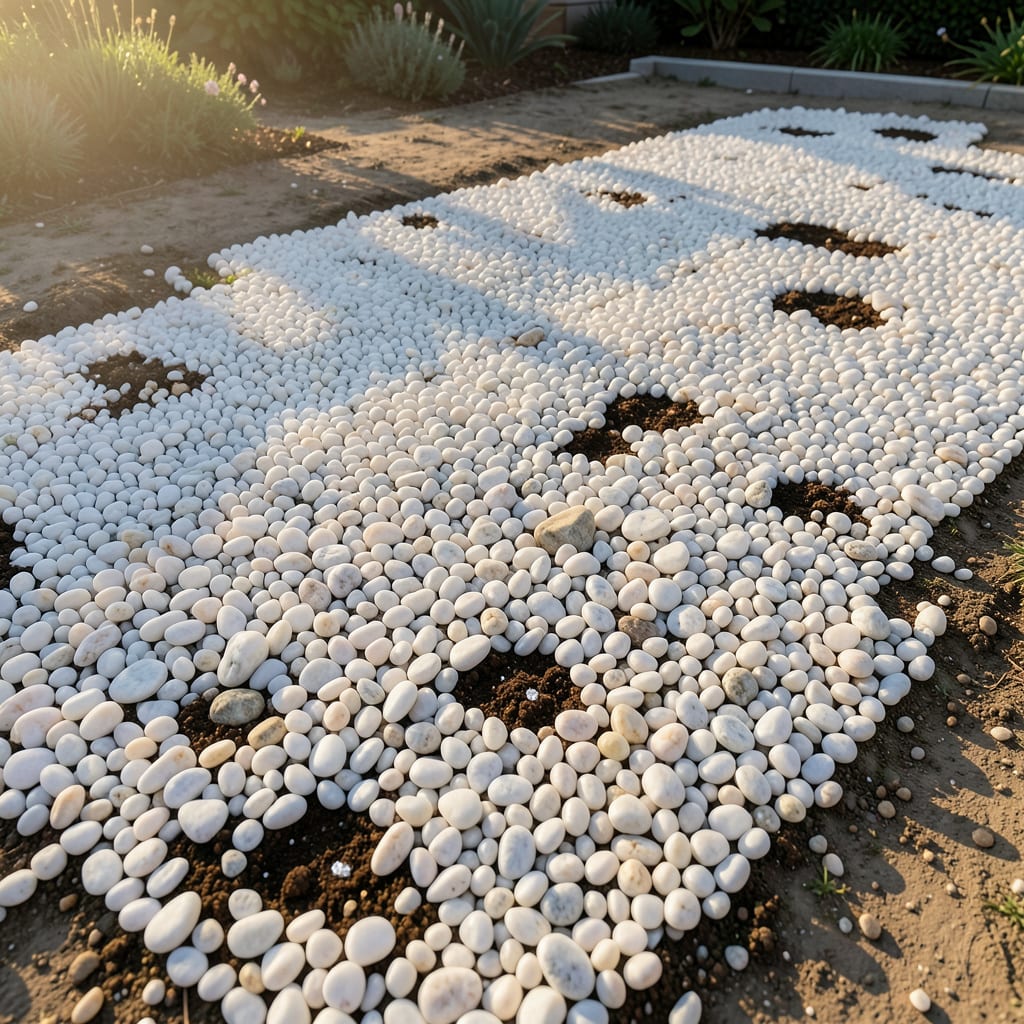
White marble chips transformed my dull garden paths into something sleek and modern. The bright, clean look makes any outdoor space feel intentional and polished.
They work as mulch, pathway filler, or around water features. Pair them with dark foliage or succulents for stunning contrast. Low maintenance, long-lasting, and no weeding required.
📚 In This Guide
This method delivers that clean, contemporary look while preventing weeds and retaining moisture.
Begin by marking the area with landscape flags or spray paint. Remove all grass, weeds, and debris from the site—this prevents future growth from pushing through your marble chips. I use a flat shovel to skimming just below the surface, ensuring I don’t disturb the underlying soil structure.
For stubborn perennials or deep-rooted weeds, a targeted application of vinegar-based weed killer works effectively. Wait 3-5 days to confirm all vegetation is dead before proceeding. The site should be completely clear and level for the best visual impact.
Lay down a high-quality landscape fabric across the entire area, overlapping edges by at least 6 inches to prevent weed encroachment. Secure the fabric with landscape staples every 2-3 feet, paying special attention to edges and corners where wind might lift it.
This barrier is critical—it blocks sunlight to emerging weeds while allowing water to permeate through to the soil below. I’ve found that skipping this step inevitably leads to maintenance headaches within a single season.
Determine your coverage depth: 2-3 inches provides full ground cover while allowing proper drainage. For a modern aesthetic, aim for consistent depth throughout. Spread the chips evenly using a rake, working from the outer edges inward.
The weight of the marble will naturally settle the chips, but I use the back of my rake to gently press them into the fabric for initial stability. Avoid walking on the fresh layer until it’s fully distributed.
Create clean borders using metal or plastic edging material to contain the chips and maintain that sharp, contemporary look. Press the edging 1-2 inches into the soil to prevent shifting during weather changes or maintenance.
Once installed, lightly mist the area with water to help settle the chips and remove any dust from the installation process. The finished surface should appear uniform, with the bright white chips creating immediate visual impact against your landscape elements.
This ground cover requires virtually no maintenance beyond occasional raking to redistribute chips displaced by wind or foot traffic. The reflective quality of the white marble will enhance moonlight gardening and provide year-round visual interest.
These strategies ensure your installation stays pristine and hassle-free for years.
Site Preparation Tip: In Step 1, take extra time to remove all vegetation completely. I learned the hard way that even small roots left behind can push through the landscape fabric over time. Use a flat shovel to skim just below the surface without disturbing the soil structure underneath.
Fabric Installation Insight: When installing landscape fabric in Step 2, overlap edges by the full 6 inches and secure with staples every 2-3 feet. This prevents weeds from creeping in at the seams, which is where most installations fail. Pay special attention to edges and corners where wind can lift the fabric.
Distribution Technique: For Step 3, use the back of your rake to gently press the marble chips into the fabric after spreading. This creates initial stability and prevents shifting during the first rain. Avoid walking on the fresh layer until fully distributed to maintain consistent depth.
Edge Definition: In Step 4, press your edging material 1-2 inches into the soil. This depth prevents shifting during weather changes or maintenance. A shallow installation will allow the chips to spread beyond your intended area over time.
White marble chips are a versatile ground cover, perfect for garden beds, pathways, and decorative accents. Their bright, clean look enhances modern landscapes while suppressing weeds and retaining soil moisture.
Multiply the area’s length and width (in feet), then multiply by the desired depth (in feet). Divide by 27 to get cubic yards. For example, a 10x10ft space with 2″ depth needs ~0.6 cubic yards.
High-quality white marble chips resist fading, but exposure to direct sunlight or acidic rain may cause slight yellowing over years. Sealing them can help maintain their brightness longer.
Crushed limestone or white granite chips offer a similar aesthetic at a lower cost. However, they may lack the polished, elegant finish of marble. Always compare texture and color before purchasing.
Lay a landscape fabric beneath the chips to block weeds. For extra protection, add a 1-2 inch layer of mulch under the fabric. Regularly remove debris to keep the area weed-free.
