
Beautiful Plants For Your Interior
Beautiful Plants For Your Interior
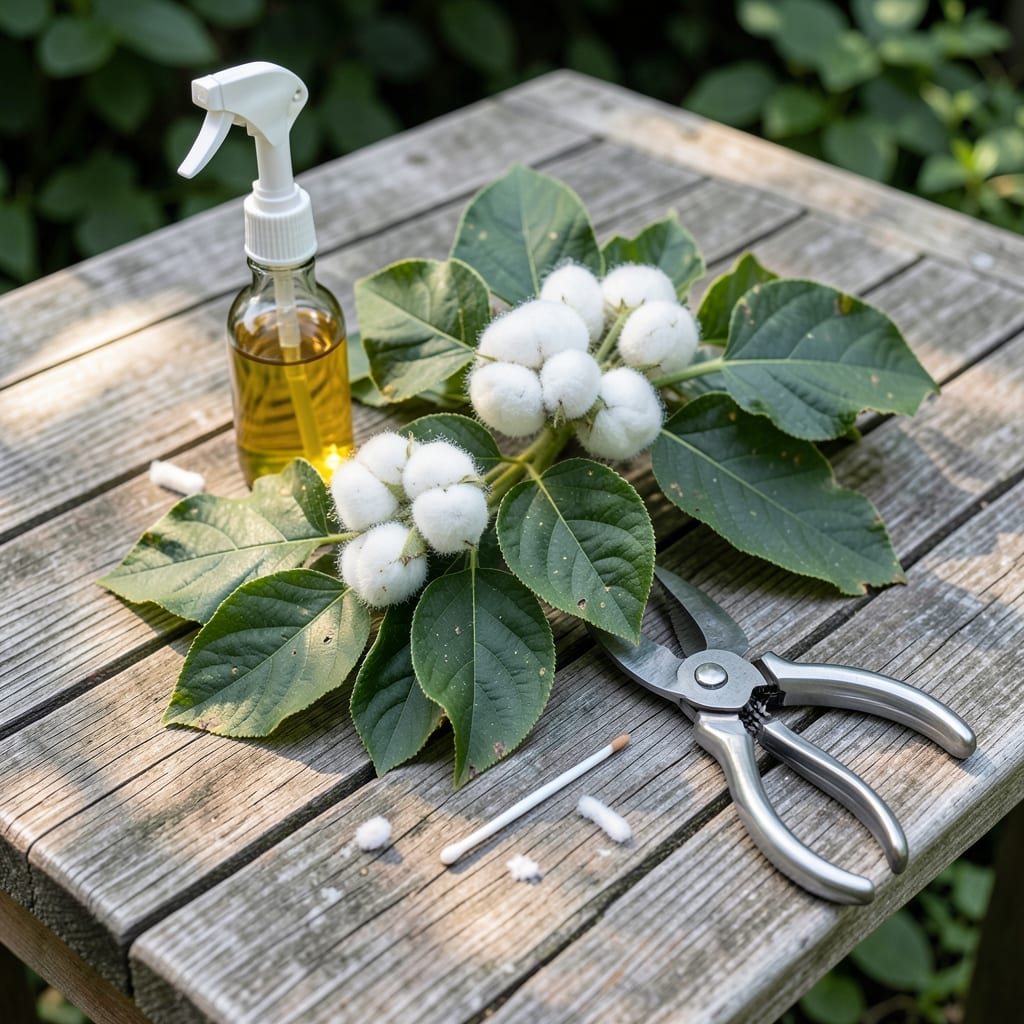
Spotted white fuzzy eggs on your leaves? Don’t panic—this is usually mealybugs or scale insects setting up shop. I’ve dealt with both, and early action makes all the difference.
You’ll want to isolate the plant, wipe off visible eggs with a damp cloth, and treat with neem oil or insecticidal soap. Within a week, you’ll see the infestation shrink and your plant bounce back.
Nothing fancy here. Just the essentials to evict those uninvited guests fast.
| Ingredient | Amount | Notes |
|---|---|---|
| Neem Oil 🌿 | 1 piece | Cold-pressed 100% pure |
| Insecticidal Soap 💧 | 1 piece | Ready-to-use spray bottle |
| Rubbing Alcohol 🧪 | 1 piece | 70% isopropyl solution |
| Cotton Swabs 🪴 | 10 pieces | For spot treatment of eggs |
| Spray Bottle 💦 | 1 piece | Empty for custom mixes |
| Pruning Shears ✂️ | 1 piece | Sterilized sharp blades |
| Damp Cloth 📋 | 1 piece | Microfiber or soft cotton |
| Garden Gloves 🧤 | 1 piece | Nitrile or latex for protection |
| Magnifying Glass 🔍 | 1 piece | For egg identification |
[recipeingredientscaler]
Neem oil is your MVP here—cold-pressed 100% pure works best (the good stuff, not the diluted versions). Grab it at garden centers or online. Insecticidal soap is widely available at Home Depot or Lowe’s; just shake the bottle well before use. Rubbing alcohol at 70% strength is perfect for spot treatment, and any drugstore carries it.
No neem oil? Insecticidal soap alone still knocks back soft-bodied pests. Out of cotton swabs? A damp cloth works for wiping eggs off leaves (or whatever soft fabric you’ve got). Skip the alcohol if the plant is sensitive—test a small area first. Pruning shears can be swapped for sharp scissors if that’s what you have.
Store neem oil and insecticidal soap in a cool, dark place—they last 1-2 years unopened. Keep rubbing alcohol sealed tight to prevent evaporation. I label my spray bottles with the mix date so I’m not guessing if it’s still potent six months later.
Here’s the organic method I use to identify and eliminate pests before they hatch and spread.
Put on the garden gloves to protect your hands, then use the magnifying glass to examine the white fuzzy clusters closely. These eggs typically appear in groups on the undersides of leaves and along stems. The fuzzy texture distinguishes them from other pest eggs, which are usually smooth.
Look for tiny, oval shapes with a cottony, web-like covering. Real talk: if they’re clustered in a cottony mass, you’re dealing with mealybug eggs. This step prevents misidentifying the problem and using the wrong treatment.
Dip a cotton swab into the rubbing alcohol and gently dab each egg cluster you find. The alcohol dissolves the protective coating and kills the eggs on contact. Replace the swab frequently to avoid spreading any surviving eggs to clean areas.
Focus on the undersides of leaves and stem joints, where these pests prefer to lay their eggs. I’ve found that thoroughness here reduces the need for follow-up treatments. Use all 10 cotton swabs if needed—don’t skimp.
Shake the insecticidal soap well, then spray it directly onto the affected areas, covering both the upper and lower leaf surfaces. The soap disrupts the cell membranes of any pests or eggs it contacts, providing immediate control without harsh chemicals.
Apply in the early morning or late evening to avoid leaf burn from the sun, and ensure the leaves are dry before treatment. This timing maximizes effectiveness while protecting your plants from stress.
Mix the neem oil with water in the spray bottle according to the label instructions (typically 1 tablespoon per gallon of water). Spray the solution evenly over the entire plant, focusing on the same areas where you found the eggs. Neem oil smothers remaining eggs and deters future infestations.
Reapply every 7-10 days for 2-3 weeks to break the pest life cycle. This prevents a resurgence and keeps your plants protected. Always spray in the evening for best absorption and to avoid harming beneficial insects.
Use the pruning shears to remove any heavily infested leaves or stems, and dispose of them in a sealed bag to prevent spreading. Sterilize the shears with rubbing alcohol between cuts to avoid contaminating other parts of the plant.
Wipe down the remaining leaves and stems with the damp cloth to remove any residual eggs or pests. This physical removal complements the chemical treatments and ensures a thorough cleanup.
If you’ve collected or prepared dishes featuring ingredients that resemble white fuzzy eggs on leaves (like certain caterpillar-infested greens after cleaning), store leftovers in airtight containers. They’ll stay fresh in the fridge for 3-4 days. Keep them in the coldest part of the refrigerator to slow spoilage and maintain texture.
For longer storage, freeze your prepared items in moisture-proof bags or vacuum-sealed containers. Properly wrapped, they can last 2-3 months without significant quality loss. Squeeze out excess air to prevent freezer burn, which can dry out the food.
Reheat in the oven at 350°F for 10-15 minutes for even warmth, or use a microwave on medium power in 1-minute intervals, stirring between each. For a smoky flavor, reheat on a smoker at 225°F for 20-30 minutes, ensuring internal temperature reaches 165°F.
To preserve moisture, add a splash of water or broth before reheating. Thaw frozen items overnight in the fridge for best results. Avoid refreezing after thawing to maintain flavor and texture. These steps help retain the integrity of your dish, even if it started with an unexpected garden discovery!
