
Beautiful Plants For Your Interior
Beautiful Plants For Your Interior
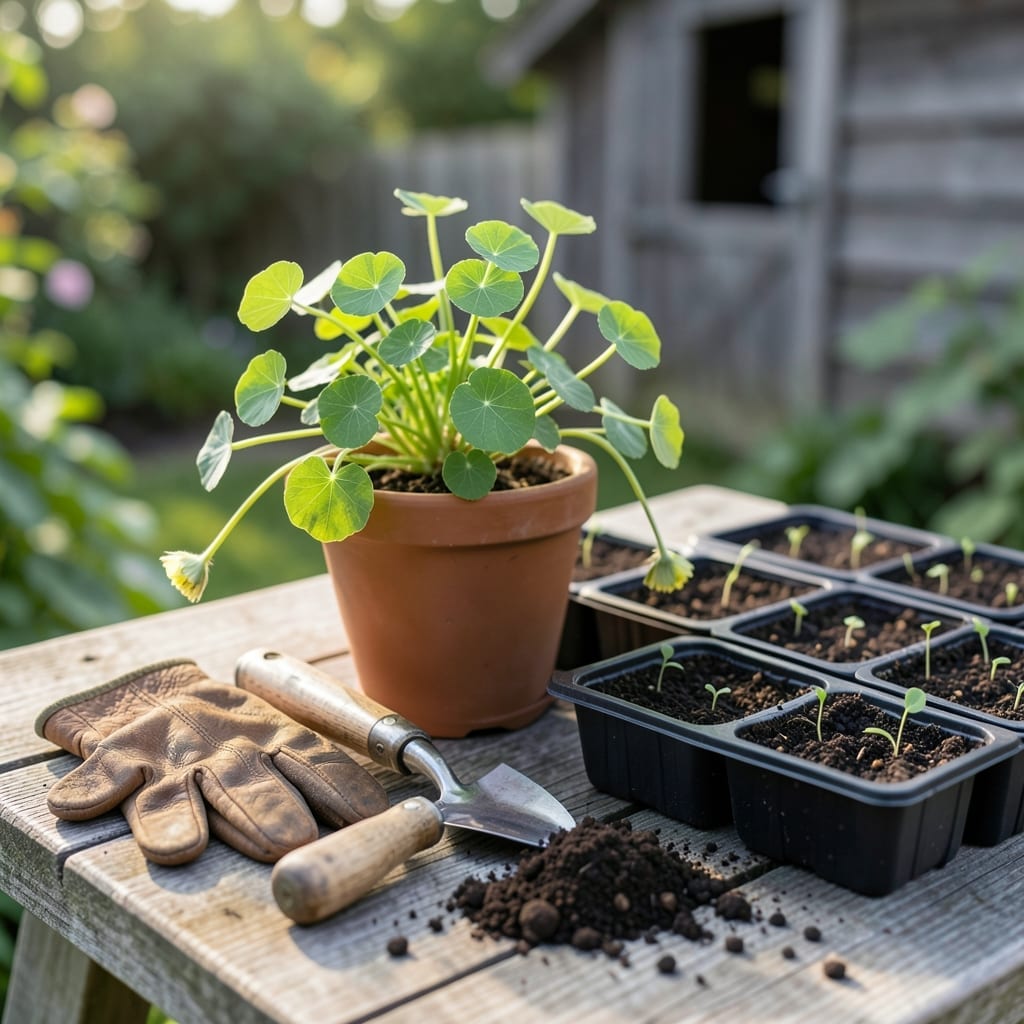
Transplanting Nasturtium 🌼 seedlings at the wrong time can stunt their growth or even kill them. This delicate process demands precision, but nailing the timing rewards you with vibrant blooms all season.
I’ve learned that waiting for the right moment—after the last frost when soil warms—makes all the difference. It’s about more than just calendar dates; you’ve got to watch your seedlings closely.
Discover the signs of readiness and seasonal cues that ensure your 🌼 Nasturtium thrives. Let’s set you up for success from the very first transplant.


Timing is everything when moving nasturtium seedlings to their permanent home. I’ve found that waiting until after the last frost is crucial, as these tender plants can’t handle cold snaps. In most regions, that means mid-to-late spring is ideal.
But it’s not just about the calendar. Your seedlings need to show 2-3 true leaves and sturdy stems before they’re ready. The soil temperature should be at least 60°F for best results. Watch for these signs closely.
| Requirement | Specification |
|---|---|
| Frost Date | After last frost |
| Seedling Stage | 2-3 true leaves |
| Soil Temp | 60°F+ |
| Light Needs | Full sun |
| Spacing | 12-18 inches |
Regional climate plays a big role too. In warmer zones like USDA 7-10, you might transplant earlier, while cooler areas (Zones 3-6) need to wait until May or June. Always check your local frost dates for precision.
I recommend starting seeds indoors 4-6 weeks before the last frost. This gives them a head start. When the nighttime temperatures stay above 50°F, it’s a green light for transplanting.
The hardening off process is non-negotiable. I gradually expose my seedlings to outdoor conditions over 7-10 days. Start with shade and short sessions, then increase sun and time daily.
Your soil preparation matters just as much as timing. I always amend the planting area with compost or aged manure. Nasturtiums prefer well-draining soil and can handle poor fertility, but they’ll thrive with a little boost.
When transplanting, I dig holes slightly larger than the root ball and space plants 12-18 inches apart. This gives them room to spread. Water thoroughly before and after moving them to reduce shock.
Post-transplant care is simple but critical. I keep the soil consistently moist (not soggy) for the first week. A light mulch helps retain moisture and suppress weeds. Avoid fertilizing immediately—let them establish first.
Watch for signs of stress like wilted leaves or stunted growth. If this happens, provide temporary shade and ensure the soil stays moist. Most seedlings bounce back within a few days if conditions are right.
Remember, morning planting is best. It gives your nasturtiums the whole day to recover before the cooler night temperatures set in. This small detail can make a big difference in their success 🌼
Moving nasturtium seedlings requires a gentle touch and smart timing. I always start with hardening off to prepare them for the outdoor environment. This process prevents transplant shock and helps seedlings adjust gradually.
Begin by placing your seedlings outside in shade for 1-2 hours a day, then slowly increase their exposure to sunlight and wind. After 7-10 days, they’ll be ready for their new home.
I always select a sunny spot with at least 6 hours of sunlight daily. Nasturtiums thrive in poor to average soil, but I like to mix in some compost for a nutrient boost. Avoid overly rich soil, as it can lead to more leaves and fewer flowers.
When removing seedlings from their pots, I gently squeeze the container to loosen the roots. If they’re root-bound, I carefully tease the roots apart before planting. This encourages new root growth in their permanent location.
After transplanting, I keep the soil consistently moist for the first week. A light layer of mulch helps retain moisture and prevents weeds. I avoid fertilizing immediately, as this can stress the young plants.
Watch for signs of stress, like drooping leaves or slow growth. If this happens, I provide temporary shade and ensure the soil stays moist. Most seedlings recover quickly with proper care 🌼