
Beautiful Plants For Your Interior
Beautiful Plants For Your Interior
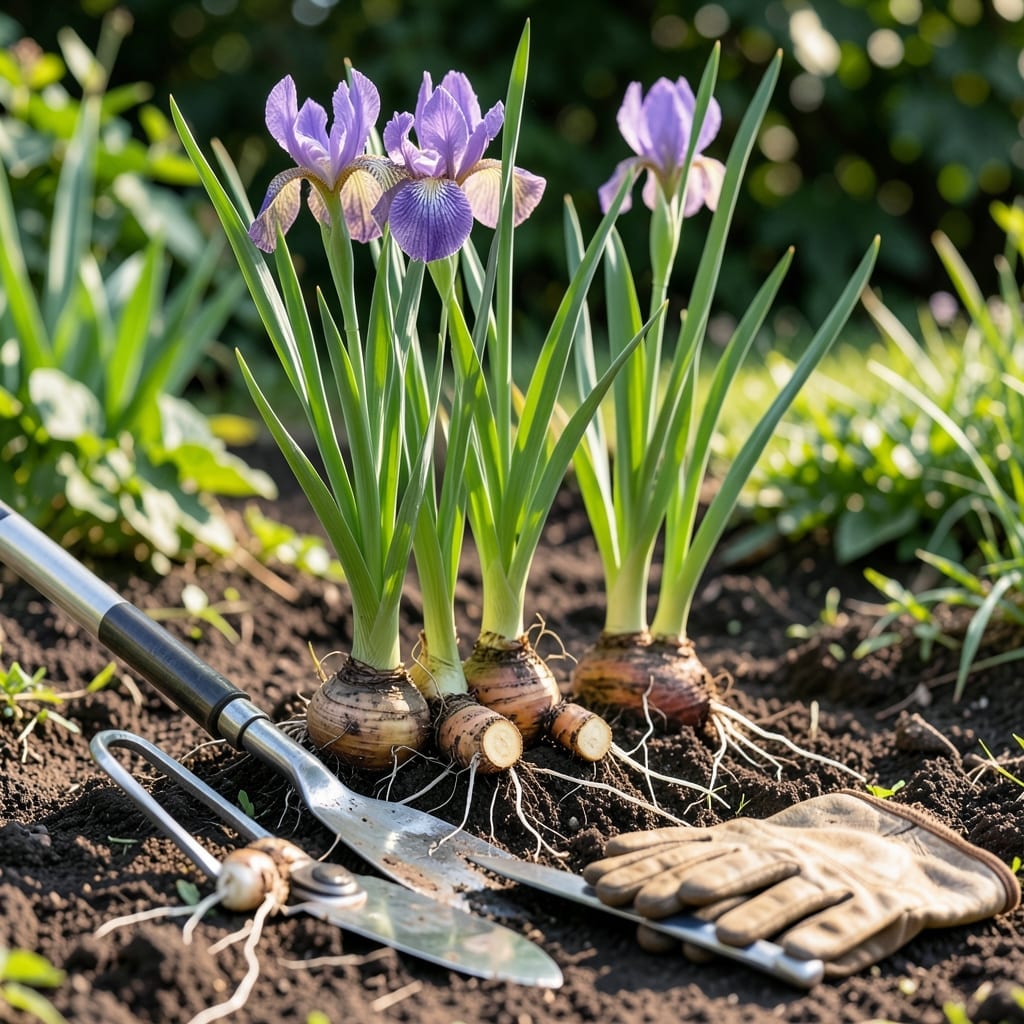
Overcrowded 🌸 Iris clumps lead to fewer blooms and weaker plants. It’s a common issue that sneaks up on even the most attentive gardeners.
Separating them at the right time can rejuvenate your garden and bring back those vibrant flowers. The key is knowing when to act for the best results.
Discover the ideal window to divide your Iris so you can enjoy healthier, more abundant blooms year after year.
Timing is everything when it comes to dividing iris. The best window falls in late summer to early fall, typically 6-8 weeks after blooming.
This period allows the rhizomes to establish roots before winter dormancy. I’ve found that July through September works perfectly in most USDA zones 3-9.☀️
| Timing Factor | Ideal Window |
| Best Months | July-September |
| Post-Bloom | 6-8 weeks after |
| Climate | Before first frost |
| USDA Zones | 3-9 |
In warmer climates like zone 9, you can push this to early October. The key is giving plants 4-6 weeks of growth before cold weather hits.
Watch for signs of overcrowding: fewer blooms, center dieback, or rhizomes pushing out of soil. These are clear indicators it’s time to divide and conquer.🌱
I always check the weather forecast before dividing. Aim for a stretch of dry, mild days to let the new divisions settle without stress from extreme heat or rain.
Early morning is the best time of day for this task. The cooler temperatures reduce stress on both you and the iris plants. Plus, the soil is often moist but workable.
If you miss the fall window, early spring is your second-best option. However, be aware that spring-divided iris may not bloom that year as they focus on root establishment.
Remember that bearded iris and Siberian iris have slightly different needs. Bearded types prefer full sun and well-drained soil, while Siberians tolerate more moisture.🌿
After dividing, give your iris a good drink of water and avoid heavy fertilization until spring. This helps them focus on root growth rather than foliage production.
Dividing iris rhizomes is simpler than it seems. I start by preparing my garden tools: a sharp spade, pruning shears, and gardening gloves for protection.
The first step is carefully digging up the entire iris clump. I use my spade to loosen the soil in a wide circle around the base, then gently lift the rhizomes from the earth.✂️
After lifting, I shake off excess soil to better see the rhizome structure. Each healthy division should have 1-2 fans of leaves and a portion of the root system attached.
Using my pruning shears, I carefully cut apart the rhizomes, ensuring each piece has at least one strong fan. Discard any soft or rotten sections to prevent disease spread.
Before replanting, I trim the leaves to about 6 inches tall. This reduces water loss and helps the plant focus energy on root establishment rather than foliage.
When replanting, I place each rhizome horizontally in a shallow hole, with the top partially exposed. This prevents rot and encourages healthy growth. Space them 12-24 inches apart for proper airflow.🌱