
Beautiful Plants For Your Interior
Beautiful Plants For Your Interior
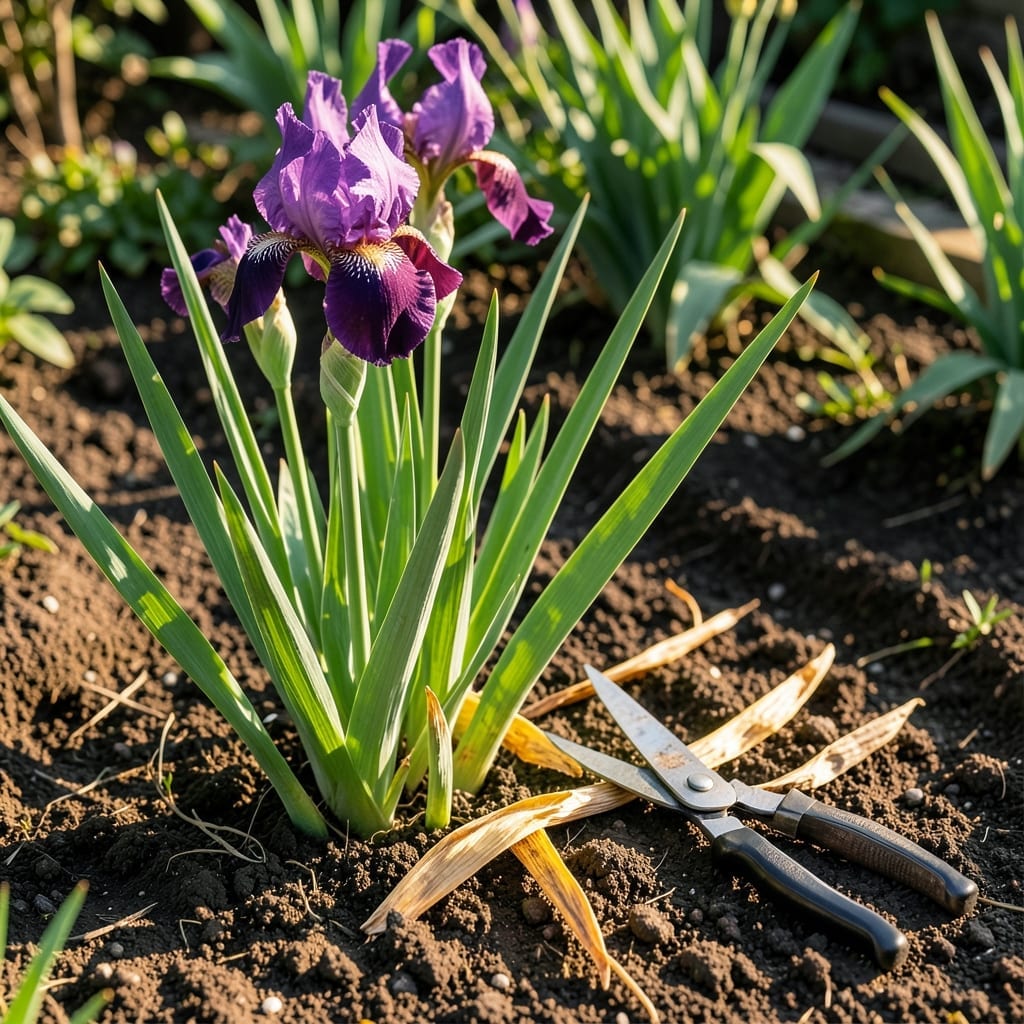
I know how tempting it is to grab those shears and tidy up your garden, but with Iris 🌸, timing is everything. Prune too early, and you risk stunting next year’s blooms.
These hardy perennials need their foliage to feed the rhizomes after flowering. The key is waiting until the leaves start to yellow and wilt naturally.
Discover the perfect window to prune for healthier plants and a more vibrant display next season. Let me show you exactly when to make the cut.
I always tell gardeners that iris leaves are the plant’s energy factories. After blooming, they work overtime to store nutrients in the rhizomes for next year’s growth.
Pruning too soon removes this vital food source. The best time is when the foliage starts to yellow and wilt, typically in late summer or early fall.
| Stage | Action |
|---|---|
| Post-Bloom | Leave leaves until they yellow |
| Late Summer | Cut back yellowed foliage |
| Fall | Remove all dead leaves |
In USDA Zone 6a, I’ve found that August and September are ideal for pruning. This gives the rhizomes enough time to store energy before winter dormancy.
If you’re in a warmer climate, you might wait until October. The key is to watch for the natural browning of the leaves, not the calendar.
I’ve seen gardeners make the mistake of pruning right after blooming. This can weaken the plant and reduce next year’s flowers significantly.
The iris rhizomes need those green leaves to photosynthesize and build up reserves. Cutting them too early is like removing a car’s gas tank mid-journey.
Another sign it’s time is when the leaves start to flop over. This usually happens about 6-8 weeks after the blooms have faded.
For reblooming irises, you might see a second flush of flowers. In this case, wait until all blooming cycles are complete before pruning.
Remember, healthy irises can have 3-4 feet of foliage. Don’t be afraid of the height—it’s all working for next year’s show.
After pruning, I recommend clearing all debris to prevent pests and diseases. This keeps your iris bed clean and ready for next season’s growth. ✂️
I always start by gathering the right tools for the job. A pair of sharp bypass pruners and gardening gloves are essential to make clean cuts and protect your hands from the iris leaves’ sharp edges.
Before you begin, inspect your iris plants for any signs of disease or pests. If you spot any issues, address those first to prevent spreading problems during pruning.
When you’re ready to prune, cut the leaves back to about 4-6 inches above the rhizome. This height helps protect the rhizome from sunburn and pests while still allowing for airflow.
Make your cuts at a 45-degree angle. This helps water run off the cut ends instead of pooling, which can lead to rot or disease in your iris plants.
After pruning, I like to clean up the area thoroughly. Remove all the cut foliage and any other debris from around the plants. This reduces the risk of pests and diseases overwintering in your garden.
Don’t forget to sanitize your pruners between plants, especially if you notice any signs of disease. A quick wipe with rubbing alcohol can prevent spreading issues to healthy plants. ✂️