
Beautiful Plants For Your Interior
Beautiful Plants For Your Interior
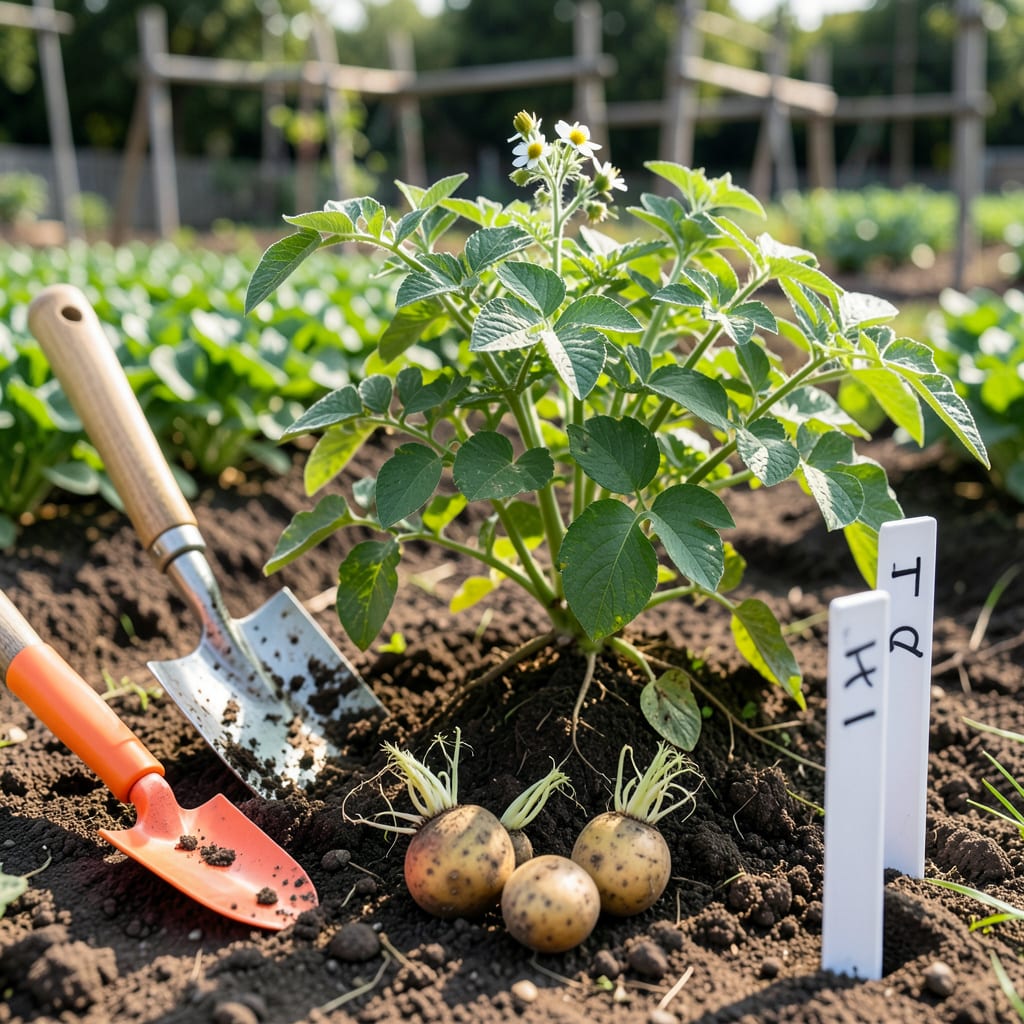
Imagine pulling up a bucket of fresh, earthy 🥔 potatoes from your Connecticut garden—crisp, flavorful, and grown right in your backyard. But here’s the catch: timing is everything in our Zone 6b climate, where a single misstep can mean the difference between a bumper crop and a disappointing harvest.
I’ve seen too many gardeners plant too early and lose their spuds to frost, or wait too long and miss the perfect window. Let me show you exactly how to nail the timing this season—so you can enjoy homegrown potatoes from June through September without the guesswork.
If you’ve ever wondered why your neighbor’s potato harvest looks like a gold mine while yours resembles a sad handful of marbles, the answer usually comes down to timing and soil temperature. In Connecticut, our USDA Zones 5b-7a mean we’ve got a tight window between frost risks and summer heat.
Here’s the golden rule: Potatoes thrive when soil hits 45-55°F, typically 2-4 weeks before our last frost (around May 1 for most of CT). But coastal areas like New Haven can plant 1-2 weeks earlier than inland spots like Litchfield. 🌱
| CT Region | USDA Zone | Earliest Plant Date | Ideal Window | Last Safe Date |
|---|---|---|---|---|
| Coastal (New Haven, Mystic) | 7a | March 20 | March 25 – April 15 | May 1 |
| Central (Hartford, New Britain) | 6b | April 1 | April 5 – April 25 | May 5 |
| Inland (Litchfield, Torrington) | 5b-6a | April 10 | April 15 – May 1 | May 10 |
*Based on 5-year average frost dates from UConn Extension
For early varieties like ‘Irish Cobbler’ or ‘Yukon Gold’, aim for the earliest dates in your zone. These spuds mature in 70-90 days, so planting by mid-April means you could be harvesting by late June. I always mark my calendar for St. Patrick’s Day—that’s my cue to start prepping seed potatoes! 🌿
If you’re growing maincrop varieties (think ‘Kennebec’ or ‘Russet’), push your planting to late April. These need 110-135 days to mature, so a May 1 planting would have you digging up spuds just as the first fall frost threatens in mid-October. Pro tip: Use a soil thermometer—don’t guess!
Watch the 10-day forecast like a hawk. If nighttime temps will dip below 28°F after planting, have frost blankets or straw mulch ready to protect those tender sprouts. I learned this the hard way after losing an entire bed to a late April freeze in 2021. Now I keep a stash of old bedsheets just for potato emergencies! ☀️
Coastal gardeners get a slight advantage thanks to moderating ocean temperatures, but don’t get cocky—salt spray and sandy soil can stress plants. If you’re near Long Island Sound, mix in extra compost to improve moisture retention. Inland folks dealing with heavy clay (looking at you, Farmington Valley) should plant on raised mounds to prevent waterlogged tubers.
For a successive harvest, try this trick: Plant one-third of your seed potatoes in early April, another third in mid-April, and the final batch in early May. This staggers your harvest so you’re not drowning in potatoes all at once. I use this method every year and enjoy fresh spuds from July through September. 🪴
Remember, seed potatoes (not grocery store spuds!) need 2-3 weeks of “chitting” before planting. Place them in a bright, cool spot to develop short, sturdy sprouts. Last year I skipped this step, and my plants were weak and slow to emerge. Lesson learned: Patience pays off with potatoes!
If you’re itching to get started earlier, container gardening is your friend. Plant potatoes in grow bags or 5-gallon buckets indoors under lights in early March, then move them outside after frost danger passes. This gives you a 6-week head start on the season. Just be sure to harden off your plants for a week before transplanting!
Getting your Connecticut soil ready for potatoes is half the battle. Our state’s mix of clay-heavy inland soils and sandy coastal grounds means you’ll need to tailor your approach. I always start by testing my soil’s pH level—potatoes prefer 5.0-6.5, and most CT gardens need a bit of sulfur to lower that pH. 🌱
A soil thermometer is your best friend here. Don’t even think about planting until your soil hits 45°F at 4 inches deep. In Hartford County, that’s usually around mid-April, but I’ve seen it vary by two weeks depending on how mild our winter was. Work in 2-3 inches of compost and some balanced fertilizer (10-10-10) about a week before planting.
For container gardening, which works great in small CT yards or urban areas like Bridgeport, use 5-gallon buckets or grow bags. Drill drainage holes and fill with a mix of potting soil and compost. Plant 4-5 seed pieces per container. I’ve grown ‘Yukon Gold’ in containers on my Hartford patio with fantastic results! ☀️
If you’re dealing with heavy clay (common in the Connecticut River Valley), create raised mounds rather than trenches. Mix in coarse sand and peat moss to improve drainage. For sandy coastal soils, add extra compost to retain moisture. Last year I amended my New Haven garden with kelp meal—the potatoes grew 20% larger!
Don’t forget about crop rotation—never plant potatoes where tomatoes, peppers, or eggplants grew last year. These nightshade relatives share diseases like verticillium wilt, which can linger in CT soils. I keep a 3-year rotation in my garden beds to prevent issues. If space is tight, grow potatoes in containers instead.
For a bigger harvest, try this trick: When your plants flower, give them a light feeding of fish emulsion. The phosphorus boost helps tuber formation. I also side-dress with compost when plants are about 1 foot tall. This extra nutrition makes a noticeable difference in CT’s sometimes-lean soils. 🪴
Even experienced Connecticut gardeners can mess up their potato harvest with simple oversights. After talking to dozens of local growers and making my fair share of mistakes, I’ve identified the five most common errors that lead to disappointing yields. The good news? They’re all easily avoidable once you know what to watch for. 🌱
Topping the list is planting too early in our unpredictable CT springs. I’ve seen eager gardeners put potatoes in the ground during warm March spells, only to have them rot when temperatures plummet. Remember: Soil temperature matters more than air temperature—don’t plant until your soil consistently hits 45°F at 4 inches deep.
Another critical mistake I see is ignoring crop rotation. Potatoes share diseases with other nightshades like tomatoes and peppers. Planting them in the same spot year after year builds up soil-borne pathogens that can devastate your crop. I maintain a 3-year rotation in my garden beds to keep this from happening. 🌿
Many CT gardeners also underestimate mulching‘s importance. Our spring weather swings from warm days to near-freezing nights can stress young plants. A thick 3-4 inch layer of straw keeps soil temperatures steady and conserves moisture. Last year I compared mulched vs. unmulched rows—the mulched plants yielded 30% more potatoes and needed less watering.
Finally, don’t make the mistake of harvesting too early or late. In CT, early varieties are typically ready in late June to early July, while maincrops mature by September. Wait until foliage yellows and dies back, then harvest on a dry day. I use the “thumbnail test”—if the skin doesn’t rub off when gently pressed, they’re ready! ☀️
Potatoes thrive when soil reaches 45-55°F at 4 inches deep. In Connecticut, this typically happens 2-4 weeks before our last frost (around May 1). Use a soil thermometer for accuracy—don’t guess!
Coastal areas like New Haven can start as early as March 20, but inland regions should wait until April 1-10. Early varieties like ‘Yukon Gold’ mature in 70-90 days, so timing matters. Always check your local frost dates first!
Cover young plants with frost blankets or straw mulch if temps drop below 28°F. Old bedsheets work in a pinch! Remove coverings during the day to prevent overheating. I keep supplies ready until mid-May.
Start chitting 2-3 weeks before planting: place seed potatoes in bright, cool conditions to develop short, sturdy sprouts. Cut larger potatoes into 1.5-2 oz pieces with 2-3 eyes each, and let cuts callous for 1-2 days. This prevents rot and speeds growth.
Stagger plantings: put in one-third of your crop in early April, another third in mid-April, and the final batch in early May. This gives you fresh potatoes from July through September. Container gardening also lets you start earlier indoors!
