
Beautiful Plants For Your Interior
Beautiful Plants For Your Interior
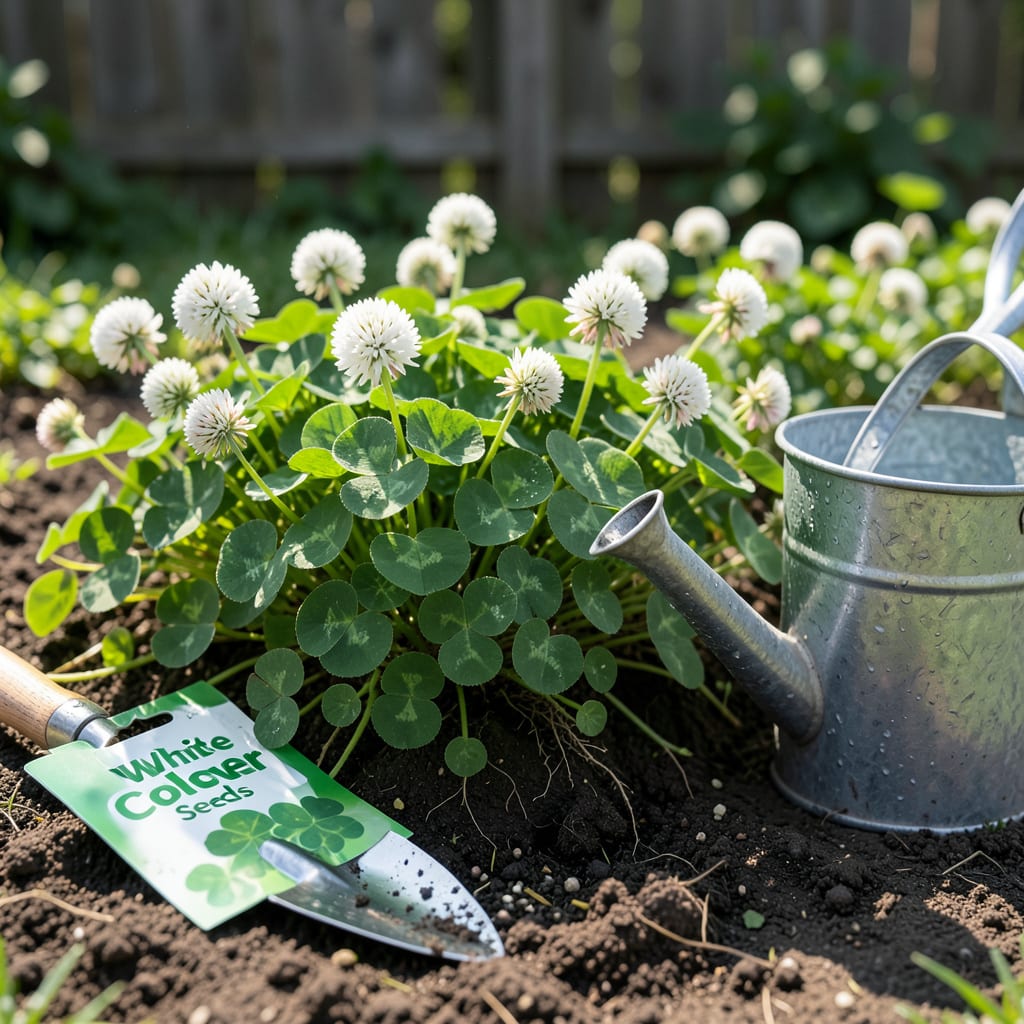
Timing can make or break your 🍀 clover patch in North Carolina. Plant too early, and frost might wipe out your efforts. Wait too long, and summer heat could stunt growth before it even starts.
After years of testing what works in Zone 7a, I’ve nailed down the perfect planting windows—and the simple prep steps that guarantee lush results. Let’s cut through the guesswork so you can grow clover that thrives, not just survives.
North Carolina’s diverse climate means one-size-fits-all advice won’t cut it for clover. From the coastal plains to the mountainous west, your planting window shifts dramatically. I’ve broken down the ideal months for each region based on soil temps and frost dates.
The secret? Aim for soil temperatures between 50–65°F. Too cold, and seeds rot. Too hot, and germination stalls. Let’s look at how NC’s three main regions differ for both spring and fall planting success.
For the Coastal Plain, you can start as early as mid-February for spring plantings. The Piedmont region needs to wait until March 1 to avoid frost damage. Mountain gardeners should hold off until April when soil reliably warms.
Fall planting offers a second chance for establishment. Coastal areas can plant through mid-October, while Piedmont gardeners should finish by October 30. Mountain regions must wrap up by November 1 before hard frosts arrive.
White clover thrives in all three regions during these windows. For crimson clover (great for cover crops), shift your timeline 2 weeks earlier in spring and 1 week later in fall to accommodate its faster growth cycle.
Remember: Soil prep matters more than dates. Test your soil pH (aim for 6.0–7.0) and remove competing weeds before planting. A light raking helps seeds make direct soil contact for better germination rates.
Watering is critical for the first 7–10 days. Keep soil consistently moist (about 1/4 inch daily) until you see sprouts. After establishment, clover becomes drought-tolerant but performs best with weekly deep watering.
For lawns, mix clover with grass seed at a 1:4 ratio. As a cover crop, broadcast 8–10 lbs per acre or 1/4 lb per 100 sq ft for home gardens. Always inoculate seeds with rhizobium bacteria for optimal nitrogen fixation.
Watch for first true leaves about 7–14 days after planting. This confirms successful germination. If patches look thin after 3 weeks, overseed lightly. Avoid heavy foot traffic for 4–6 weeks to let roots establish.
Fall-planted clover often overwinters in NC, giving you a head start in spring. Spring-planted clover may need supplemental watering during summer droughts. Both approaches work—choose based on your goals and available prep time.
🌿Getting clover established in your NC garden starts with proper site preparation. I always begin by testing my soil pH—clover thrives in 6.0–7.0 range. If your soil is too acidic, add lime; if it’s alkaline, sulfur can help balance it.
Next, clear the area of weeds and debris. Clover struggles to compete with established plants. I use a garden rake to loosen the top 1/4 inch of soil, creating a perfect seedbed. This isn’t tilling—just enough to break the surface for better seed-to-soil contact.
For the first 10 days, water lightly daily to keep the top inch of soil moist. I use a mist setting on my hose nozzle to prevent washing seeds away. You should see sprouts in 7–14 days if conditions are right.
Once established, reduce watering to once weekly. Clover develops deep roots that make it drought-tolerant, but consistent moisture in the first month is crucial. If planting in lawns, mow high (3–4 inches) to protect young clover.
For cover crops, I recommend planting 4–6 weeks before your area’s first frost date. This gives plants time to establish before winter. Spring plantings should go in 2–4 weeks before your last frost date for optimal growth.
Even experienced gardeners make mistakes with clover that can derail their entire planting. I’ve seen firsthand how small oversights lead to patchy growth or complete failure. Let’s tackle the five most common errors NC gardeners make—and how to fix them.
The biggest issue? Planting at the wrong time. Summer heat is clover’s enemy, while winter frosts can kill young plants. Stick to our spring/fall windows and always check soil temps before planting.
Another critical mistake is planting in summer. Clover seeds won’t germinate in soil above 85°F. If you miss spring planting, wait for fall—don’t try to force summer growth. The heat stresses young plants and attracts pests.
Many gardeners also forget about weed competition. Clover can’t establish if weeds steal its sunlight and nutrients. I recommend solarizing the soil for 2 weeks before planting: cover the area with clear plastic to kill weeds naturally.
For lawn applications, avoid mixing clover with aggressive grasses like Bermuda. These grasses outcompete clover for resources. Instead, pair clover with fine fescue or tall fescue for a balanced, low-maintenance lawn.
🌿Clover seeds germinate best when soil reaches 50–65°F. Use a soil thermometer to check before planting. In NC, this typically occurs in early spring or early fall.
Summer planting is risky in NC. Soil temps above 85°F prevent germination. If you miss spring, wait for fall planting windows instead. Summer heat stresses young plants and reduces success rates.
For lawns, use 1/4 lb per 100 sq ft. Cover crops need 8–10 lbs per acre. Over-seeding causes crowding, while under-seeding leads to patchy growth. Measure carefully for best results.
Spring planting gives summer growth, while fall planting establishes roots before winter. Fall-planted clover often overwinters, giving you a head start next spring. Both work well in NC’s climate.
Clover fixes its own nitrogen, so avoid high-nitrogen fertilizers. A light 5-10-10 application in spring/fall helps establishment. Too much fertilizer harms the beneficial bacteria that help clover thrive.
