
Beautiful Plants For Your Interior
Beautiful Plants For Your Interior
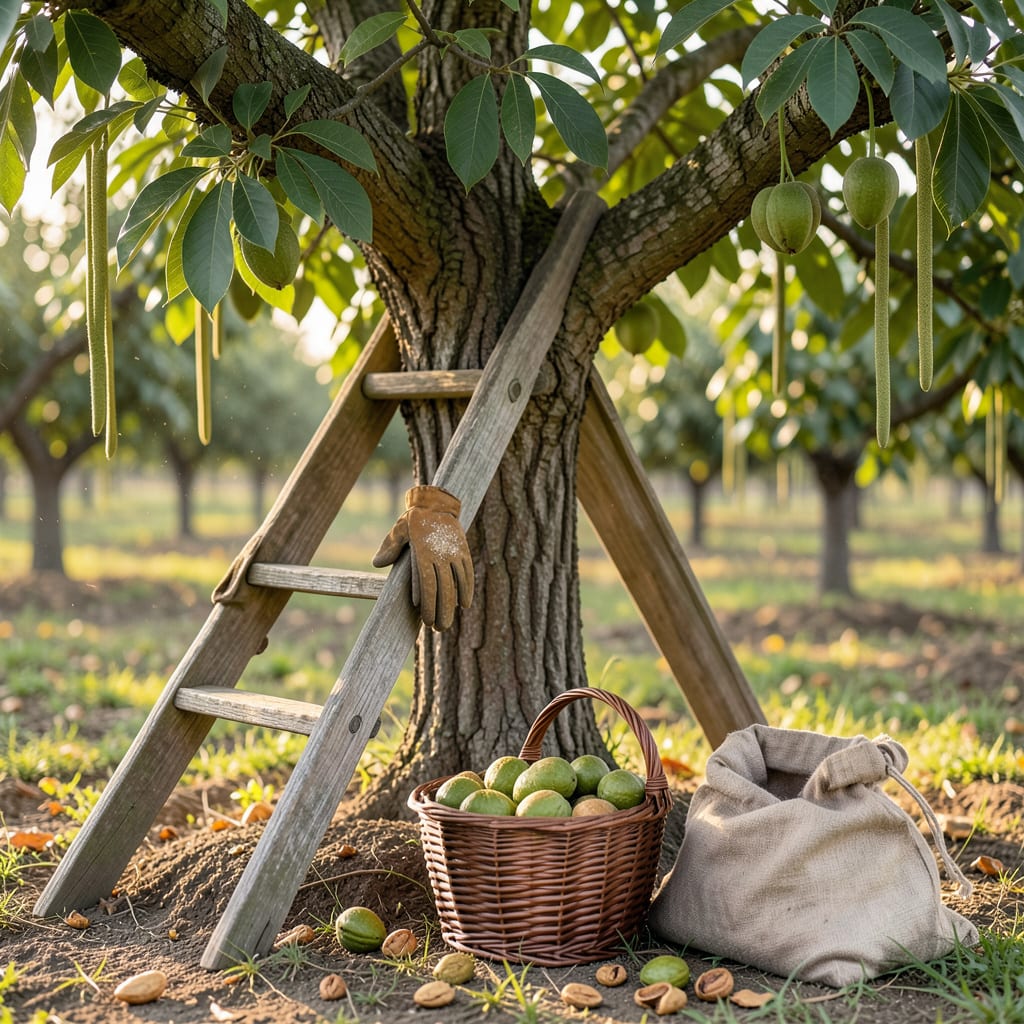
There’s nothing worse than cracking open a walnut only to find it bitter or underdeveloped. After months of waiting, perfect timing is what separates a bountiful harvest from a disappointing one. The difference between a nut that’s ready and one that needs more time? It’s all in the details.
From the subtle shift in hull color to the telltale signs of natural dropping, I’ll show you exactly how to spot the ideal moment. Whether you’re harvesting your first 🌰 or refining your technique, these clues will ensure you collect walnuts at their peak—every single time.


Timing your walnut harvest isn’t just about the calendar—it’s about reading the tree’s signals. I’ve found that hull color and natural dropping are the two most reliable indicators. By late summer, you’ll notice the green husks start to yellow and split open, revealing the hard shell inside.
The “shake test” is my favorite trick: gently shake a branch—if ripe nuts fall easily, they’re ready. This usually happens between September and October, but climate plays a big role. Cooler regions may see harvest time pushed back by 2-3 weeks compared to warmer zones.
| Sign | What to Look For |
|---|---|
| Hull Color | Turns yellow-green and splits |
| Natural Drop | Nuts fall without force when shaken |
| Shell Hardness | Fully hardened (no green tint) |
| Kernel Fill | Shell feels solid and full |
| Aroma | Sweet, nutty scent when cracked |
💡 Tip: Early varieties like ‘Franquette’ may ripen 2 weeks before late-season ‘Chandler’ walnuts.
Don’t rely solely on color—texture matters too. A ripe walnut’s husk should feel slightly soft when pressed, while the inner shell remains rock-hard. If the husk stains your fingers brown, that’s actually a good sign! The tannins indicate maturity, though you’ll want to wear gloves to avoid stains.
Weather impacts timing dramatically. A hot, dry summer can accelerate ripening by 1-2 weeks, while cool, wet conditions may delay it. I always check my trees after the first light frost—this often triggers the final ripening push in many varieties.
For black walnuts, the process differs slightly. Their husks turn from green to dark brown/black and develop a sticky residue. The nuts also tend to drop earlier than English walnuts, often starting in late August in warmer climates.
The “sound test” is another pro trick: shake a nut near your ear. Ripe walnuts will rattle slightly as the kernel separates from the shell. Unripe nuts sound solid and dense. This works especially well for thicker-shelled varieties like ‘Hartley’.
Remember that tree age affects harvest timing too. Younger trees (under 10 years) often produce nuts that ripen 1-2 weeks later than mature trees. I’ve noticed my 5-year-old ‘Howard’ walnut consistently needs an extra 10 days compared to my 20-year-old tree.
If you’re dealing with squirrels or birds, you might need to harvest slightly early. In that case, look for nuts where the husk has just started to split but hasn’t fully opened. These will still ripen off the tree if stored in a cool, dry place for 1-2 weeks.
Finally, don’t forget the taste test—the ultimate confirmation. Crack open a few samples from different branches. Perfect walnuts will have creamy white kernels that fill the shell completely, with no bitter aftertaste. If they’re rubbery or leave a puckering sensation, give them more time.
Pro tip: Keep a harvest journal noting when each tree’s nuts reach peak ripeness. Over years, you’ll create a personalized timeline that accounts for your specific microclimate and tree varieties. This has saved me countless guesswork seasons!
🌳Once you’ve confirmed your walnuts are ready, the harvesting process itself requires care. I always start by gathering my tools: sturdy gardening gloves, a long pole or fruit picker, and a clean tarp. The goal is to collect nuts efficiently while protecting both the tree and the harvest.
The gentle shaking method works best for most walnut trees. Place your tarp beneath the tree, then use a pole to shake branches—ripe nuts will rain down easily. For taller trees, a fruit picker with an extendable handle lets you reach higher branches without climbing. Never shake the trunk violently, as this can damage roots.
⚠️ Never leave walnuts on damp ground overnight—moisture leads to mold!
For black walnuts, I recommend wearing waterproof gloves—their husks contain a dark juice that stains skin. The nuts also tend to drop more sporadically, so check your tarps every few hours during peak harvest. Their thicker husks require more force to remove, so I use a nutcracker designed for black walnuts.
After collection, remove husks promptly to prevent staining and mold. For English walnuts, you can often twist off husks by hand. Black walnuts may need a hammer or specialized husker. Always work on a hard surface and wear eye protection—flying husk pieces can be dangerous!
The drying process is just as crucial as harvesting. Spread nuts in a single layer on screens in a well-ventilated area. I use my garage with fans for airflow. Stir them daily and test for dryness after 2-3 weeks—the kernels should snap cleanly when broken, not bend.
Watch for pest activity during drying. Rodents and insects love walnuts as much as we do! I place traps around my drying area and cover nuts with breathable mesh if needed. Properly dried walnuts will keep for up to a year in airtight containers in cool, dark conditions.
Remember that tree health affects future harvests. Avoid over-shaking branches or using sharp tools that could wound the tree. After harvest, I always give my walnut trees a deep watering and light fertilizer to help them recover and prepare for next year’s crop. 🌳
Timing your walnut harvest isn’t just about convenience—it dramatically affects flavor, texture, and storage life. I’ve learned the hard way that picking too early or too late can turn your harvest from a delight to a disappointment. Let’s break down what happens when timing goes wrong.
When you harvest underripe walnuts, you’re dealing with nuts that haven’t fully developed their oils and sugars. These immature nuts often have high tannin levels, giving them that unpleasant bitter, astringent taste. The kernels will be rubbery rather than crisp, and they’ll shrink dramatically during drying.
💡 Perfectly timed walnuts store for 12+ months with ideal flavor!
On the other hand, overripe walnuts develop an unpleasant oily taste as the kernels begin to break down. The oils start to oxidize, giving the nuts a stale, sometimes rancid flavor. You’ll notice the kernels turn from creamy white to yellowish or brown—a clear sign they’ve passed their prime.
Storage becomes a major issue with mistimed harvests. Early-picked nuts often develop mold during drying because their high moisture content creates the perfect environment for fungi. Late-harvested nuts attract more pests because their strong aroma signals readiness to every squirrel and insect in the neighborhood.
There are ways to salvage less-than-perfect harvests. For slightly early nuts, try curing them in their shells for 2-3 weeks in a warm (70°F), dry place. This can help develop some flavor. Overripe nuts can be roasted at low temperatures (200°F for 10-15 minutes) to extend their usability by a few months.
The golden window for walnut harvest is typically 2-3 weeks long, depending on your variety and climate. I’ve found that checking a few nuts daily during this period gives the best results. When in doubt, err on the side of slightly early—you can always cure them, but you can’t reverse over-ripeness! 🌳
Look for nuts that have naturally fallen to the ground first. These are your best indicators of ripeness. You can also gently shake lower branches—if nuts drop easily, they’re likely ready. Check the hull color too; it should be yellowing rather than bright green.
Remove husks immediately using gloves to avoid stains. Spread nuts in a single layer on screens in a dry, ventilated area. Stir them daily for even drying, which typically takes 2-3 weeks. Never pile them up—this traps moisture and causes mold.
A light frost often signals the perfect harvest time, as it triggers final ripening. However, a hard freeze can damage nuts. Collect them promptly if frost is forecasted. Frozen walnuts may develop off-flavors during storage.
Dark kernels usually indicate over-ripeness or improper drying. The oils oxidize when nuts sit too long on the ground or dry too slowly. For best results, harvest promptly when hulls split and dry in a well-ventilated space with consistent airflow.
Properly dried and stored walnuts keep for 12+ months in airtight containers. Place them in a cool, dark location like a pantry or root cellar. For longer storage, freeze them in sealed bags—they’ll maintain quality for up to 2 years.
