
Beautiful Plants For Your Interior
Beautiful Plants For Your Interior
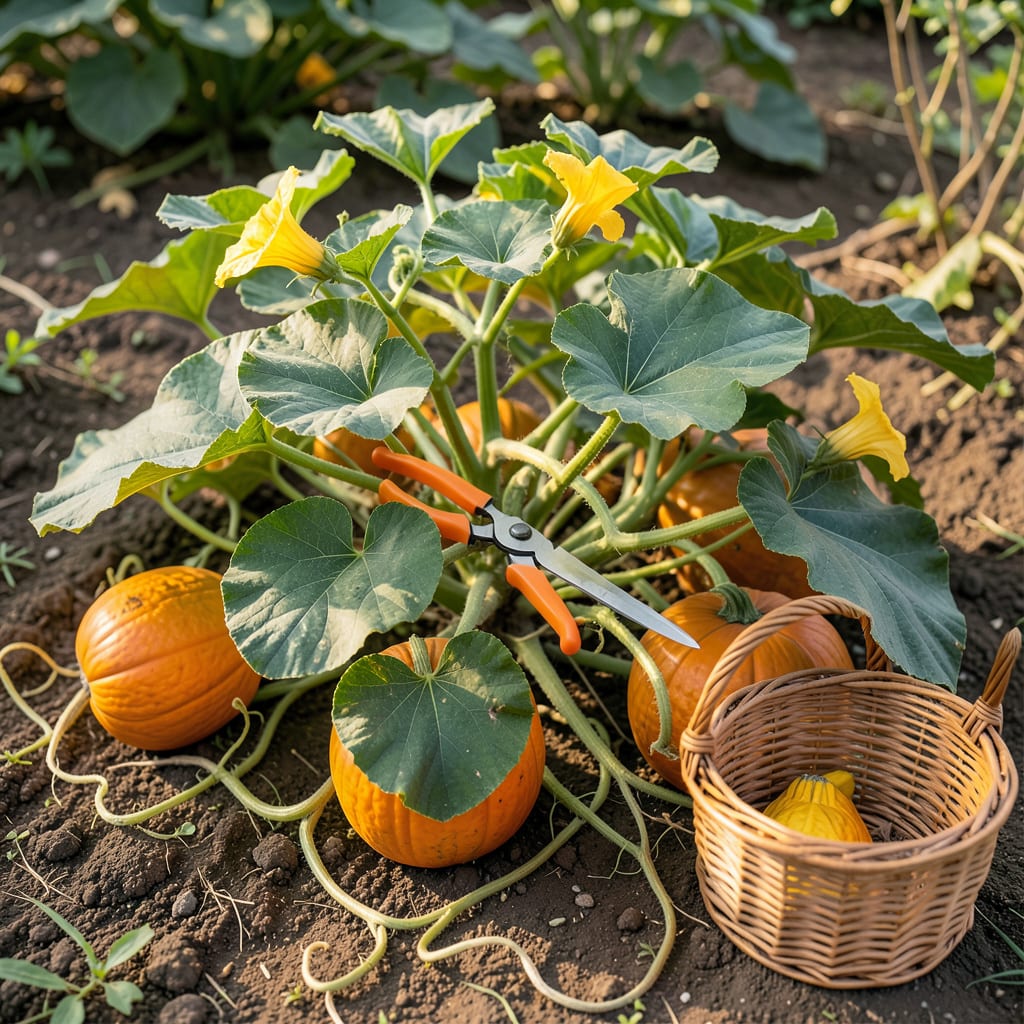
Timing your pumpkin harvest perfectly can be the key to getting the best flavor and longest storage life. With 🎃 pumpkins, waiting too long or picking too early can ruin your hard work.
I’ll show you how to use simple tests like stem hardness and rind resistance to know exactly when your pumpkins are ready. These methods ensure you pick at the peak of ripeness every time.


The fingernail test is my go-to method for checking pumpkin ripeness. Press your nail into the pumpkin rind—if it resists puncturing, it’s ready. This simple check ensures the outer shell is tough enough for storage.
A mature pumpkin should have a deep, solid color with no green streaks. For orange varieties, look for a rich, even hue. The color change signals the sugar content is at its peak.
Another trick I use is the sound test. Tap the pumpkin lightly—if it sounds hollow, it’s likely ripe. This works because the inner flesh becomes less dense as it matures.
Remember, a soft rind means the pumpkin isn’t ready. If your nail easily punctures the skin, give it a few more days on the vine. Patience pays off with a longer-lasting harvest.
For giant pumpkins, the rind test is especially important. These varieties need extra time to develop a thick, protective skin. Don’t rush them—wait until the rind feels almost as hard as wood.
If you’re growing white or green pumpkins, the color test is just as valid. Look for a matte finish instead of a glossy sheen, which indicates full maturity.
Always test multiple spots on the pumpkin. Sometimes the side facing the sun ripens faster, so check the underside too. This ensures even ripeness all around.
Finally, avoid harvesting during wet conditions. A dry day prevents mold and helps the pumpkin cure properly. I always wait for sunny weather to pick mine. ☀️
The stem hardness test is just as important as checking the rind. A mature pumpkin will have a dry, woody stem that feels hard to the touch. If the stem is still green and flexible, your pumpkin needs more time.
I always check the stem connection to the vine. If it’s starting to crack or separate, that’s a sure sign of ripeness. This natural process helps the pumpkin detach easily when you’re ready to harvest. 🌿
Never carry pumpkins by the stem—it can break off and reduce storage life. Always support the bottom of the fruit when lifting.
Another clue is the vine itself. When the leaves start yellowing and the vine begins to die back, your pumpkins are likely ready. This is the plant’s way of signaling that nutrient transfer to the fruit is complete.
For pie pumpkins and smaller varieties, the stem may dry out faster than for giant pumpkins. I recommend checking stems weekly as harvest time approaches to catch the perfect moment.
If you notice the stem is mushy or rotting, harvest immediately—even if other signs aren’t perfect. A compromised stem can lead to early spoilage and waste your hard-earned harvest.
Remember, a fully dry stem often means the pumpkin has reached its peak sugar content. This is especially important for varieties you plan to use for long-term storage. ✂️
Timing your pumpkin harvest right depends on the variety you’re growing. Most jack-o’-lantern types are ready in late September to early October, while pie pumpkins often ripen a bit earlier. 🌱
For giant pumpkins, you’ll need to wait until mid-October or later. These take 120+ days to mature fully. Always check the seed packet for exact days to maturity.
| Variety | Harvest Window | Days to Maturity |
|---|---|---|
| Jack-O’-Lantern | Late Sept – Oct | 90-110 |
| Pie Pumpkin | Early Sept – Oct | 85-100 |
| Giant Pumpkin | Mid-Oct – Nov | 120-140 |
Climate plays a big role too. In warmer zones, you might harvest earlier, while cooler areas may need to wait until just before frost. Always aim to pick before the first hard freeze.
I’ve found that early varieties like Small Sugar can be ready as soon as 85 days after planting. These are great for short-season gardens where autumn comes quickly.
For the best results, monitor your pumpkins closely as the season progresses. Combine the rind and stem tests with these timing guidelines for a foolproof harvest every year. 🌿
Use the fingernail test—press your nail into the rind. If it resists puncturing, it’s ready. Also, check for a deep, consistent color and a hollow sound when tapped.
Picking too soon means the rind won’t harden properly, reducing storage life. The flesh may also be less sweet and watery. Always wait for the stem to turn woody and dry.
No, frost will damage the pumpkins and shorten their storage life. Harvest before the first hard freeze, ideally when temperatures stay above 32°F.
Green patches can appear where the pumpkin touched the ground or was shaded. As long as the rind is hard and the stem is dry, it’s still ready to pick. Sun-exposed areas will deepen in color first.
