
Beautiful Plants For Your Interior
Beautiful Plants For Your Interior
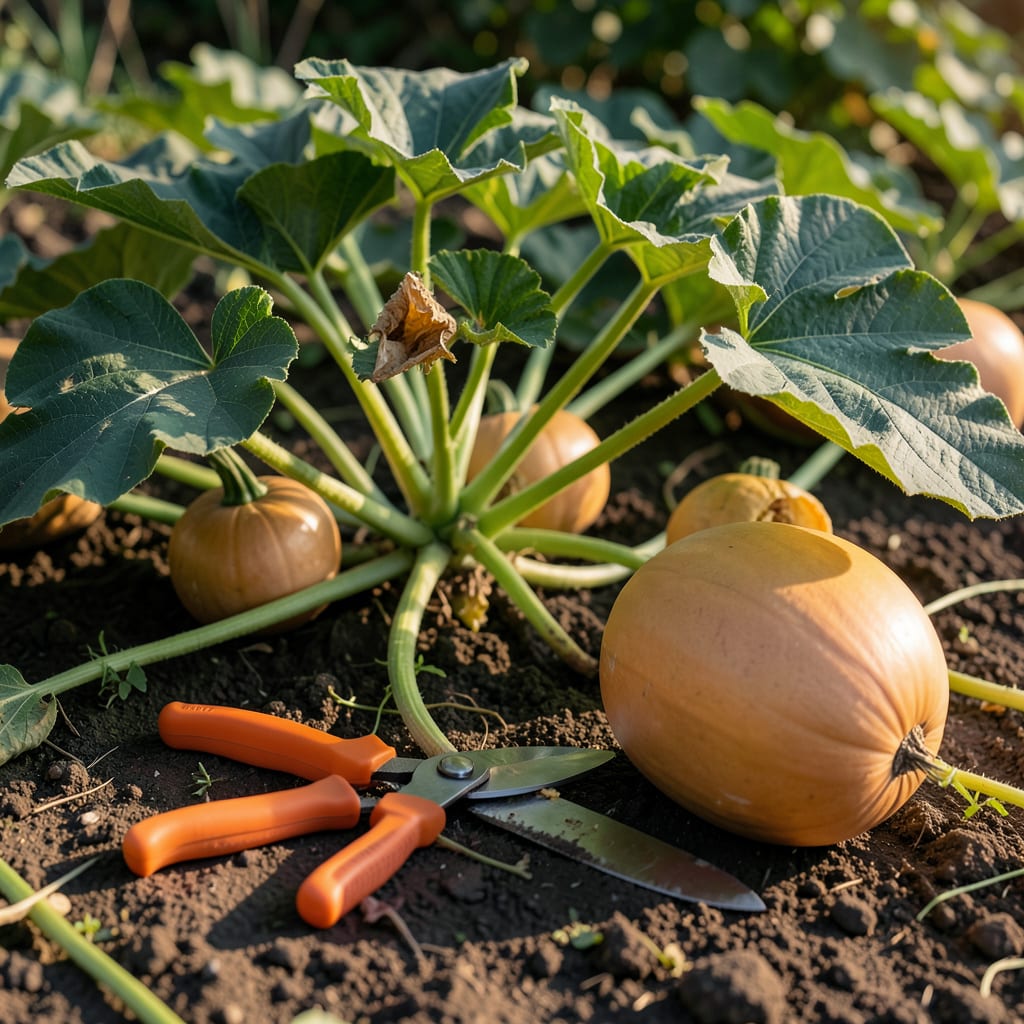
Knowing exactly when to pick Butternut Squash 🎃 can make or break your harvest. The difference between a mediocre crop and sweet, long-lasting produce often comes down to timing.
I’ll show you the key signs to look for—like stem dryness and rind hardness—that guarantee peak flavor and storage potential. Let’s get it right the first time.


I always check for stem dryness first when determining if my butternut squash is ready. A green, moist stem means it needs more time, while a dry, woody stem signals maturity and readiness for harvest.
The rind hardness test is next on my list. If I can’t puncture the skin with my fingernail, the squash is likely ripe. This hard rind protects the fruit during storage, which is key for long-term keeping.
| Sign | Description |
|---|---|
| Stem Dryness | Dry and woody |
| Rind Hardness | Cannot be punctured with fingernail |
| Color Change | Deep, solid tan |
| Vine Maturity | Yellowing and dying back |
Another clear sign is the color change. Immature butternut squash often has a lighter, almost greenish hue. When it turns a deep, solid tan, it’s usually ready to pick.
I also pay attention to the vines. If they’re still lush and green, the squash isn’t ready. But when the vines start yellowing and dying back, it’s a strong indicator that harvest time is near.
Timing is crucial, especially before the first frost. Butternut squash can’t tolerate frost, so I aim to harvest before temperatures drop. This protects the fruit from damage and ensures better storage.
I’ve learned that size matters too. A mature butternut squash typically weighs between 2 to 5 pounds. Smaller squash may not have developed full flavor or sweetness yet.
For the best results, I combine all these cues. The stem, rind, color, and vine condition together give me confidence that my butternut squash is at its peak for picking.
If I’m still unsure, I’ll do a double-check. I press my fingernail into the rind—if it resists, it’s ready. This simple test is one of the most reliable ways to confirm ripeness.
Finally, I always harvest in the morning when temperatures are cooler. This helps the squash transition better to storage and reduces the risk of post-harvest rot. ☀️
I’ve seen many gardeners pick too early because they’re excited to enjoy their harvest. But butternut squash picked before maturity often lacks sweetness and won’t store well. Patience is key.
Another mistake is waiting too long. Leaving squash on dying vines past maturity can lead to rot or pest damage. Timing the harvest just right ensures the best flavor and storage life.
Avoid picking with green stems or soft rinds. These are signs the squash isn’t ready, leading to poor flavor and short storage.
Improper cutting techniques can also cause issues. Always use clean, sharp pruners and leave a 2-inch stem to prevent disease entry and extend shelf life.
Ignoring weather conditions is another common error. Harvesting during wet weather can introduce moisture that leads to post-harvest rot. Dry days are ideal for picking.
I always remind fellow gardeners to check the forecast. If frost is approaching, it’s better to harvest a bit early than risk frost damage, which ruins the squash entirely.
Lastly, handling bruises the squash. Rough treatment can cause invisible damage that shortens storage life. I gently place each squash in a basket to avoid this.
🌱After picking, I always cure my butternut squash for 10-14 days in a warm, dry place. This helps the rind harden further and heals any minor cuts or bruises from harvesting.
Proper curing extends storage life significantly. I aim for temperatures around 80-85°F with good airflow during this period. This mimics the natural drying process the squash would experience in the field.
Once cured, I move my squash to a cool, dark storage area. The ideal temperature range is 50-55°F. This slows respiration and prevents premature spoilage.
I never store butternut squash directly on concrete floors or in plastic bags. Instead, I use wooden crates or cardboard boxes to allow for proper airflow around each piece.
Regular inspections are crucial. I check my stored squash every 2-3 weeks for signs of rot or soft spots. Catching issues early prevents them from spreading to other squash.
🌱Press your fingernail into the skin. If it resists and doesn’t leave a mark, it’s ready. A hard rind means better storage and sweeter flavor.
Frost damages the squash, making it unusable. Always pick before temperatures drop below 32°F. Even light frost can ruin the texture and taste.
A dry, woody stem shows the squash has stopped growing and is fully mature. A green stem means it needs more time on the vine.
No, green vines mean the squash isn’t ripe yet. Wait until they start yellowing and dying back for the best flavor and storage potential.
