
Beautiful Plants For Your Interior
Beautiful Plants For Your Interior
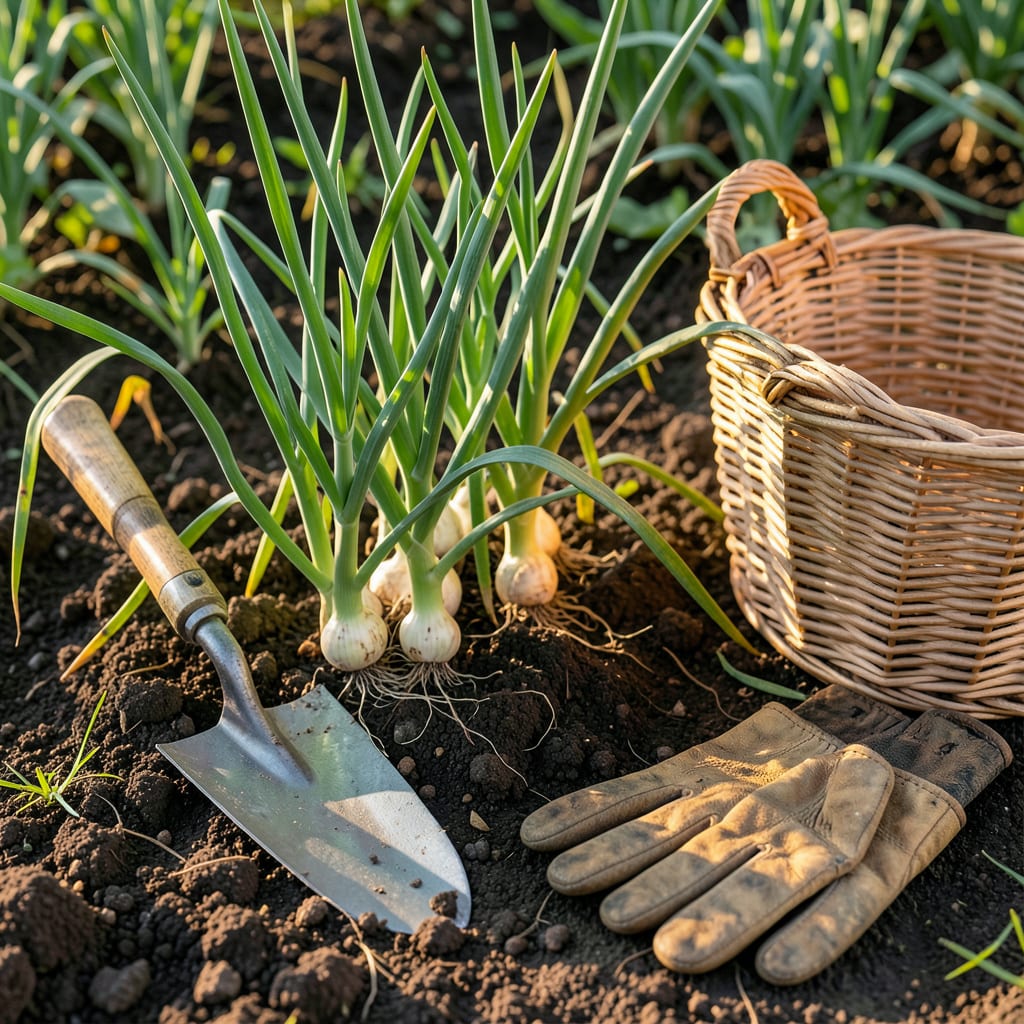
Timing your shallot harvest perfectly can transform your cooking. July to August is when the 🧅 Shallot magic happens in zone 6, but the real secret lies in watching for those subtle signs of readiness.
I’ll show you exactly what to look for – from yellowing tops to papery skins – so you can pull them at their flavor peak. Let’s make this harvest your most flavorful yet.


I’ve found that shallots give clear signals when they’re ready to come out of the ground. The most obvious sign is when the green tops begin to yellow and flop over, just like their onion cousins.
This yellowing typically starts about 90-120 days after planting, depending on your climate and variety. I always check for this first visual cue before moving to the next signs.
| Sign | Description |
|---|---|
| Yellowing tops | Leaves turn golden brown and bend over |
| Soft necks | Stems lose firmness near the bulb |
| Papery skin | Dry outer layer forms on bulbs |
| Bulb size | Reaches 1-2 inches in diameter |
The neck softening is another critical indicator. When the stem just above the bulb becomes spongy rather than firm, your shallots are nearing readiness. I gently squeeze the base to test this.
Next, I look for the papery skin development. This protective layer forms as the bulb matures and helps with storage. If it’s still moist or not visible, the shallots need more time.
Size matters too. Most shallot varieties reach 1-2 inches in diameter when ready. I use a hand trowel to gently expose the top of a bulb to check its size without disturbing the roots.
I’ve learned that soil conditions affect these signs. In dry spells, shallots may mature faster, while excessive rain can delay these visual cues. Always consider your local weather patterns.
For spring-planted shallots, these signs typically appear in July or August. Fall-planted ones may show readiness the following spring. I mark my planting dates to track this progression.
Remember that early harvesting results in smaller bulbs, while waiting too long can lead to splitting or rot. The sweet spot is when most of these signs appear simultaneously.
I always harvest on a dry day when the soil isn’t waterlogged. This makes the process easier and helps prevent post-harvest diseases. A gentle tug usually does the trick for well-developed shallots.
After pulling, I let them cure in a well-ventilated area for a week before storage. This final step ensures your hard work pays off with the best flavor and longest shelf life.
I always watch the calendar and weather when growing shallots. In USDA Zone 6, spring-planted shallots typically reach maturity in July or August, about 90-120 days after planting.
Fall-planted shallots often mature the following spring, just before new growth starts. I track my planting dates to predict harvest windows accurately.
Spring-planted: July-August | Fall-planted: Next spring | Watch for frost dates to avoid early harvests.
Local frost dates are crucial. I aim to harvest before the first fall frost, as cold snaps can damage bulbs. In warmer climates, shallots may mature earlier, so I adjust my timeline accordingly.
Weather patterns affect maturity too. A hot, dry summer can speed up development, while cool, wet conditions may delay it. I monitor my plants closely during unusual weather.
For optimal flavor, I time my harvest when most bulbs show readiness signs. A few early or late ones are normal, but consistency across the patch signals the right moment.
I also consider soil temperature. Shallots prefer 60-70°F soil for best growth. If spring is cool, I might wait an extra week or two for bulbs to fully develop.
Finally, I harvest on dry days to prevent rot. Morning is ideal, as it allows bulbs to begin curing before evening moisture sets in.
I’ve seen many gardeners make the same shallot harvesting errors. The most common is pulling them too early, resulting in small, underdeveloped bulbs that won’t store well.
Another frequent mistake is waiting too long. Overmature shallots often split or begin to rot in the ground, especially during wet weather.
I always check the soil moisture before harvesting. Pulling shallots from waterlogged soil can lead to post-harvest rot and shorter storage life.
The solution is simple: watch for the visual signs we discussed earlier and harvest on a dry day. This timing ensures the best flavor and longest storage potential.
I’ve learned that morning harvesting works best. The bulbs begin curing immediately, and the day’s heat helps dry them naturally before evening moisture arrives.
By avoiding these common mistakes, you’ll consistently harvest shallots at their peak, ready for storage or immediate use in your garden-to-table journey. ☀️
Look for yellowing tops that fall over and soft necks near the bulb. The outer skin should be dry and papery. These signs appear about 90-120 days after planting.
Avoid harvesting when the soil is soggy. Wet conditions promote rot and reduce storage life. Always pick on a dry day for best results.
Overmature bulbs may split or begin to rot, especially in wet weather. This also shortens their storage potential and can affect flavor.
Yes, they typically reach readiness the following spring. Watch for the same signs as spring-planted ones, but adjust for your local frost dates.
