
Beautiful Plants For Your Interior
Beautiful Plants For Your Interior
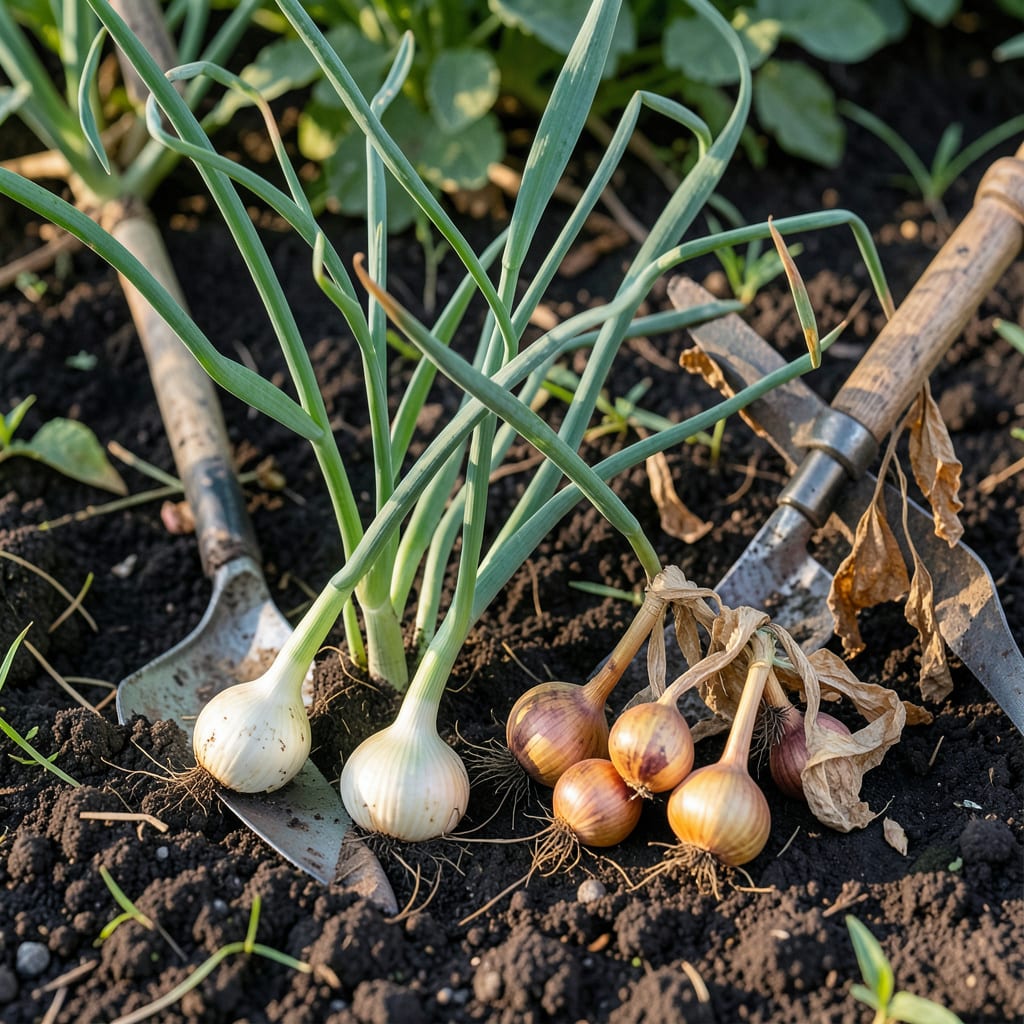
Nothing beats the satisfaction of pulling perfectly ripe 🧅 Shallots from your spring garden. But timing is everything—harvest too soon, and you’ll miss out on that sweet, mild flavor we all love.
I’ll show you the key signs to watch for and exactly when to act. With these tips, you’ll know precisely when your Shallots are ready to pick for the best results.


I always watch for visual cues that my Shallots are ready. The first sign is when the tops begin to yellow and weaken. This indicates the plant is shifting energy to bulb development.
Another clear indicator is when the necks feel soft and the foliage starts to fall over. At this stage, the bulbs have matured and are ready for harvest.
| Sign | Description |
|---|---|
| Yellowing tops | Tops turn golden-yellow and weaken |
| Falling foliage | Leaves topple over naturally |
| Soft necks | Neck area becomes shriveled and pliable |
| Dry skin | Outer layers feel papery and dry |
The outer skin is another reliable sign. When it feels dry and papery, your Shallots are likely ready. This texture helps protect the bulb during storage.
I check these signs about 90-120 days after planting. In my experience, most spring-planted Shallots reach maturity in this timeframe, though cooler climates may need the full 120 days.
Don’t rush the process. If the tops are still green and upright, the bulbs aren’t fully developed. Patience ensures the best flavor and storage potential.
When the majority of tops (about 75%) have fallen over, it’s time to harvest. I use a garden fork to gently lift the bulbs from the soil.
Be gentle when digging to avoid bruising the bulbs. Damaged Shallots won’t store as well and may spoil quicker. I always handle them with care.
After harvest, I let my Shallots cure in a dry, well-ventilated area for about 2-3 weeks. This drying process helps prepare them for storage.☀️
Proper curing is essential for long-term storage. Once cured, I store my Shallots in a cool, dark place where they’ll keep for months.
Remember, these visual signs are more reliable than calendar dates. Your Shallots will tell you when they’re ready if you know what to look for.🌱
For spring-planted shallots, I find they’re typically ready in 90-120 days. This window accounts for varying climate conditions and planting dates across different regions.
In warmer climates, you might see maturity closer to 90 days, while cooler areas often need the full 120 days. I always check the weather patterns in my area to adjust expectations.
I planted my shallots in early March this year, and they were ready by late June. That’s about 100 days in my moderate climate zone. The visual signs confirmed they were perfect.
If you planted in late April, expect harvest around mid-August. Always watch for those yellowing tops and falling foliage rather than just counting days.
Soil temperature plays a role too. Shallots prefer 60-70°F soil for optimal growth. Cooler soils slow development, while warmer ones speed it up.
I’ve noticed that consistent moisture helps maintain steady growth. Avoid waterlogging, but don’t let the soil dry out completely during the growing period.
Remember, these are general guidelines. Your local microclimate and specific variety can affect timing. When in doubt, trust the plant’s signals over the calendar.🌱
I’ve learned the hard way that harvesting too early is a common mistake. Pulling Shallots before the tops yellow means the bulbs haven’t fully developed their flavor or size.
Another pitfall is waiting too long. If you leave Shallots in the ground after the tops fully dry, they may split or rot, especially in damp conditions.
Avoid these mistakes to protect your crop and ensure peak flavor and storage potential.
I always use a garden fork to lift Shallots gently. Stabbing with a shovel or pulling by the tops can damage the bulbs, making them prone to disease.
Improper curing is another mistake I see often. Skipping the 2-3 week drying period means your Shallots won’t store well. They need time to dry out properly.
Finally, avoid harvesting during wet weather. Damp conditions can make bulbs muddy and increase the risk of rot during storage. I always wait for a dry spell.☀️
Picking before tops yellow results in small, underdeveloped bulbs. These won’t store well and lack the sweet, mild flavor of mature ones.
Left too long, bulbs may split or rot in damp soil. Check for fully dried tops and papery skin—harvest before these become brittle.
Avoid wet conditions to prevent muddy bulbs and rot. Wait for dry weather and let them cure in a ventilated area for 2-3 weeks.
Climate, soil temperature, and planting date affect growth. Cooler areas often need the full 120 days, while warmer zones may finish in 90 days.
