
Beautiful Plants For Your Interior
Beautiful Plants For Your Interior
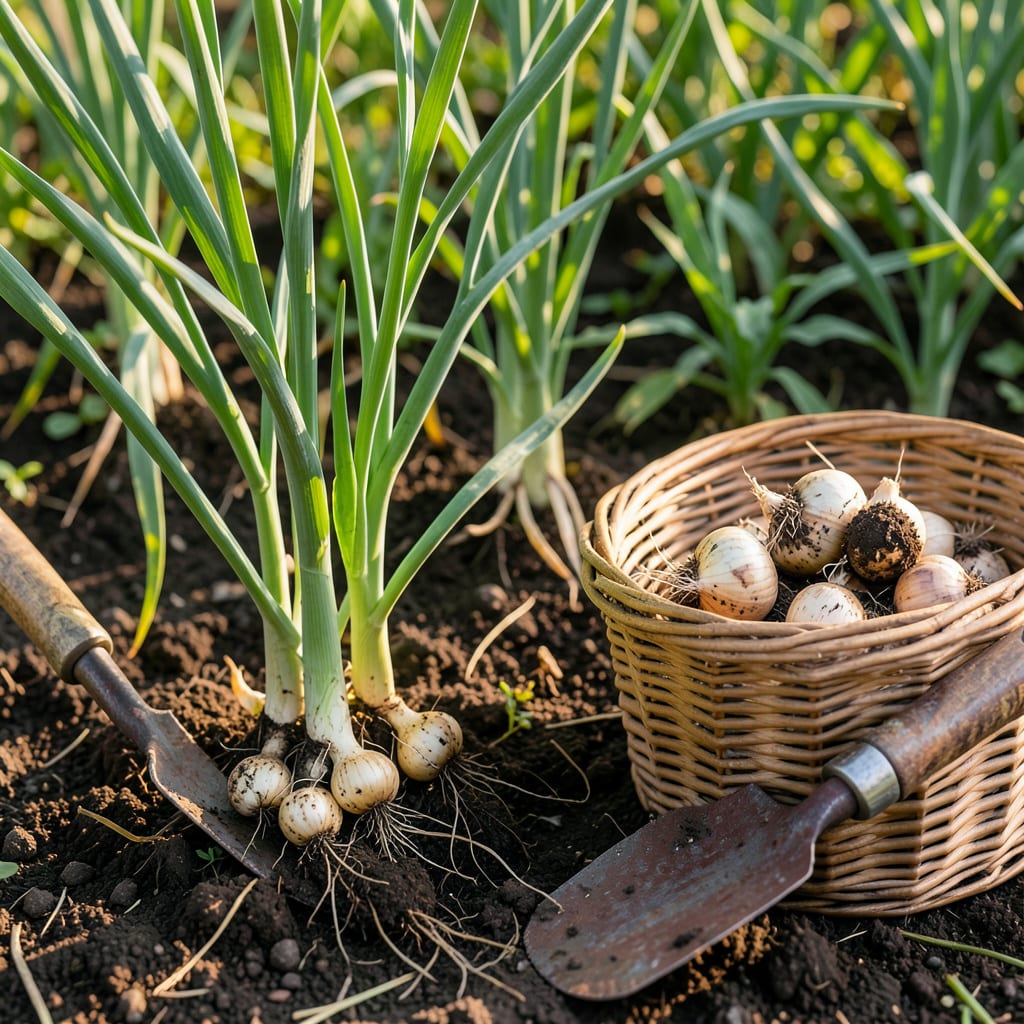
I love the satisfaction of growing Shallot 🧅 from fall planting to spring harvest. The secret lies in timing it right when those green tops start to yellow and flop over.
After waiting through winter, you’ll want to act fast when the signs appear. I’ll show you exactly what to look for and when to pull them from the soil for the best flavor and storage.


Timing your shallot harvest perfectly starts with watching the foliage closely. When those green tops begin to turn yellow and flop over, it’s nature’s signal that the bulbs are maturing below the surface.
I’ve learned through experience that these visual cues are more reliable than any calendar date. The yellowing process typically starts in late spring, about 210-270 days after planting.
The neck softening is another critical indicator. When the area between the bulb and the leaves feels spongy rather than firm, your shallots are nearing readiness. This change happens as the plant redirects energy to bulb development.
I always check the bulb size by gently brushing away soil from the base. Mature shallots typically measure 1.5-2 inches in diameter. Smaller bulbs may need more time in the ground.
Another reliable sign is the papery skin development. As shallots mature, their outer layers dry and take on a papery texture. This protective covering helps with storage after harvest.
Watch for natural toppling of the foliage. Unlike disease, which causes sudden collapse, mature shallots gently fall over as the plant completes its life cycle. This is often the final sign before harvesting.
In my zone 6 garden, I typically see these signs between late May and early June. Warmer climates may see this earlier, while cooler areas might need to wait until mid-June.
Remember that consistent monitoring beats guessing. I check my shallot patch every 2-3 days once the yellowing begins. The transition from green to yellow can happen surprisingly quickly.
If you’re unsure, gently dig up one test bulb to check its maturity. The skin should be dry and papery, and the bulb should feel firm and heavy for its size.
Harvesting at the right moment ensures the best flavor development and storage potential. Shallots pulled too early may lack sweetness, while those left too long can split or rot in damp soil. ✂️
I always begin harvesting when the foliage yellows and tops flop over. This is the clearest sign that your fall-planted shallots are ready to come out of the ground after their long winter rest.
Before pulling, I check the weather forecast for a dry spell. Harvesting during wet conditions can lead to rot during curing, so I prefer a stretch of sunny days to ensure proper drying.
I use a garden fork rather than a shovel to prevent damaging the bulbs. The tines allow me to gently lift the shallots from below without piercing them. This is especially important with shallots, as their thin skins bruise easily.
Once lifted, I never wash the bulbs. Instead, I brush off the loose soil with my hands. Water can introduce mold and rot during the curing process, so keeping them dry is crucial.
For curing, I spread the shallots in a single layer on a screen or rack. Good air circulation is essential to prevent moisture buildup. I place them in a shady, well-ventilated spot like my garden shed.
After 1-2 weeks, the necks will dry completely and the outer skins will become papery. At this point, I trim the dried tops and store the shallots in a mesh bag or basket in a cool, dark place. ✂️
I’ve seen many gardeners make critical errors when harvesting fall-planted shallots. The most common mistake is pulling them too early, before the foliage yellows and the necks soften.
Another frequent issue is leaving them too long in the ground. Overmature shallots can split or rot, especially in damp spring conditions. Timing truly is everything with these delicate alliums.
⚠️ Warning: Harvesting during wet weather leads to rot during curing. Always wait for a dry spell and handle bulbs gently to prevent bruising.
Improper handling is another pitfall. Shallots have thin, delicate skins that bruise easily. I always use a garden fork instead of a shovel to lift them carefully from below.
Many gardeners also skip the curing process, which is essential for storage. Without proper drying, shallots are prone to mold and spoilage. I cure mine in a well-ventilated area for 1-2 weeks.
Finally, storing shallots in plastic bags traps moisture. I use mesh bags or baskets in a cool, dark place to maintain airflow and extend shelf life. ✂️
Look for yellowing tops and soft necks at the base. The bulbs should feel plump with papery skin when gently uncovered. This typically happens in late spring.
Overmature shallots may split or rot, especially in damp conditions. This reduces both storage life and flavor quality. Harvest promptly after signs appear.
Avoid this at all costs. Wet harvesting leads to rot during curing. Always wait for a dry spell and use a garden fork for gentle lifting.
Cure for 1-2 weeks in a well-ventilated area first. Then store in mesh bags in a cool, dark place for best results.
