
Beautiful Plants For Your Interior
Beautiful Plants For Your Interior
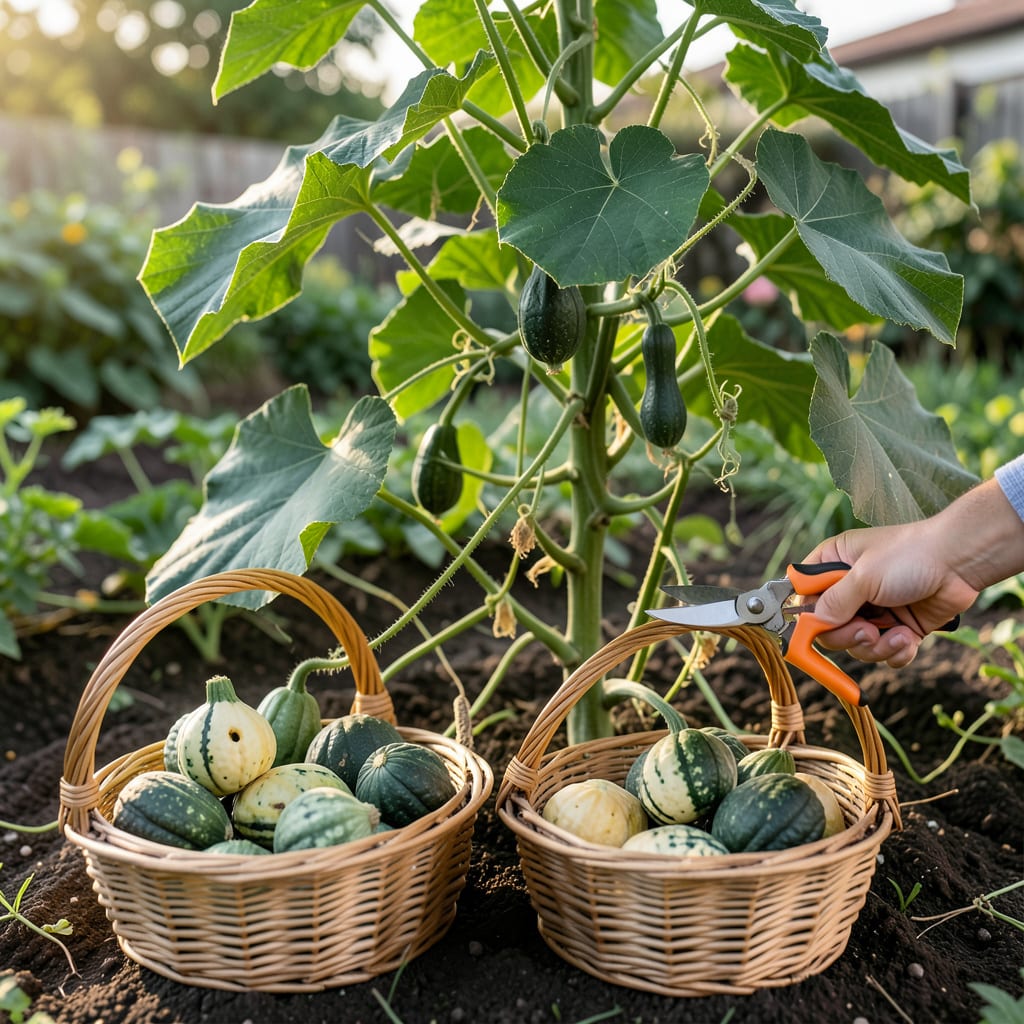
I’ve seen too many gardeners lose their Birdhouse Gourd 🎃 crop to poor timing. The difference between a craft-ready shell and a rotten mess often comes down to one key moment of decision.
After years of trial and error, I’ve learned to watch for 3 unmistakable signs that signal perfect ripeness. Let me show you exactly what to look for before making that first cut.


I always tell my gardening friends that birdhouse gourds reveal their readiness through clear visual cues. The first sign I look for is a color transformation from vibrant green to a pale tan or cream shade. This change indicates the shell is hardening and maturing properly. ✂️
Another unmistakable signal is the stem drying out. When it turns brown and woody, you know the gourd is nearing its peak. I check this daily in late September when my vines are most active.
| Ripeness Sign | What to Look For |
| Shell Color | Turns light tan or cream |
| Stem Condition | Brown and woody |
| Shell Hardness | Hard to puncture with fingernail |
| Sound Test | Hollow sound when tapped |
| Vine Condition | Begin to die back |
The “thump test” is my favorite verification method. I gently tap the gourd and listen for a hollow sound, which tells me the inside is drying out. This works best when combined with the other signs I mentioned. 🌱
I’ve found that regional climate affects timing. In my Zone 6 garden, I typically see these signs between 120-150 days after planting. Cooler areas might need to wait a bit longer for full maturity.
The vine die-back is another reliable indicator. When I notice the leaves yellowing and the vine slowing its growth, I know harvest time is near. This usually happens as the first frost approaches in my area. ☀️
I always use a sharp pruning shears to harvest, leaving 2-3 inches of stem attached. This helps prevent rot during the drying process. Never pull the gourd from the vine as this can damage both the fruit and plant.
For the most accurate timing, I combine all these signs. A gourd that’s fully colored, with a dry stem, that sounds hollow, and has a hard shell is ready for harvest. This combination rarely lets me down.
Remember that patience is key with birdhouse gourds. I’ve made the mistake of harvesting too early and ended up with soft shells that wouldn’t dry properly. The waiting is worth it for perfect crafting material. 🪴
If you’re unsure, mark a few gourds with different maturity dates. This helps you compare and learn the exact signs for your specific growing conditions. I still do this every year to refine my timing.
I’ve learned the hard way that harvesting too early is the most common mistake with birdhouse gourds. Picking before the shell hardens leads to soft, unusable gourds that won’t dry properly.
Another pitfall is waiting too long. Overripe gourds left on the vine can split or develop mold issues, especially if frost hits. I always mark my calendar for 120-150 days after planting.
Avoid harvesting in wet conditions or when the vine is still green. This increases rot risk during drying and ruins your crafting material.
I never harvest during or after rainy weather. The excess moisture can lead to fungal growth during the drying process. I always wait for a dry, sunny spell to make my cuts.
Cutting the stem too short is another error I see often. I always leave 2-3 inches of stem attached to allow for proper handling and drying. This small detail makes a big difference.
Harvesting with dull tools can damage both the gourd and vine. I keep my pruning shears sharp and clean to make precise cuts that heal quickly.
Finally, don’t ignore the vine condition. If the vine is still healthy and green, the gourds likely need more time. I watch for yellowing leaves as a sign that harvest time is approaching. 🌿
I always start the drying process by cleaning the gourds with a damp cloth to remove dirt. This prevents mold from developing during the curing phase. Never soak them in water as this can cause rot. ✂️
My preferred method is hanging the gourds in a well-ventilated area. I use twine to suspend them from the ceiling of my shed, ensuring good air circulation on all sides.
I check my gourds weekly during drying, looking for any soft spots or mold. If I find issues, I isolate the affected gourd to prevent spread. Proper spacing is crucial – I keep them 6 inches apart. 🌱
After 2-3 weeks, I perform the shake test. When I hear the seeds rattling inside, I know the gourd is fully dry. This is different from the pre-harvest thump test I mentioned earlier.
For the final storage, I move the dried gourds to a cool, dark place. I’ve found that a cardboard box works well, as it allows for continued air circulation while protecting from light. ☀️
Birdhouse gourds typically mature in 120-150 days after planting. In cooler climates, they may need up to 180 days to fully develop their hard shells.
Picking too soon results in soft shells that won’t dry properly. These gourds often develop mold during curing and become unusable for crafting. Always check for a hard, tan shell first.
No, frost can damage the gourds and vine. Harvest before the first frost or immediately after if it catches you by surprise. A light frost may not harm them, but hard freezes will.
Use the thump test: tap the gourd and listen for a hollow sound. Combine this with checking for a brown, woody stem and pale tan color for best results.
