
Beautiful Plants For Your Interior
Beautiful Plants For Your Interior
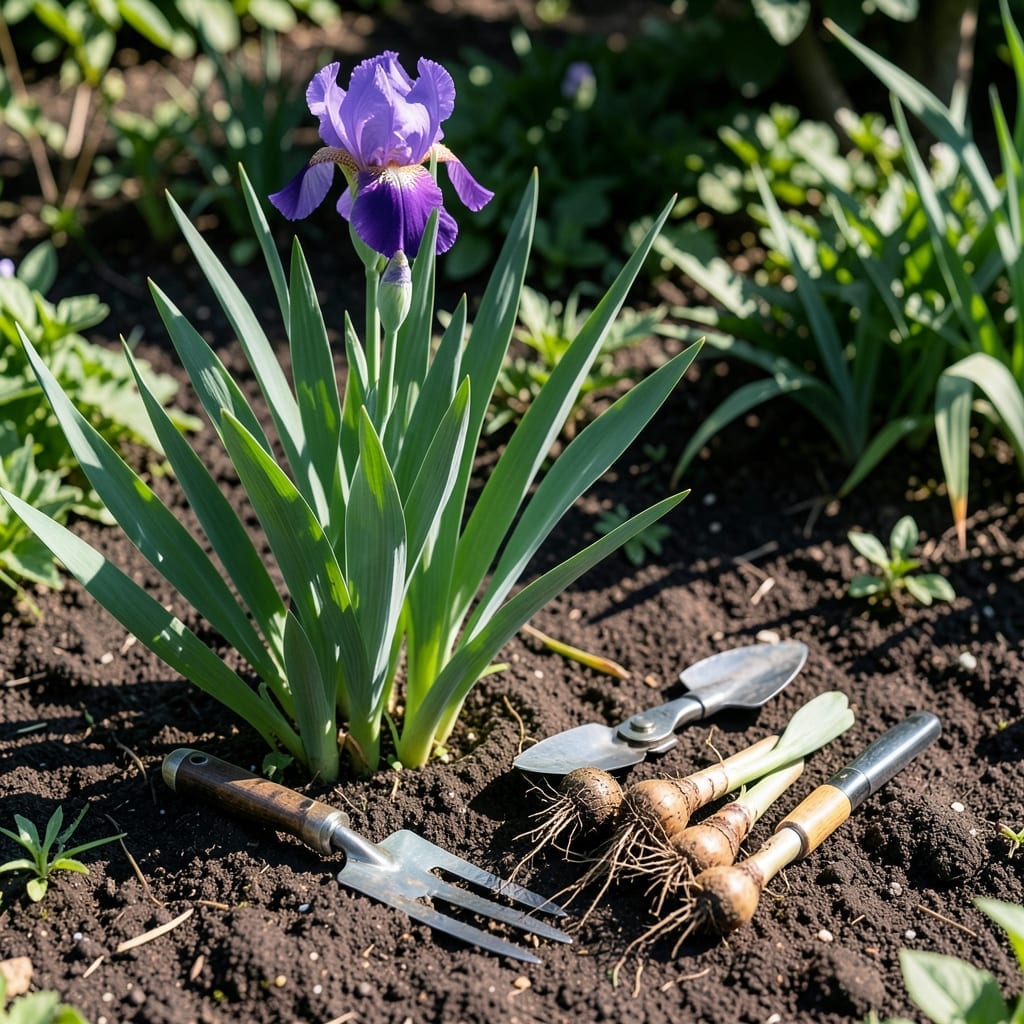
Your iris bed isn’t blooming like it used to, and you’re starting to wonder why. The answer might be simpler than you think – those 🌸 Iris clumps may just need dividing.
I’ve learned that timing is everything when it comes to this task. Do it right, and you’ll be rewarded with more vibrant flowers next season.
Let me share the perfect window for dividing iris and how to spot the signs that it’s time. Your garden will thank you.
The ideal window for dividing iris is 4-6 weeks after they finish blooming. This timing allows the plants to recover and establish new roots before winter dormancy sets in.
In most regions, this means July through September is prime time. I always aim for late summer when the weather is still warm but not scorching, giving my iris the best chance to thrive.
| Stage | Action |
|---|---|
| Post-Bloom | Wait 4-6 weeks after flowers fade |
| Late Summer | Divide July-September in most zones |
| Early Fall | Complete division 6 weeks before first frost |
Watch for overcrowded clumps as a sign it’s time. When your iris stop blooming well or the center of the clump dies out, that’s nature’s way of saying they need more space.
Another clear indicator is reduced flower production. If your once-prolific iris are now sparse with blooms, division can rejuvenate them. I’ve seen clumps go from 3-4 blooms to dozens the next year after dividing.
The USDA zones 3-9 cover most iris growing areas. In warmer zones, you can divide a bit later, while cooler zones need earlier division to allow root establishment before winter.
Remember that bearded iris and Siberian iris have slightly different needs. Bearded varieties prefer this post-bloom window, while Siberians can handle spring division if needed.
I always check the rhizome health before dividing. Healthy rhizomes should be firm and plump, not soft or mushy. This ensures the divisions will take well in their new locations.
After dividing, give your iris plenty of water for the first few weeks. This helps them establish their new root systems. I water deeply 2-3 times per week unless rain does the job for me.
Finally, resist the urge to fertilize immediately after dividing. Wait until early spring to apply a low-nitrogen fertilizer, which encourages blooming rather than leaf growth.
🌸Dividing iris is simpler than you might think. I start by preparing the area with a sharp spade, garden fork, and clean knife. These tools make the process smooth and efficient.
The first step is lifting the entire clump gently from the soil. I use my spade to dig around the perimeter, then carefully lift the whole root mass out of the ground.
Next, I shake off excess soil to expose the rhizomes. This makes it easier to see where to make my cuts. Look for natural divisions between the rhizome sections.
Using a clean, sharp knife, I carefully separate the rhizomes. Each division should have at least one healthy fan of leaves and a portion of roots. I discard any soft or diseased rhizomes.
Before replanting, I trim the leaves to about 6 inches tall. This reduces water loss and helps the plant focus energy on root establishment rather than supporting long leaves.
When replanting, I space divisions 12-24 inches apart to give them room to grow. I plant them shallowly, with the top of the rhizome just at soil level. This prevents rot and encourages healthy growth.
✂️