
Beautiful Plants For Your Interior
Beautiful Plants For Your Interior
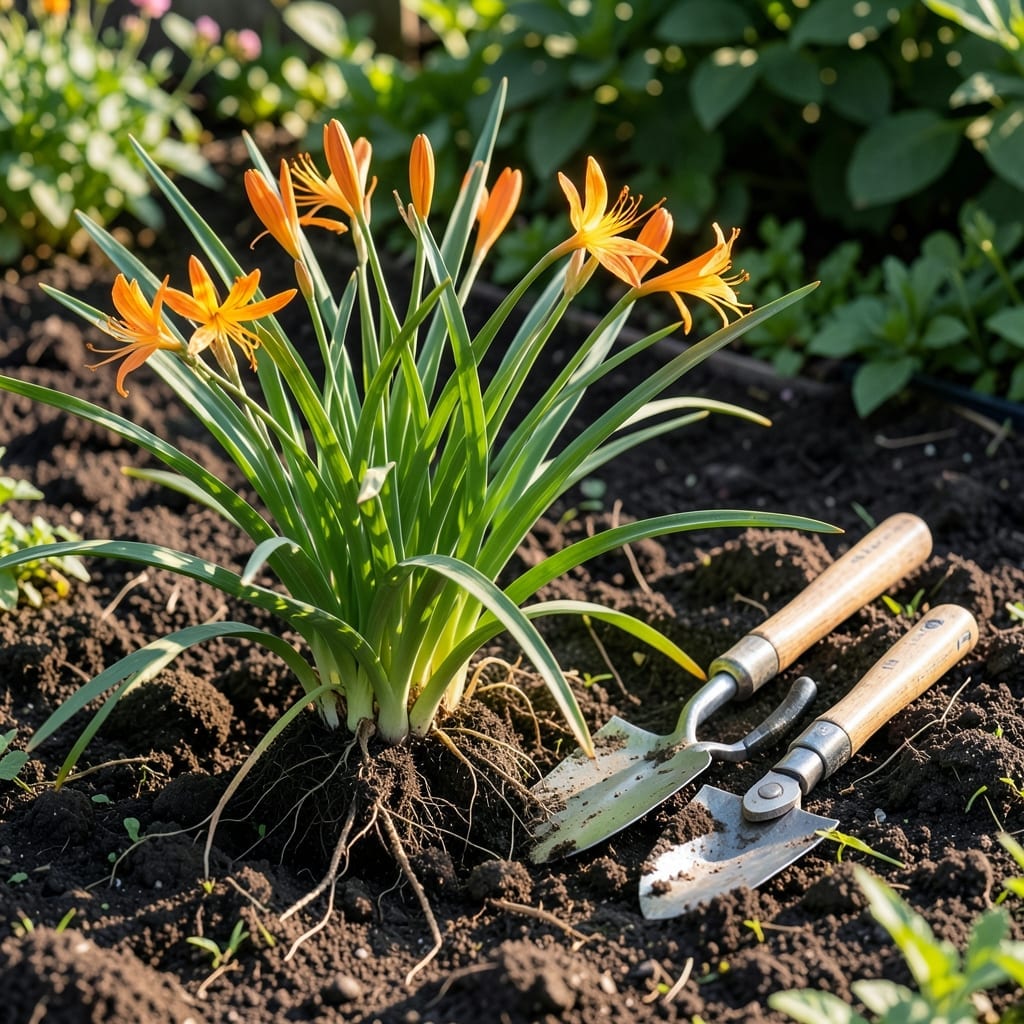
Dividing hemerocallis, or Daylilies 🌸, at the right time can make all the difference in your garden’s vibrancy. Timing it wrong might leave you with lackluster blooms or struggling plants.
I’ve learned that early spring or early fall—like March-April or September-October—are the sweet spots for this task. These windows give your Daylilies the best chance to recover and thrive.
Let me show you how to spot the perfect moment and discover the simple steps to divide them like a pro. Your garden will thank you!
Timing your hemerocallis division right means the difference between thriving daylilies and struggling ones. I’ve found that early spring or early fall works best for most gardens.
These periods give your plants time to establish roots before summer heat or winter cold. March-April and September-October are ideal windows for most USDA zones.
| Season | Best Months | USDA Zones |
|---|---|---|
| Early Spring | March-April | All zones |
| Early Fall | September-October | 3-9 |
| Late Fall | November | 7-10 |
In warmer climates like zones 7-10, you can push division into late fall. But in colder zones (3-6), stick to early fall to avoid winter damage.
Watch for these plant signals: fewer blooms, crowded centers, or yellowing leaves. These are your daylilies crying out for division.
I always check the soil temperature too. Aim for 50-60°F for best root recovery. A simple soil thermometer can be your best friend here.
For spring division, do it before new growth starts. In fall, wait until after the last bloom but before the first frost.
If you’re in zone 5, early September is your sweet spot. In zone 8, you can wait until October or even early November.
Remember, divided hemerocallis need extra care. Water deeply after division and keep the soil moist for 2-3 weeks.
This helps the new roots establish quickly. I like to add a layer of mulch to retain moisture and protect from temperature swings.
Dividing every 3-4 years keeps your daylilies vigorous. More often and you risk stressing the plants; less often and they’ll get overcrowded.
Dividing hemerocallis clumps is easier than you think. I always start by preparing the area the day before to minimize plant stress and ensure a smooth process.
First, water your daylilies deeply the evening before. This helps soften the soil and makes the root ball easier to handle the next morning.
Use a sharp spade or garden fork to dig around the clump. I recommend working in a circular motion about 6 inches away from the base to avoid damaging roots.
Once lifted, gently shake off excess soil to expose the root crown. This makes it easier to see where to separate the fans of leaves and roots.
For tough clumps, I use two garden forks back-to-back in the center to pry apart. For smaller divisions, my hands work just fine to tease apart the natural separations.
After dividing, replant immediately at the same depth they were growing. I space my new plants about 18-24 inches apart to give them room to grow.
Finally, water deeply and add a 2-3 inch layer of mulch to help retain moisture while the new roots establish. ✂️