
Beautiful Plants For Your Interior
Beautiful Plants For Your Interior
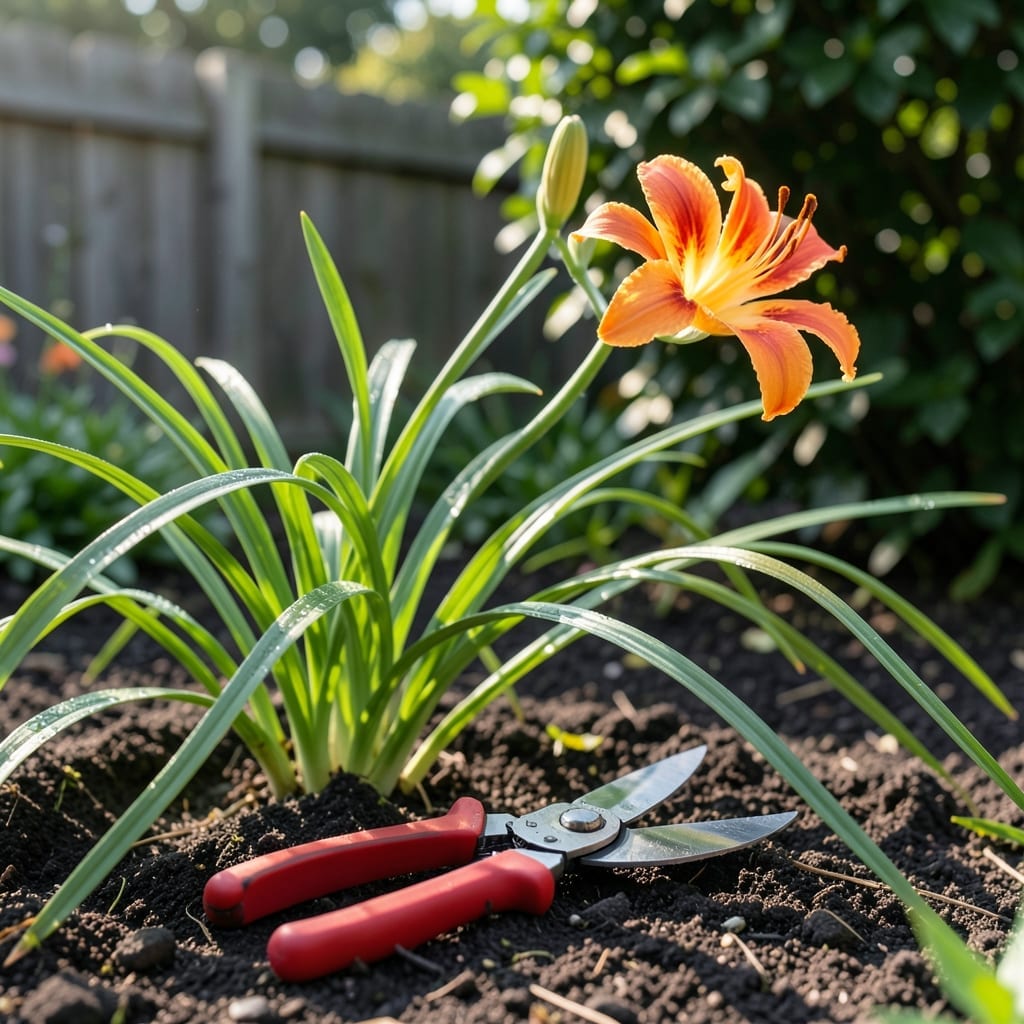
Knowing when to cut daylilies can mean the difference between a lackluster garden and one bursting with vibrant, re-blooming flowers all season long.
Timing your pruning right keeps these hardy 🌸 Daylily perennials healthy and encourages more blooms. Whether you’re a seasoned gardener or just starting out, getting this step right is a game-changer.
I’ll walk you through the best times to trim your Daylilies, from early spring cleanup to post-bloom maintenance. You’ll learn how to keep your plants thriving in zones 3-9.
Discover the simple secrets to reviving foliage and ensuring your Daylilies come back stronger year after year.
Timing your daylily pruning correctly ensures vibrant blooms and healthy growth. I’ve found that early spring is ideal for removing dead foliage and making way for new shoots. This cleanup prevents disease and pests from taking hold.
Another key moment is right after blooming. Cutting back spent flower stems encourages re-blooming varieties to produce more flowers. It also keeps your garden looking tidy and well-maintained. ✂️
In late fall, I recommend cutting back foliage to about 4-6 inches above the ground. This helps prevent winter damage and reduces the risk of pests overwintering in the dead leaves. It also makes spring cleanup much easier.
Re-blooming daylilies benefit from mid-summer pruning too. If your plants look leggy or tired, trimming them back by one-third can stimulate fresh growth and more flowers. Just be sure to water deeply afterward.
For non-re-blooming varieties, focus on early spring and fall pruning. These plants typically bloom once, so post-bloom deadheading isn’t as critical. However, removing spent flower stems still keeps the garden looking neat.
I always use sharp, clean pruners to make clean cuts and reduce stress on the plant. Dull tools can tear the stems, making them more susceptible to disease. A quick wipe with rubbing alcohol between cuts keeps everything sanitized. 🌿
Avoid pruning during extreme heat or drought conditions. Stressing the plant in these conditions can hinder recovery and reduce blooming. Instead, wait for cooler, overcast days to do your trimming.
If you’re unsure about the best time for your specific daylily variety, observe its blooming cycle. Most daylilies follow a predictable pattern, and pruning right after blooming often yields the best results.
Finally, remember that consistent care makes a difference. Regular watering, fertilizing, and pruning will keep your daylilies thriving year after year. With the right timing, you’ll enjoy lush foliage and abundant blooms all season long. 🌸
Pruning daylilies properly ensures they stay healthy and produce abundant blooms. I always start by removing spent flower stems to redirect energy toward new growth. This simple step can extend your blooming season significantly.
For best results, use sharp bypass pruners to make clean cuts. I avoid tearing the foliage, which can introduce disease. Sanitize your tools with rubbing alcohol between plants to prevent cross-contamination.
Remove spent blooms daily to encourage new flower production and maintain tidiness.
In early spring, cut back old foliage to about 6 inches above the ground to promote fresh growth.
After the final frost, trim any winter-damaged leaves to make way for new shoots.
In late fall, cut back foliage to 3-4 inches to prepare for winter dormancy.
Divide clumps every 3-4 years to maintain vigor and prevent overcrowding.
I find that late afternoon is the best time to prune, as the plants are less stressed. Always water your daylilies after cutting to help them recover quickly.
With these steps, your daylilies will reward you with vibrant blooms season after season. Proper timing and technique make all the difference in their performance ✂️