
Beautiful Plants For Your Interior
Beautiful Plants For Your Interior
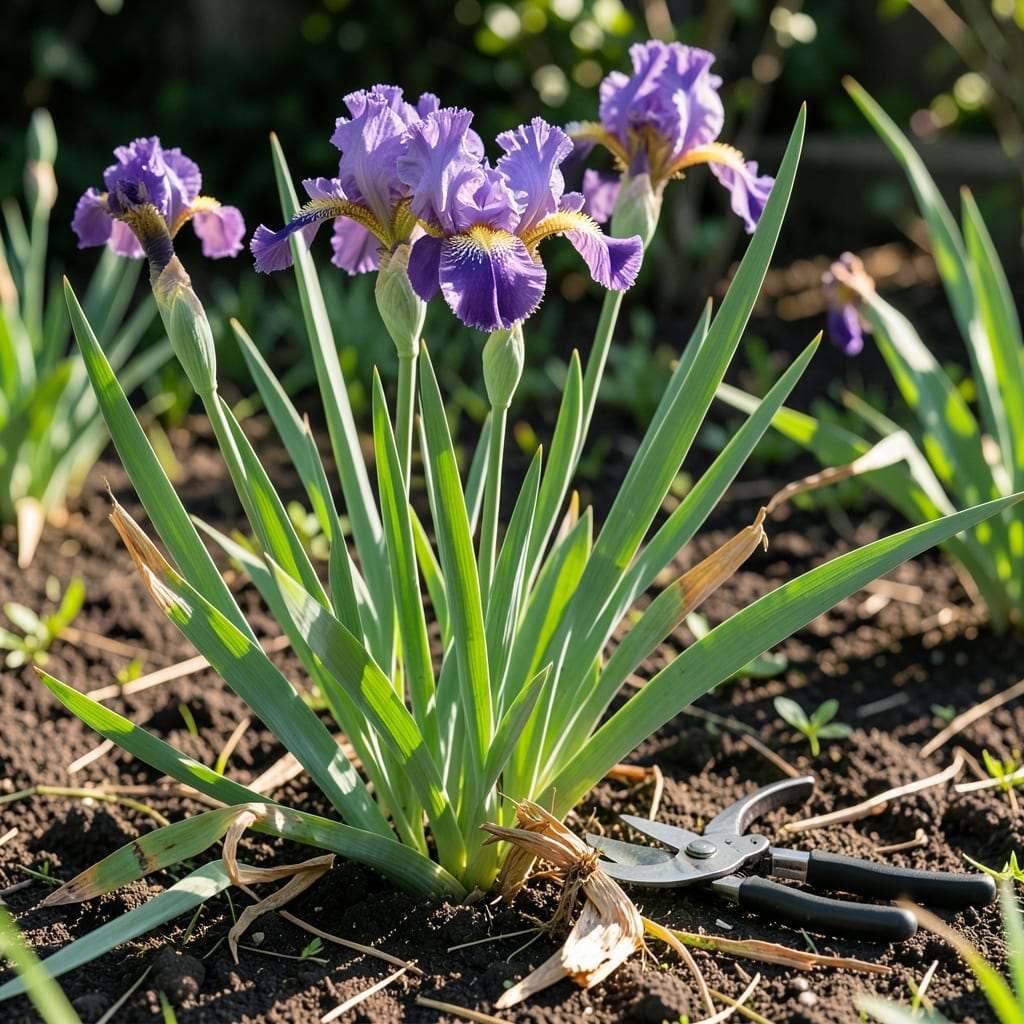
I’ve learned that timing is everything when it comes to keeping your Iris 🌸 thriving. Pruning at the right moment can mean the difference between a lackluster garden and a burst of color next season.
Cutting back too early or too late can invite disease or sap the plant’s energy. In Zone 6a, the late summer window is the key to setting your irises up for success.
Let me walk you through the signs to watch for and the 3 steps to ensure your plants stay healthy and ready to dazzle year after year.
The ideal timing for cutting back irises is in late summer or early fall, typically July through August. This window allows the plant to store energy for next year’s blooms.
Watch for yellowing leaves and dried seed pods as signs that your irises are ready. These indicators mean the plant has finished blooming and is preparing for dormancy.
🌱 Key Takeaway
Cut back irises 6-8 weeks after blooming to prevent rot and pests while storing energy for next year.
Pruning at this stage helps prevent fungal diseases and iris borers, which thrive in old foliage. It also gives the rhizomes time to harden off before winter.
In Zone 6a, aim to finish pruning by early September to avoid early frosts. This timing ensures your irises enter dormancy strong and healthy.
If you live in a warmer climate, you might extend this window into late September. However, always watch your plants rather than the calendar.
Remember, cutting back too early can reduce next year’s blooms by removing foliage needed for photosynthesis. Patience here is key for a vibrant garden.
The fan-shaped foliage should be trimmed to about 6 inches above the rhizome. This height helps protect the roots while allowing sunlight to reach the base.
After pruning, remove all dead leaves and debris from around the plants. This cleanup step is crucial for preventing pest infestations and disease spread.
Finally, consider dividing your irises every 3-4 years during this same window. This keeps your plants healthy and ensures consistent blooming performance. ✂️
I always start pruning my irises when the blooming season has completely finished. This is usually in late July or August, when the flowers have faded and seed pods are forming.
First, I remove the spent flower stems at their base using clean, sharp pruning shears. This prevents the plant from wasting energy on seed production.
🌱 Pruning Steps
Next, I trim the fan-shaped leaves to about 6 inches above the rhizome. This height protects the roots while still allowing sunlight to reach the base of the plant.
It’s crucial to remove all dead or yellowing leaves completely. These can harbor pests like iris borers or encourage fungal diseases that could spread to healthy foliage.
After pruning, I always clean up the area around my irises. Removing plant debris eliminates hiding spots for pests and reduces the risk of disease overwintering in your garden.
Finally, I take a moment to inspect the rhizomes for any signs of damage or disease. Healthy rhizomes should be firm with no soft spots or holes from borers. ✂️