
Beautiful Plants For Your Interior
Beautiful Plants For Your Interior
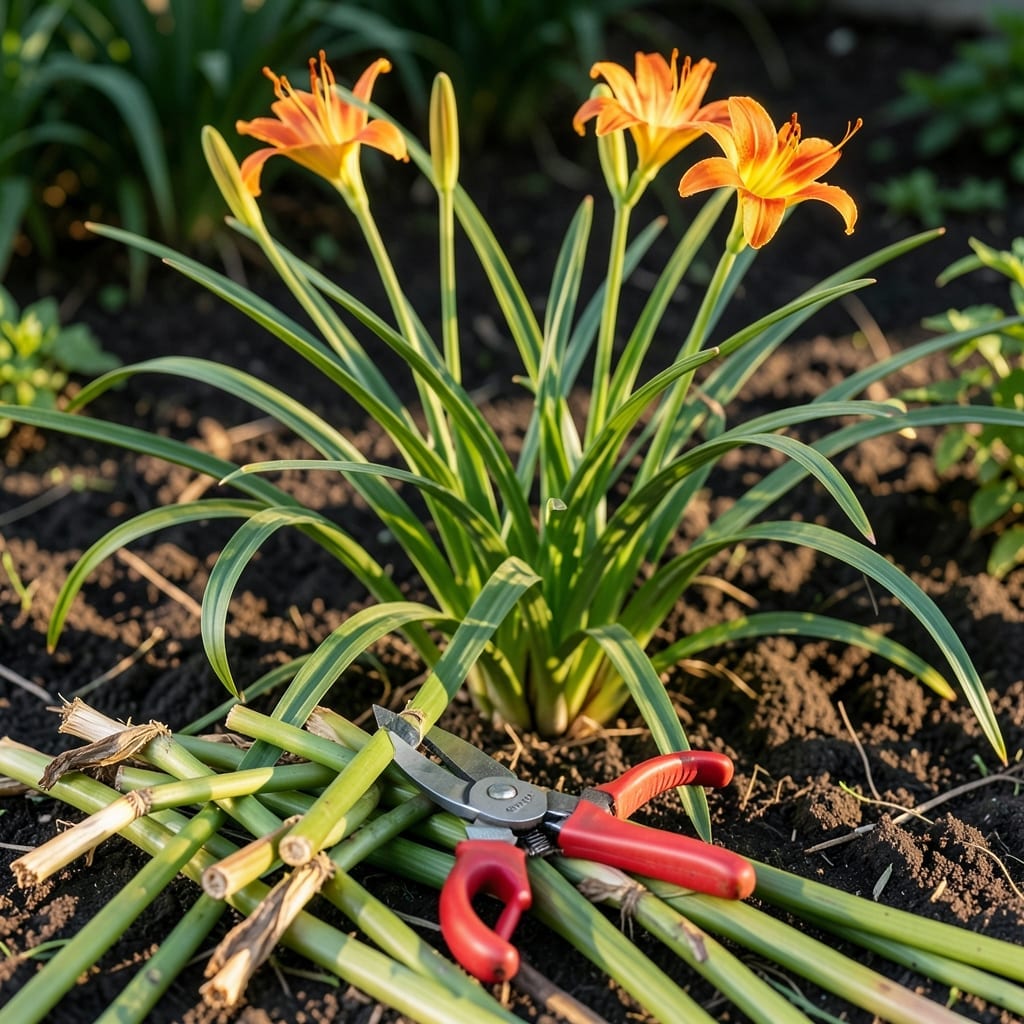
Ever notice how some gardens look vibrant year after year while others struggle? The secret often lies in perfect timing – especially when it comes to caring for plants like the 🌸 Daylily.
Cutting back these hardy perennials at the right moment can transform your garden’s health. It’s not just about aesthetics; it’s about giving your Daylilies the best chance to thrive.
Discover how a simple seasonal trim can boost next year’s blooms and keep your plants in top shape. Let’s dig into the details.
Timing is everything when it comes to pruning daylilies. I’ve found that cutting them back at the right moment can make a world of difference in their health and next year’s blooms.
Late fall or early spring are the two best windows. Each timing offers unique benefits for your plants and garden aesthetic. ☀️
| Timing | Benefits | Best For |
|---|---|---|
| Late Fall | Removes dead foliage, prevents pests | Cold climates |
| Early Spring | Encourages new growth, tidies garden | All regions |
| After Flowering | Promotes reblooming in repeat bloomers | Reblooming varieties |
Late fall pruning helps remove dead foliage that can harbor pests and diseases over winter. I always
In early spring, cutting back daylilies gives your garden a clean look and allows new growth to emerge without competition from old, dead foliage.
For reblooming daylilies, I recommend a light trim after each flowering cycle. This encourages the plant to produce more blooms and keeps it looking tidy.
If you live in a warmer climate, you might get away with pruning in early winter. However, I’ve found that sticking to late fall or early spring works best for most gardeners.
USDA zones 3-9 are ideal for daylilies, and the timing can vary slightly. In colder zones, always aim for late fall. In milder zones, early spring often works best.
Remember, the goal is to remove dead growth while giving the plant time to recover before the next growing season. This simple step can significantly improve your daylilies’ vigor.
I’ve seen gardens where daylilies were neglected, and the difference after proper pruning is remarkable. The plants look healthier, bloom more abundantly, and have fewer pest issues.
Don’t forget to clean up all debris after pruning. This prevents pests and diseases from overwintering in your garden soil. ✂️
Pruning daylilies properly is simpler than you might think. I always start by gathering the right tools: sharp bypass pruners and gardening gloves for protection.
First, identify dead or yellowing foliage to remove. This ensures the plant can focus its energy on healthy growth. It’s a satisfying process that leaves your garden looking tidy. 🌿
I recommend cutting back each fan of leaves individually rather than shearing the entire plant at once. This method gives a more natural look and reduces stress on the plant.
Always make clean cuts at a 45-degree angle to prevent water from pooling on the leaves, which can lead to rot. This small detail makes a big difference in your plant’s health.
After pruning, I like to add a layer of mulch around the base of the plant. This helps retain moisture and protects the roots during temperature fluctuations.
Don’t forget to sanitize your tools between plants, especially if you notice any signs of disease. A simple wipe with rubbing alcohol does the trick. ✂️