
Beautiful Plants For Your Interior
Beautiful Plants For Your Interior
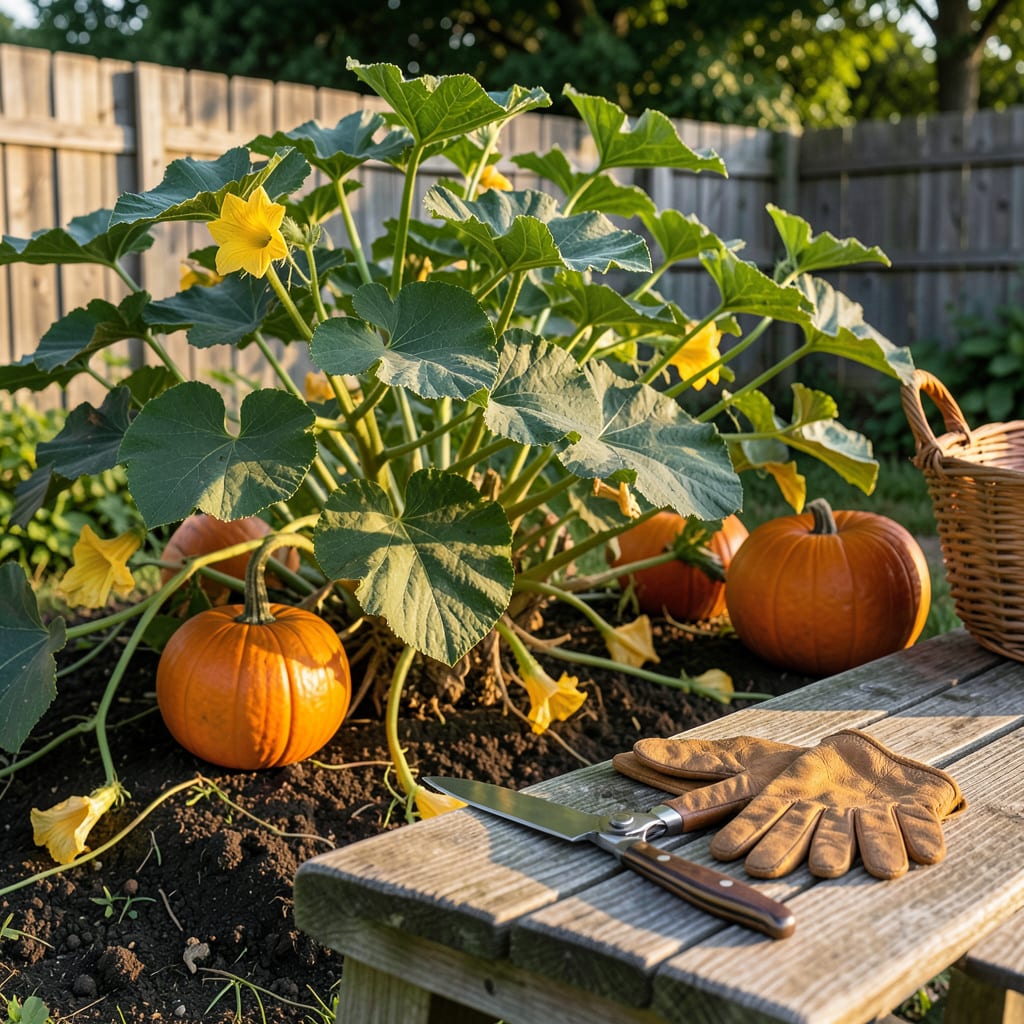
That perfect 🎃 pumpkin for your porch or pie isn’t just about size or color. There are better ways to tell when it’s truly ready.
I’ll show you the simple tests that take the guesswork out of harvest time. No more mushy disappointments—just perfect pumpkins every time.


The rind hardness test is my go-to for knowing when pumpkins are truly ready. Unlike color alone, hardness tells you the fruit has matured inside. A properly ripe pumpkin will have a rind that resists pressure. ☀️
I use my fingernail to gently press into the pumpkin’s skin. If it leaves no mark or dent, your pumpkin is likely ready. This test works for all varieties, from jack-o’-lantern types to pie pumpkins.
If your fingernail leaves a mark, the pumpkin needs more time. In warm weather, check again in a few days. Cooler temperatures may slow ripening, so be patient. 🌱
For giant pumpkins, the rind test is especially important. These varieties can look mature but still be soft inside. I recommend testing in multiple locations to confirm uniformity.
Another tip: the color should be deep and consistent. For orange pumpkins, this means a rich, solid hue without green streaks. But remember, some heirloom varieties may stay green or white even when ripe.
If you’re growing white pumpkins, like ‘Lumina’ or ‘Valenciano’, the rind test becomes even more critical. These can be tricky because their pale color doesn’t change much. Hardness is your best indicator. 🌿
I’ve found that pumpkins left on the vine too long can become overripe. The rind may soften slightly, and the stem can weaken. This makes them more prone to rot during storage, so timing is everything.
For the best results, perform the rind test in the morning when temperatures are cooler. This gives you the most accurate read on the pumpkin’s true hardness.
Finally, combine the rind test with the stem check. A dry, woody stem is another sign of readiness. Together, these tests take the guesswork out of knowing when to pick pumpkins for peak quality. ✂️
While the rind test is reliable, I always combine it with the stem test for extra confidence. A truly ripe pumpkin will have a dry, woody stem that’s hardened and cracked near the vine. ☀️
This test is simple: if the stem is still green and flexible, your pumpkin isn’t ready. But a stem that’s brown and brittle is a clear sign it’s time to harvest. I check this first before even touching the rind.
The vine condition also gives clues. As pumpkins ripen, the leaves closest to the fruit often turn yellow or brown. This is nature’s way of redirecting energy to the fruit. 🌱
Another trick I use is the tap test. Gently knock on the pumpkin—if it sounds hollow, it’s likely ready. A dull thud means it needs more time on the vine.
For heirloom varieties like ‘Jarrahdale’ or ‘Cinderella’, color alone can be misleading. These often stay blue-gray or green even when ripe. That’s why I rely on the stem and rind tests most. 🌿
If you’re growing pumpkins for storage, harvest when the stem is fully dry. This helps prevent early rot and extends shelf life. I aim to pick before the first frost, as cold can damage the fruit.
Finally, always use pruning shears to cut the stem, leaving 2-3 inches attached. This prevents moisture loss and keeps your pumpkins looking fresh longer. ✂️
Picking pumpkins too early is a common mistake I see. A soft rind means the fruit hasn’t matured inside, leading to poor storage and flavor. These pumpkins often rot quickly or lack the sweetness you expect. ☀️
On the other hand, leaving them on the vine too long can cause the rind to soften or split. Overripe pumpkins may also attract pests or develop a mealy texture. I always aim to harvest at the peak of ripeness.
Picking too early: Leads to poor storage and bland flavor.
Harvesting too late: Causes soft rinds, splits, or pest damage.
Ignoring the stem: A green stem means the pumpkin isn’t ready.
If you accidentally pick an underripe pumpkin, don’t despair. You can still ripen it indoors in a warm, sunny spot. Check the rind daily until it hardens. This won’t be as good as vine-ripened, but it’s better than wasting it. 🌱
For overripe pumpkins, use them quickly. They’re best for immediate carving or cooking. If the rind is still intact, they may store for a short time, but keep an eye out for soft spots or mold.
Timing is everything with pumpkins. I’ve learned to check daily once they start showing signs of ripeness. The window between perfect and overripe can be just a few days, especially in warm weather. ✂️
Underripe ones will have soft rinds and poor flavor. They often rot quickly in storage since the inside hasn’t matured. Always check the rind hardness first.
A ripe one has a dry, woody stem that’s hard to bend. If it’s still green and flexible, wait a few more days before harvesting.
Yes! Gently tap the pumpkin – a hollow sound means it’s ready. A dull thud indicates it needs more time on the vine.
In fact, it’s best to pick before frost hits, as cold can damage the rind and flesh. Aim to harvest when all other signs are met.
