
Beautiful Plants For Your Interior
Beautiful Plants For Your Interior
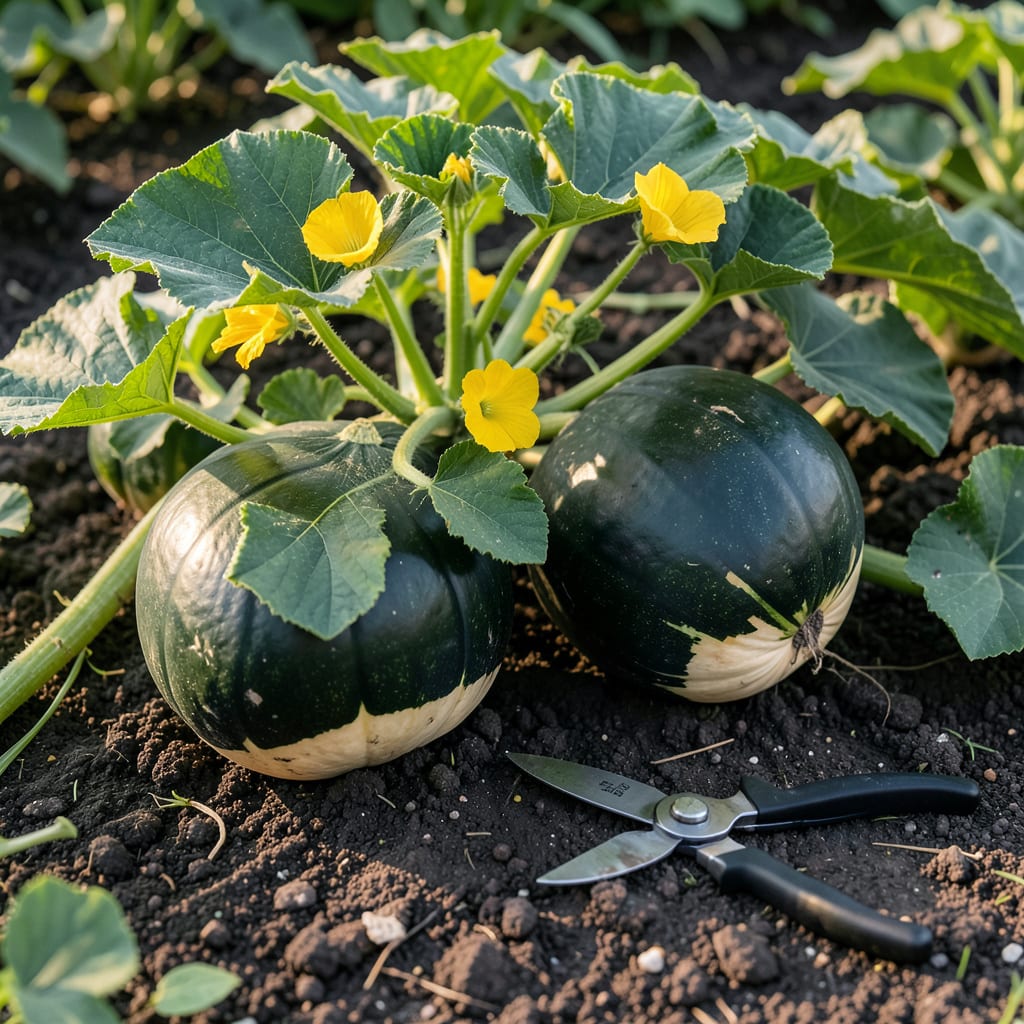
Knowing exactly when to harvest Buttercup Squash 🎃 can mean the difference between a perfect, sweet crop and a disappointing mess. This hardy winter squash gives clear signals when it’s ready.
I’ll show you the key signs to look for—rind hardness, stem dryness, and color changes—that guarantee you’ll pick at the perfect moment. Let’s get started.


Timing your buttercup squash harvest perfectly ensures the best flavor and storage life. I always check for a few key indicators before picking.
The most reliable sign is a hard rind that resists puncture when pressed with a thumbnail. This tells me the squash has reached full maturity.
| Sign | What to Look For |
|---|---|
| Rind Hardness | Cannot be punctured with thumbnail |
| Stem Condition | Dry, woody, and brown |
| Color | Deep, consistent green or orange |
| Vine Status | Starting to die back |
A dry, woody stem is another clear signal. If the stem is still green and moist, the squash needs more time on the vine.
The color should be deep and uniform across the entire squash. Pale or uneven coloring means it’s not ready yet.
I also watch for the vine dying back, which often happens as the squash reaches maturity. This is nature’s way of telling you the plant has finished its work.
For the most accurate test, combine multiple indicators. A hard rind plus a dry stem plus deep color equals a perfectly ripe buttercup squash.
Remember that buttercup squash typically takes 80-100 days from planting to harvest, depending on growing conditions.
Early frosts can damage squash, so I always aim to harvest before the first frost. In most regions, this means picking by mid to late fall.
If you’re unsure, try the thumbnail test on a few squash. Once you’ve confirmed they’re ready, you can harvest the entire crop with confidence.
Proper timing rewards you with sweeter flesh and better storage potential. I’ve found that squash picked at the right moment can last months in a cool, dry place 🌱
Harvesting buttercup squash at the wrong time can ruin months of hard work. I’ve learned the hard way that timing is everything with this crop.
One common mistake is picking too early when the rind is still soft. This results in poor flavor and short storage life. Always do the thumbnail test first.
Don’t harvest with a green stem or soft rind. Never pull the squash—always cut with 2-3 inches of stem attached. Avoid frost damage by picking before temperatures drop.
Another error is pulling the squash from the vine instead of cutting. This can damage both the plant and the fruit. I always use clean pruners for a clean cut.
Leaving too much stem can create entry points for pests. Aim for 2-3 inches of stem when harvesting to maintain the protective seal.
Waiting until after the first frost is another mistake. Even light frosts can damage the squash, so I monitor weather forecasts closely in fall.
Finally, don’t harvest when the vine is still healthy. Buttercup squash typically signals readiness by letting the vine die back naturally.
By avoiding these common mistakes, you’ll ensure a perfect harvest every time. I’ve found that patience and attention to detail make all the difference 🌱
Proper curing buttercup squash after harvest improves both flavor and storage life. I always set aside time for this simple but crucial step.
The process involves letting the squash sit in a warm, dry place for about 10-14 days. This allows the skin to harden further and any minor cuts to heal.
I find that a sunny windowsill or a covered porch works well for curing. Just avoid direct sun, which can cause uneven drying.
After curing, store your squash in a cool, dark place like a basement or pantry. The ideal temperature is between 50-55°F.
Properly cured buttercup squash can last 3-6 months in storage. I’ve had some keep even longer when conditions are perfect.
Press your thumbnail into the rind. If it resists puncture, it’s ready. A soft rind means it needs more time on the vine.
A dry, woody stem indicates the squash has stopped growing. A green stem means it’s still maturing and not ready for harvest.
You can, but it’s best to wait for the vine to start dying back. This natural process signals full maturity and optimal flavor.
Picking too soon results in poor flavor and shorter storage life. The flesh won’t be as sweet, and the squash may spoil faster.
